HelpDesk is a ticketing system for teams of any size. It helps you easily manage your email communication and lets you keep it all in one place.
Sometimes, it might be helpful for a customer to leave you a ticket. ChatBot doesn’t allow for that, but there’s a workaround that lets you create a ticket:
-
You can use the Create ticket action, designed especially for the LiveChat integration
-
Make use of HelpDesk tickets.
The first option is available within Visual Builder. To use HelpDesk tickets in ChatBot and receive them in the HelpDesk app, you need to integrate your Story with HelpDesk using Zapier. Zapier allows you to connect ChatBot with other tools and enjoy using extra features.
How to create a HelpDesk ticket
-
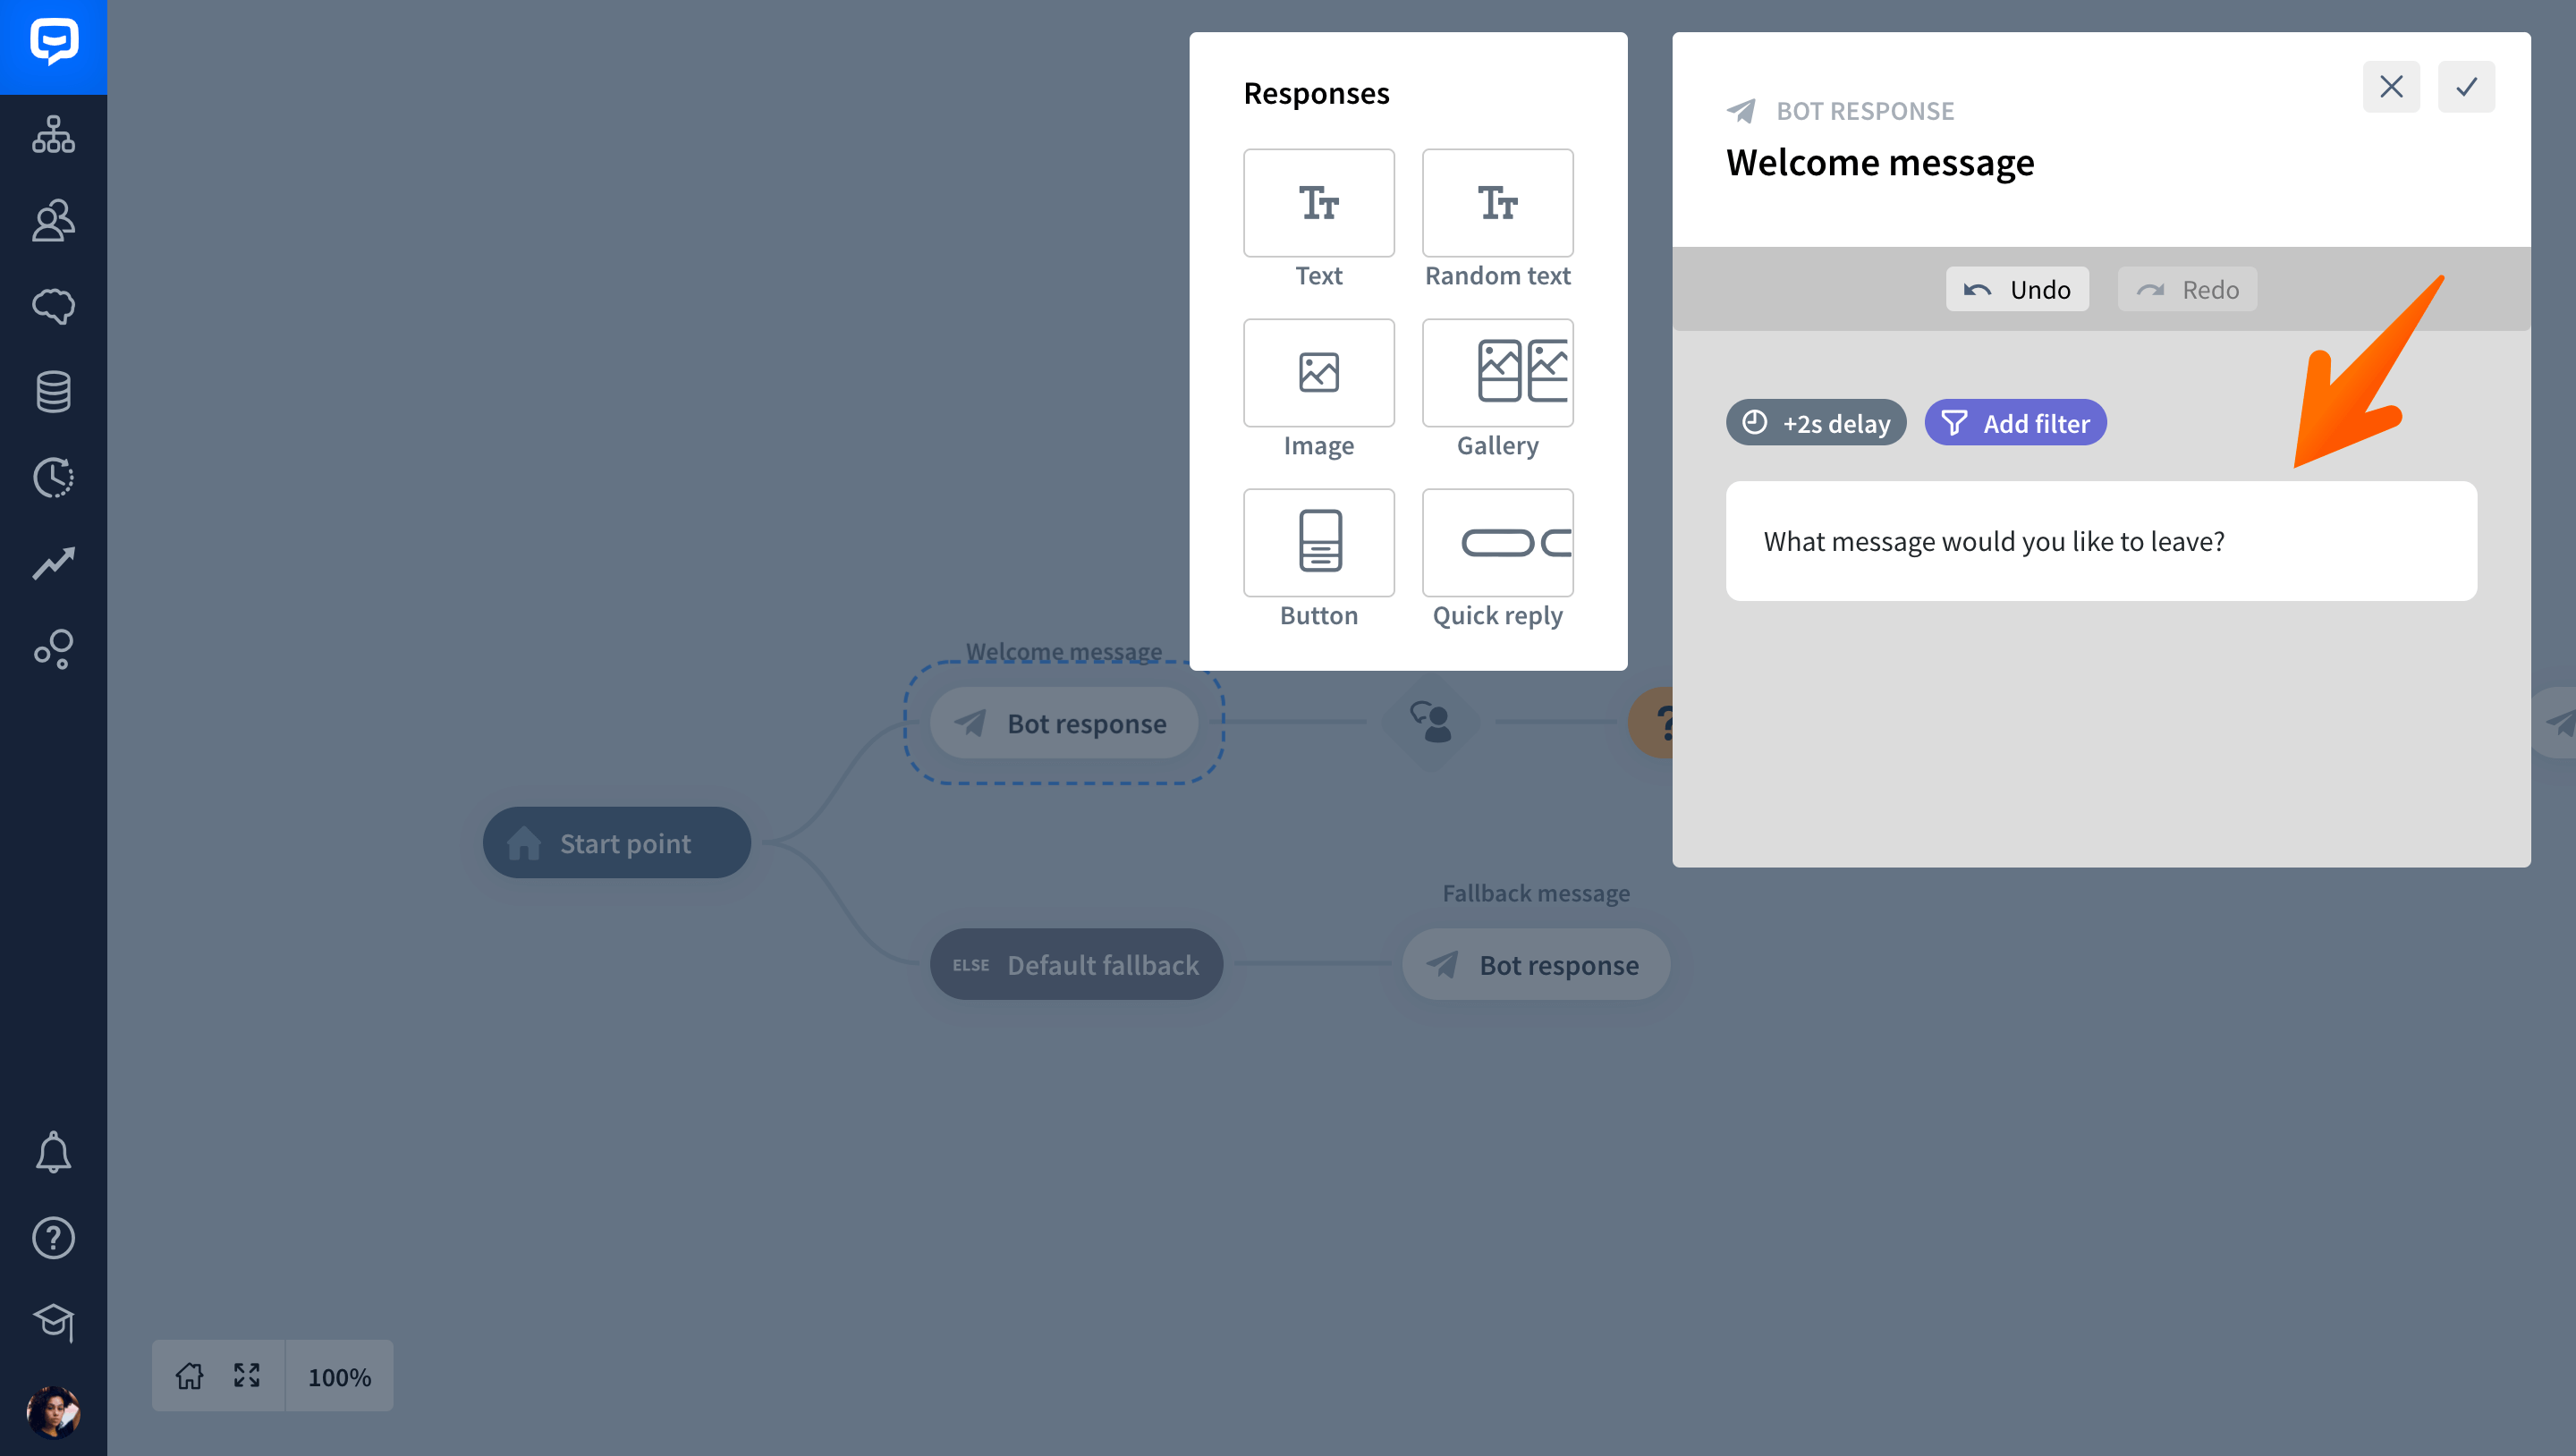
To create a ticket, you need to gather some information through your Story. First, ask the user what their message is.
-
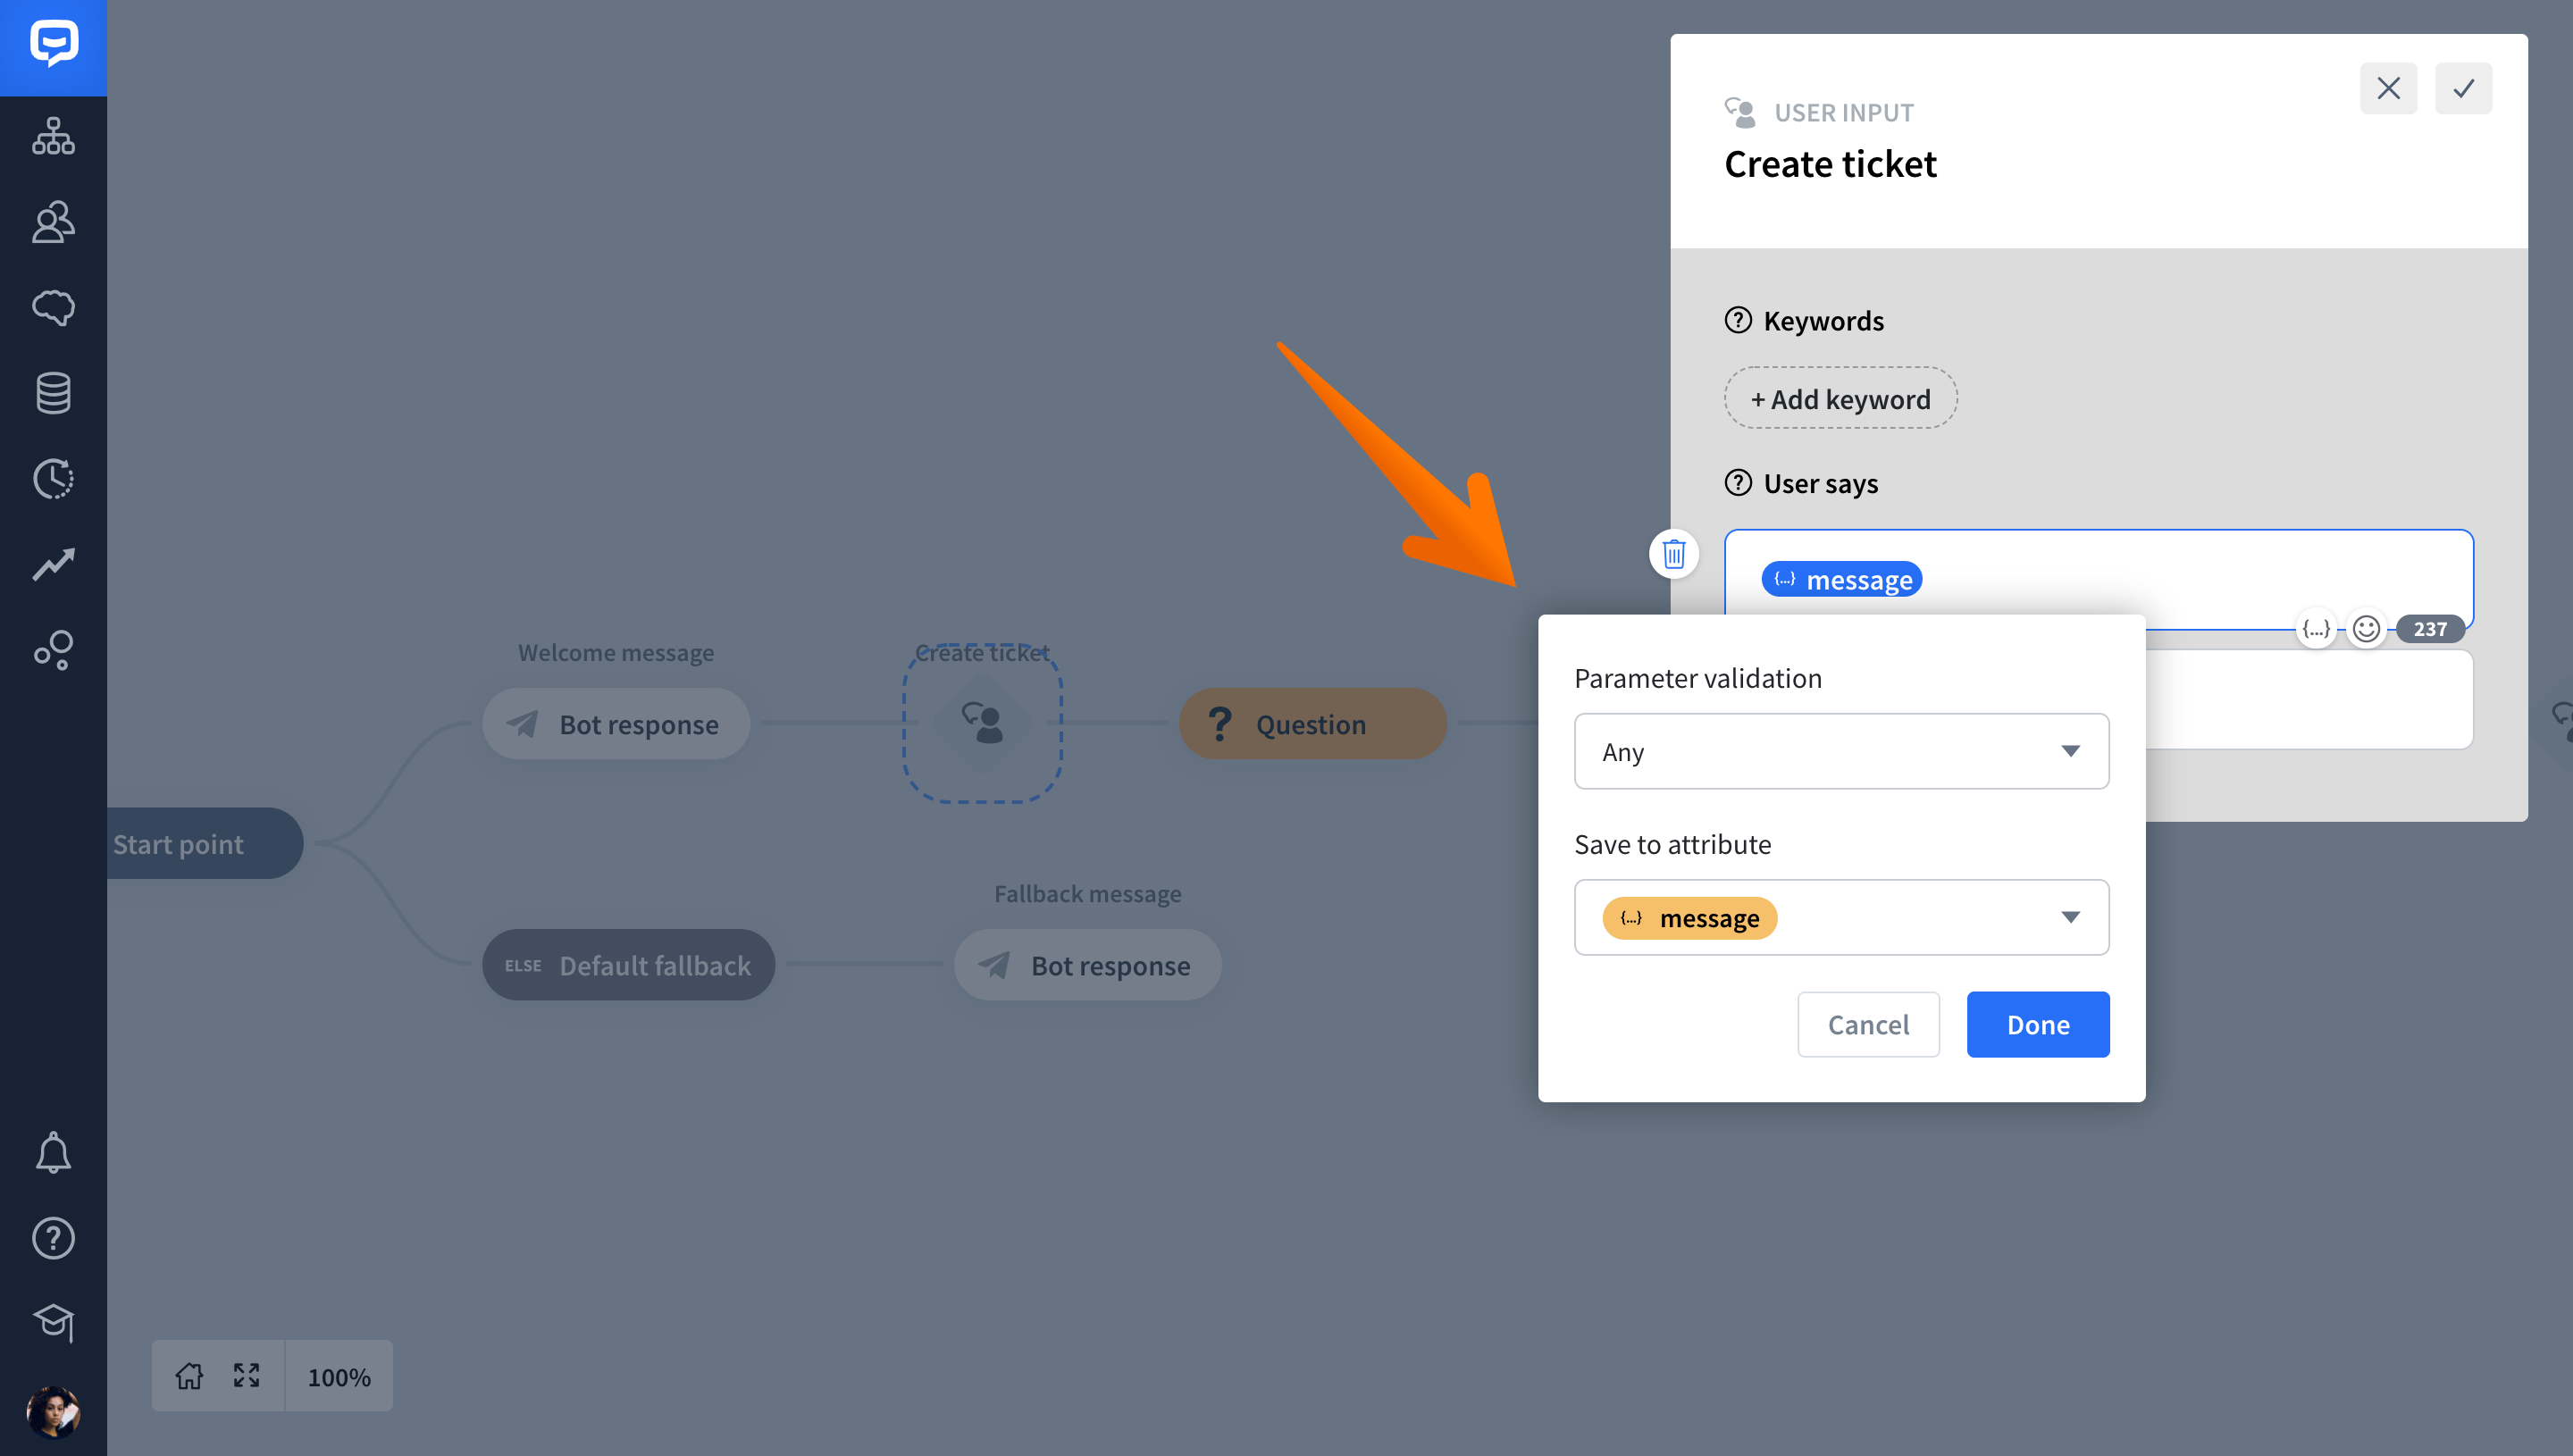
Save their response to the {{message}} attribute with the Any validation type.
-
If the user provides a message, you can ask further questions. Now, you can request their email and name so that you can reply to their ticket later. Note that you can use a single Question action to ask multiple questions within it. To collect the user’s name and email address, use the built-in attributes.
-
the {{default_name}} attribute with the Any validation type. This type of validation will save both the first and the last name if the user decides to provide them.

-
the {{default_email}} attribute with the Email validation type. This type of validation prevents the user from entering an invalid email address.

-
How to integrate ChatBot with HelpDesk
-
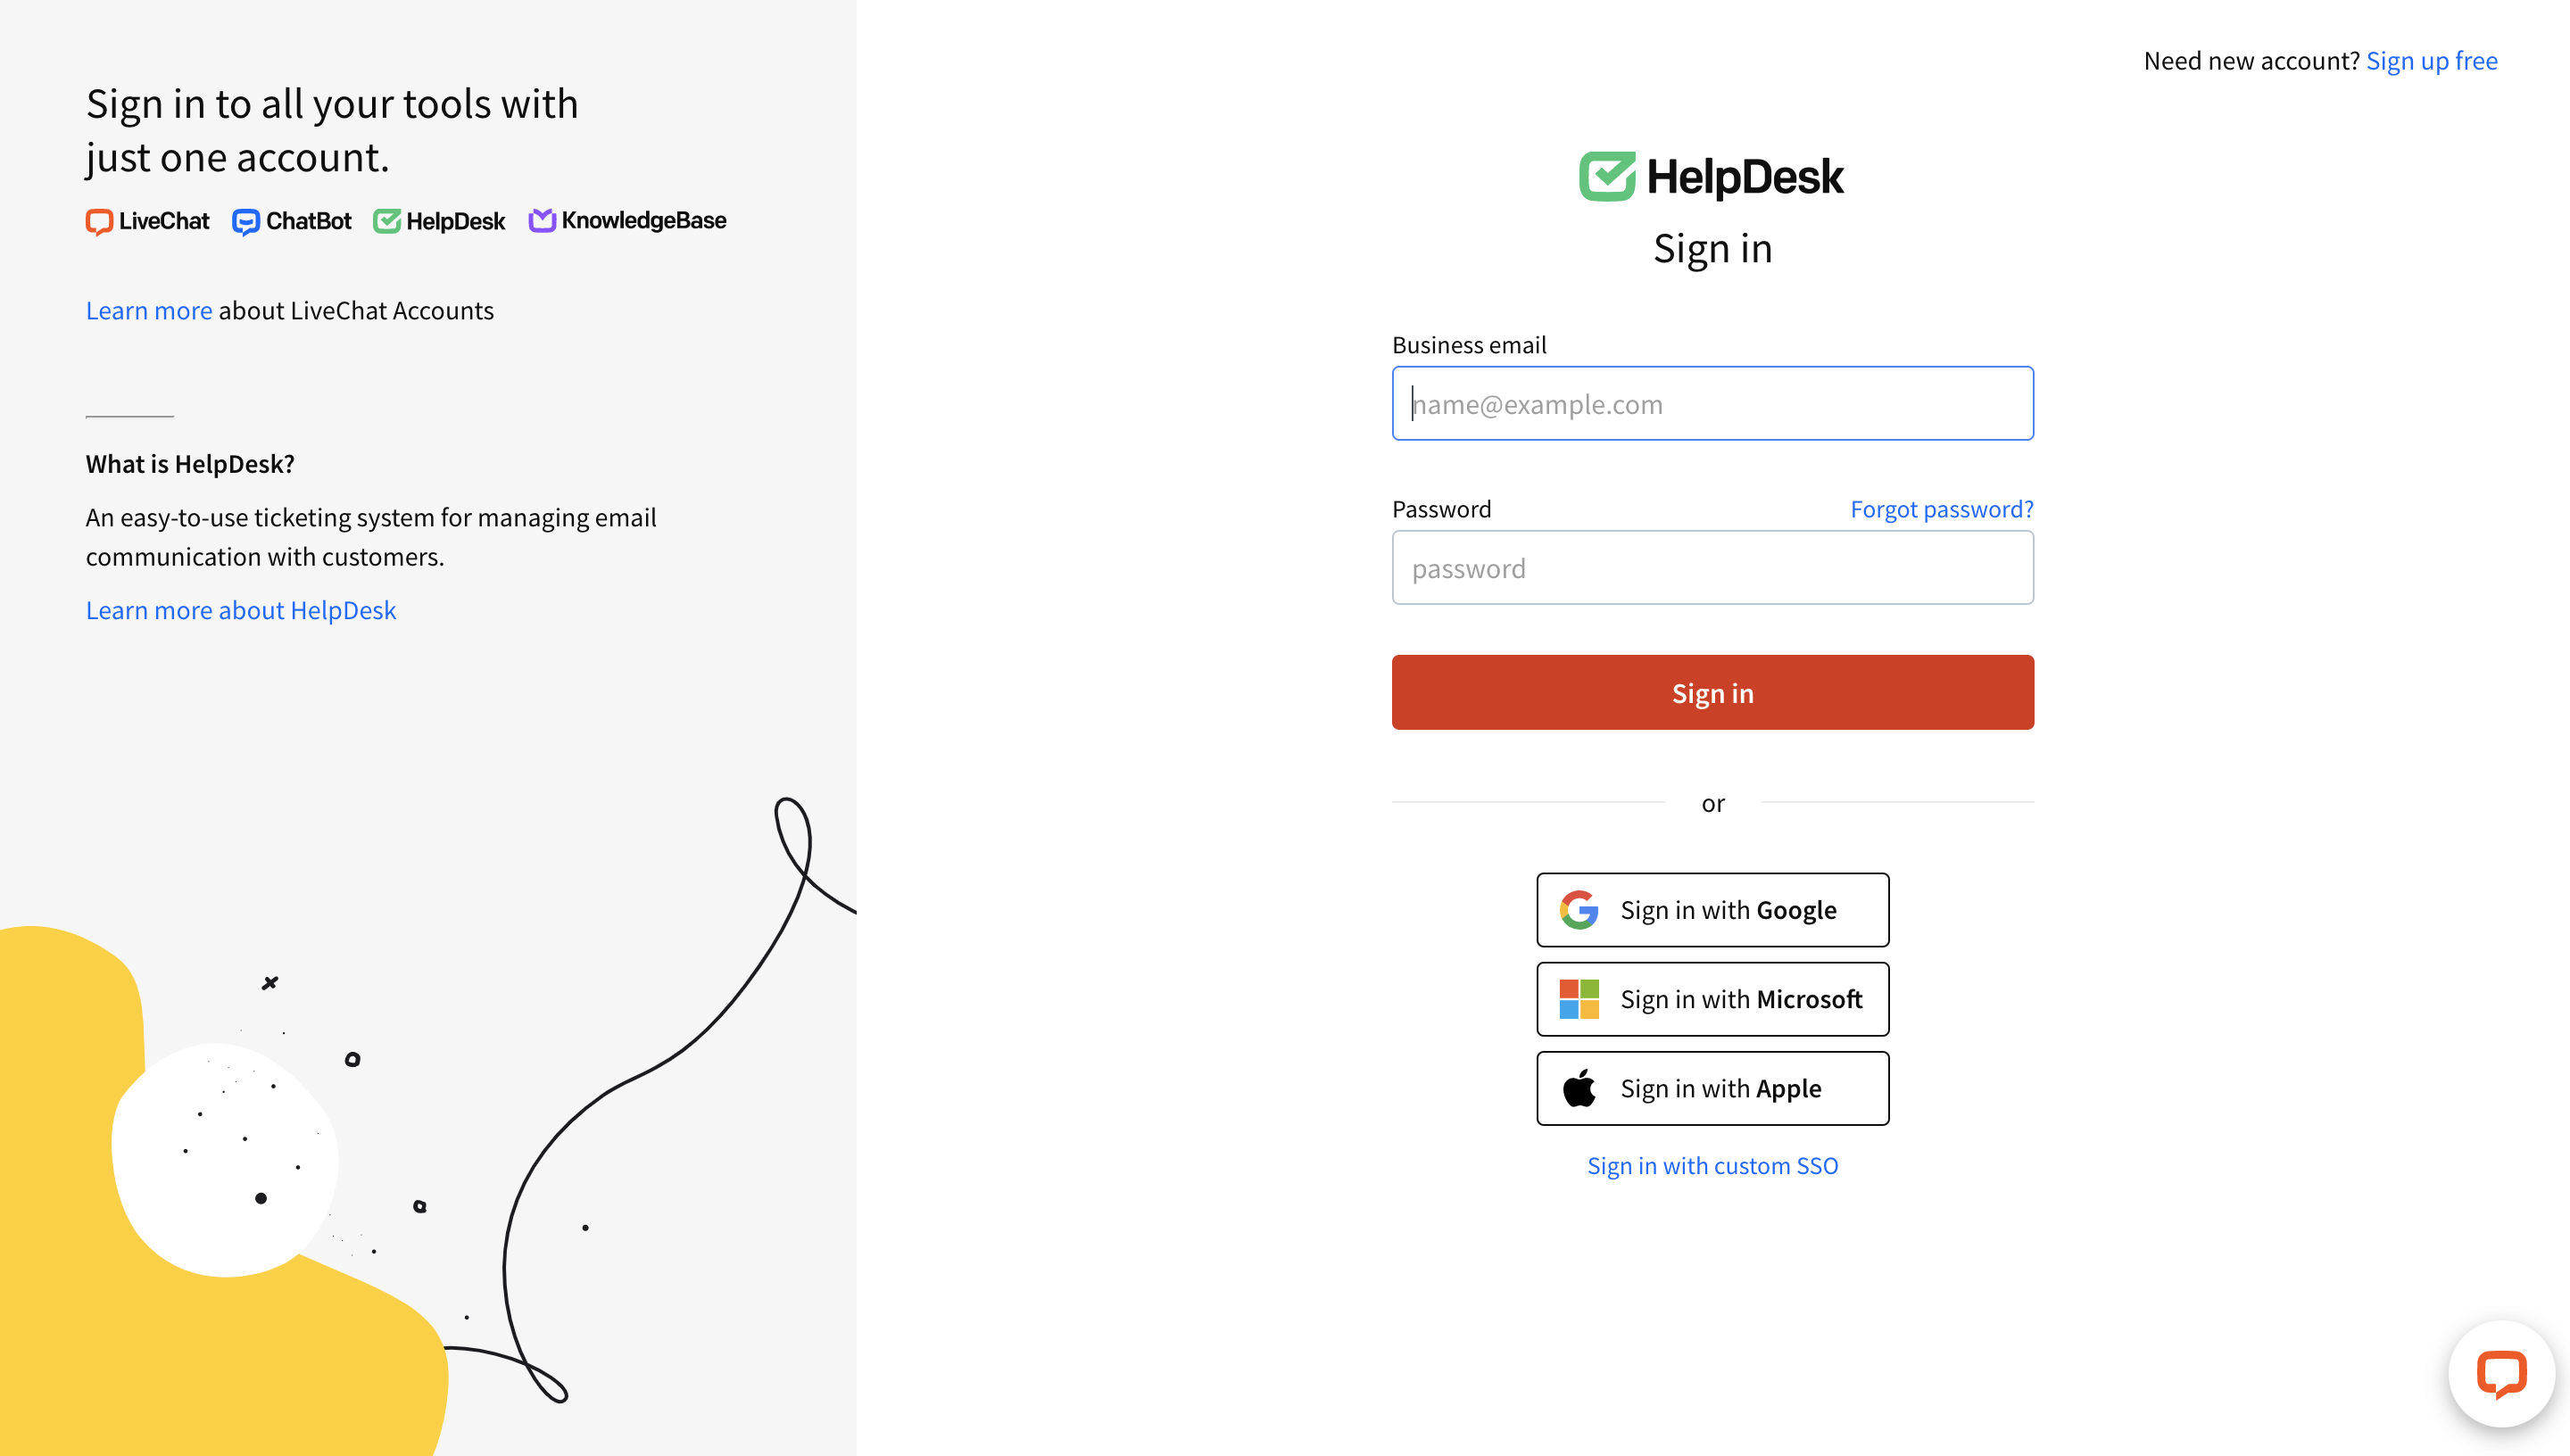
Fisrt, create a <a href=“https://www.helpdesk.com/"nofollow" target="_blank”>HelpDesk account.
-
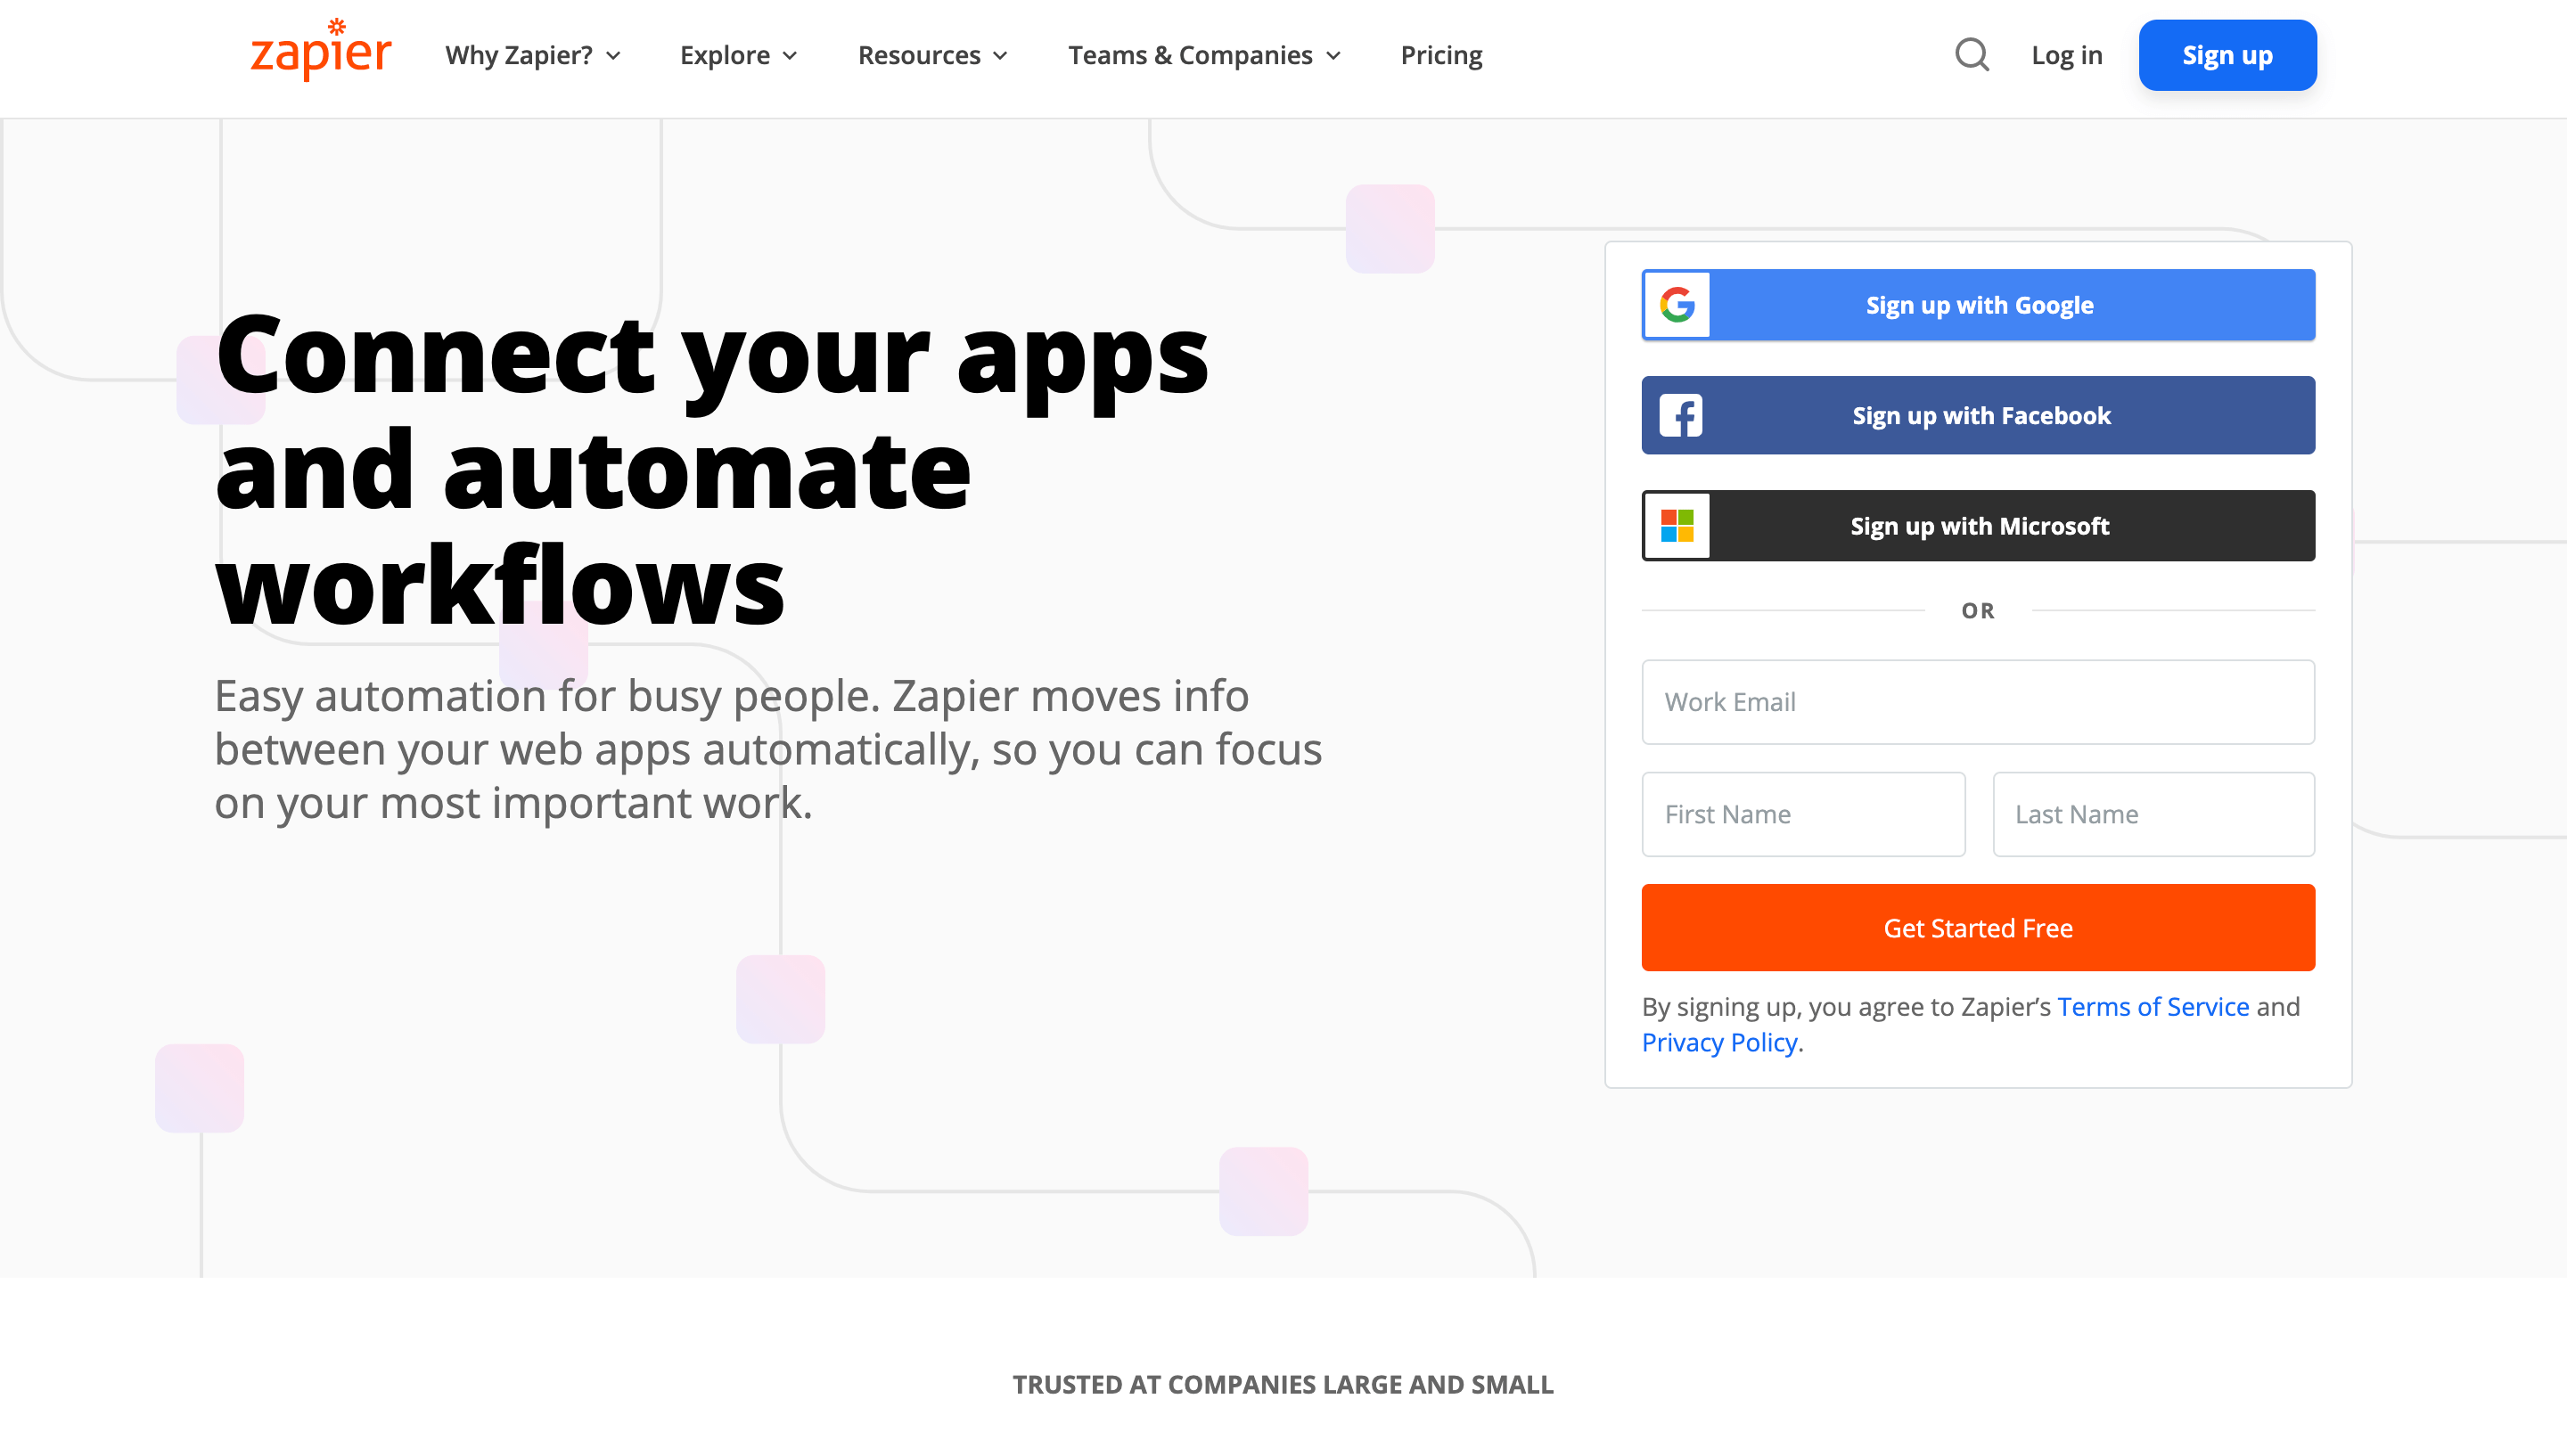
Next, log in to your Zapier account.
-
After you log into your dashboard, type ChatBot in the Connect this app field and choose it from the list.
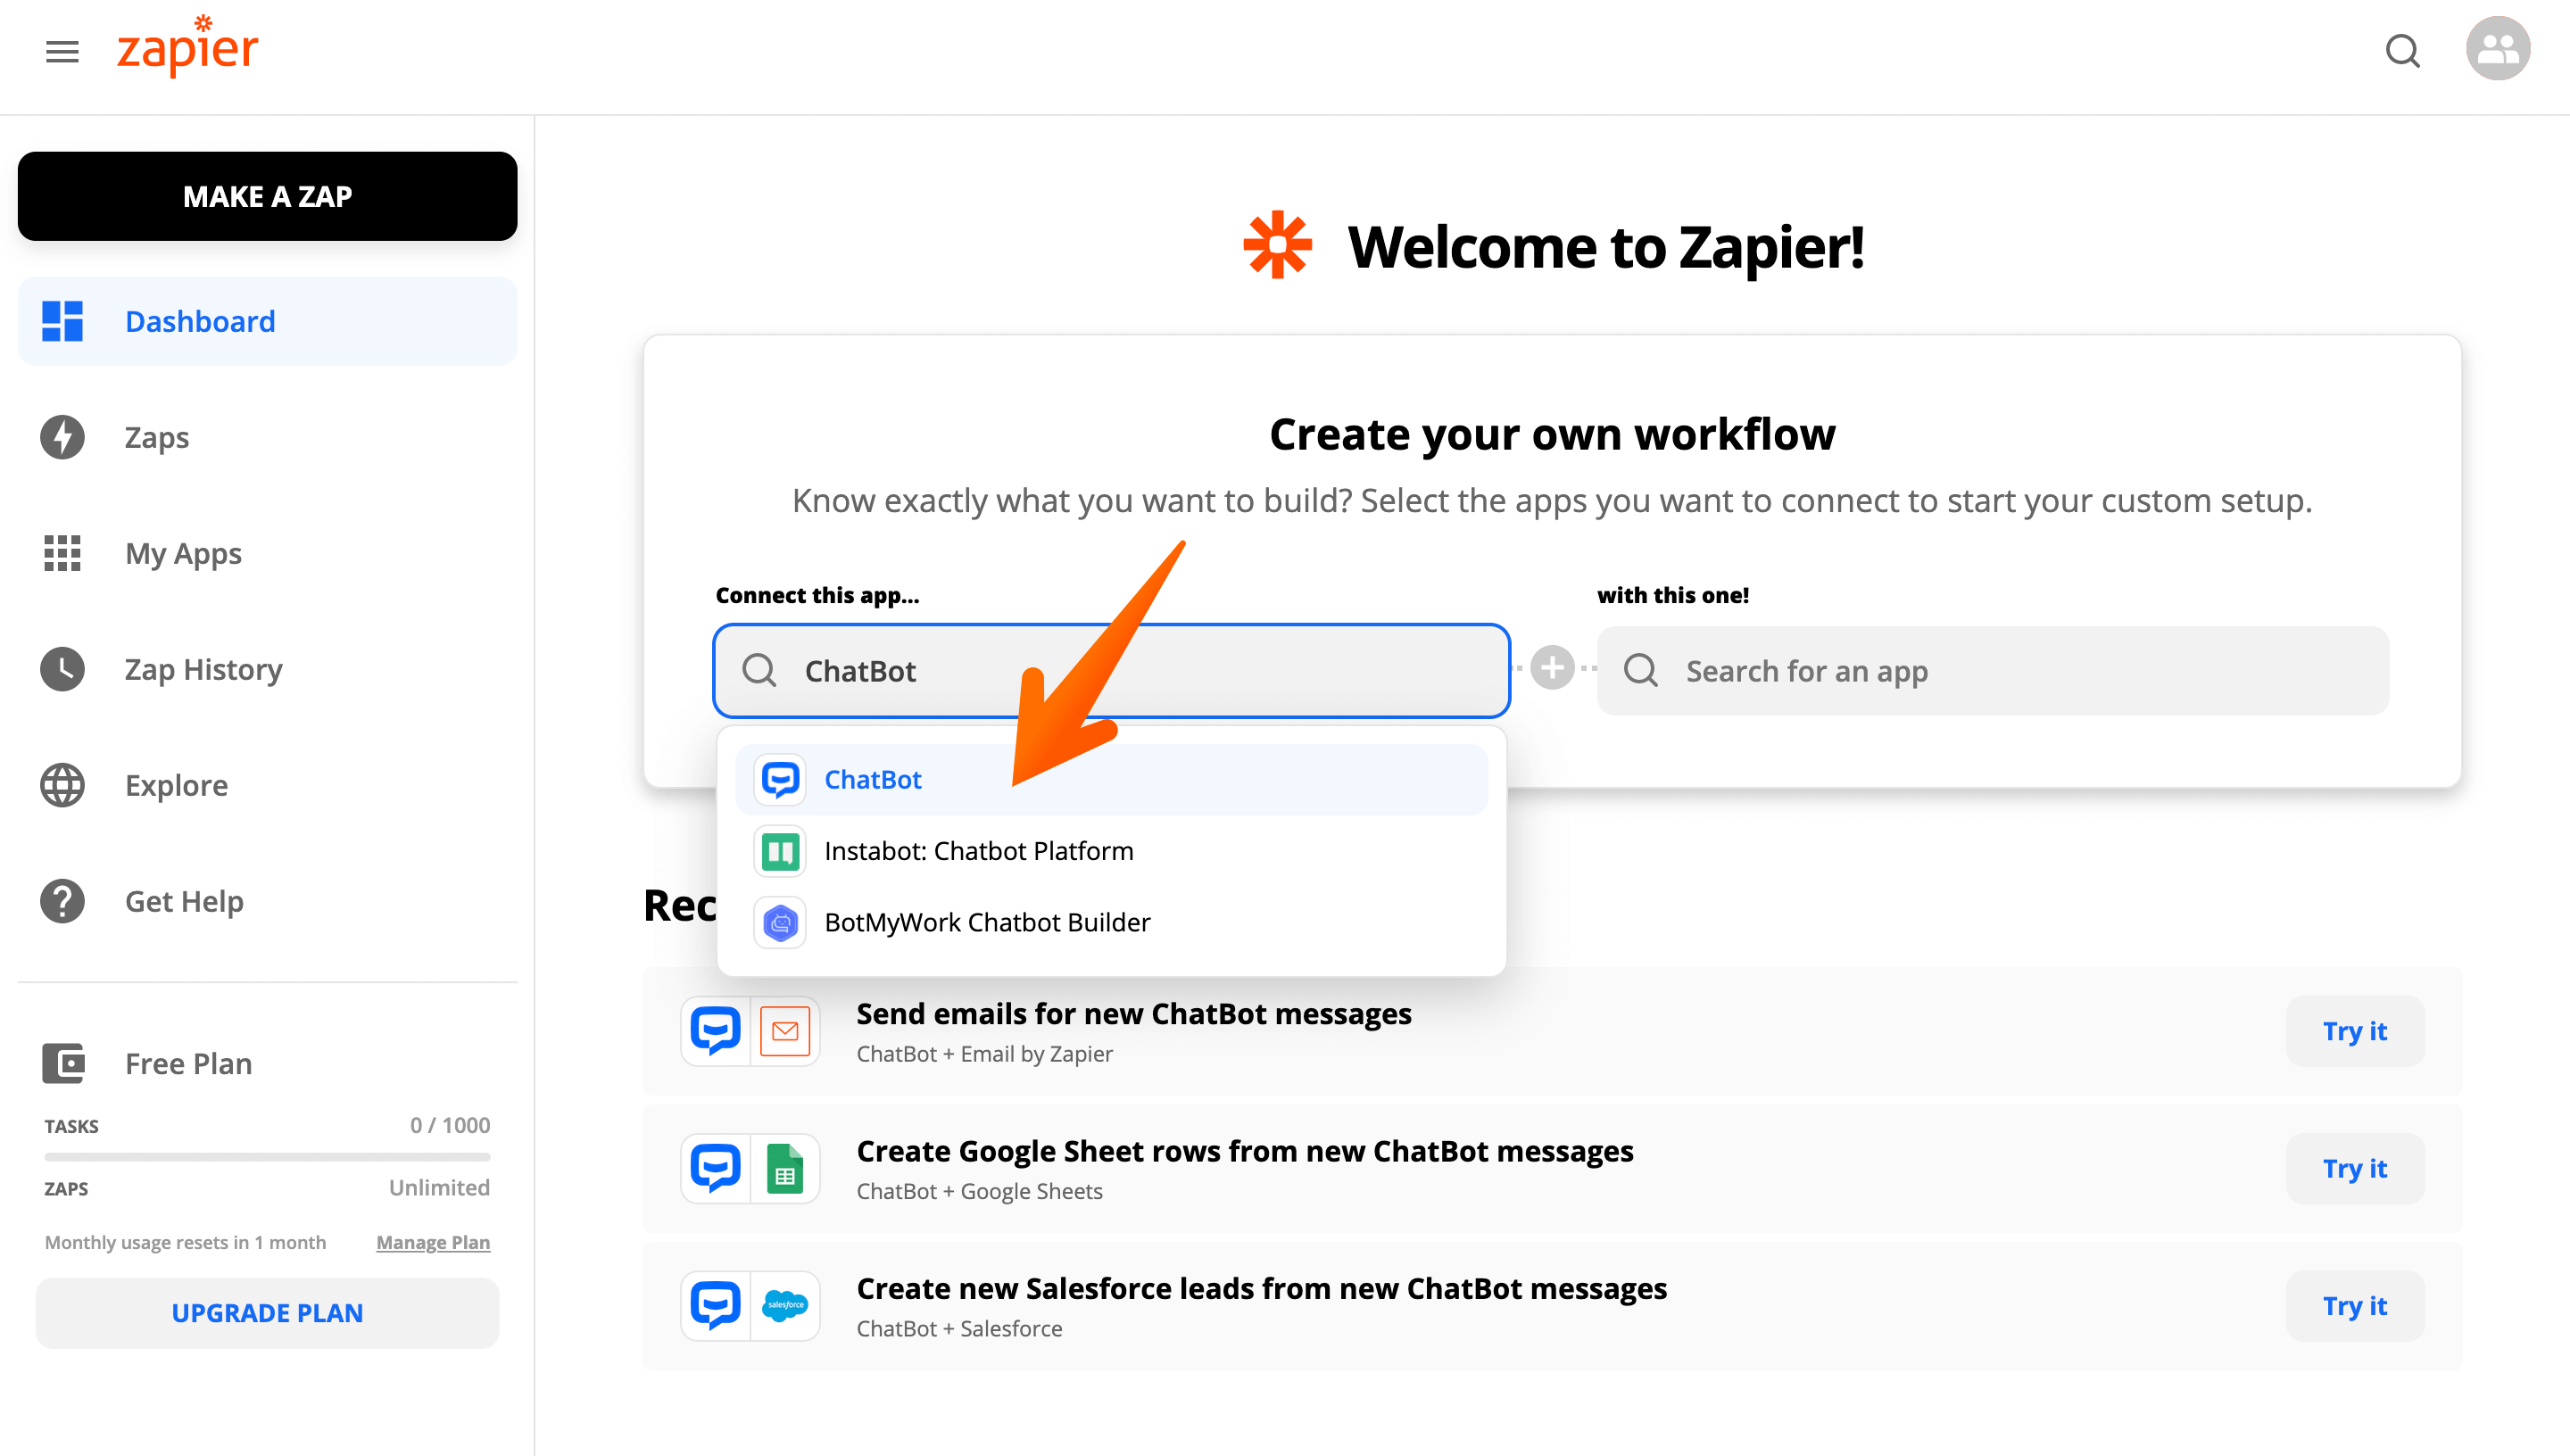
-
Then, type HelpDesk in the with this one field and choose it from the list.
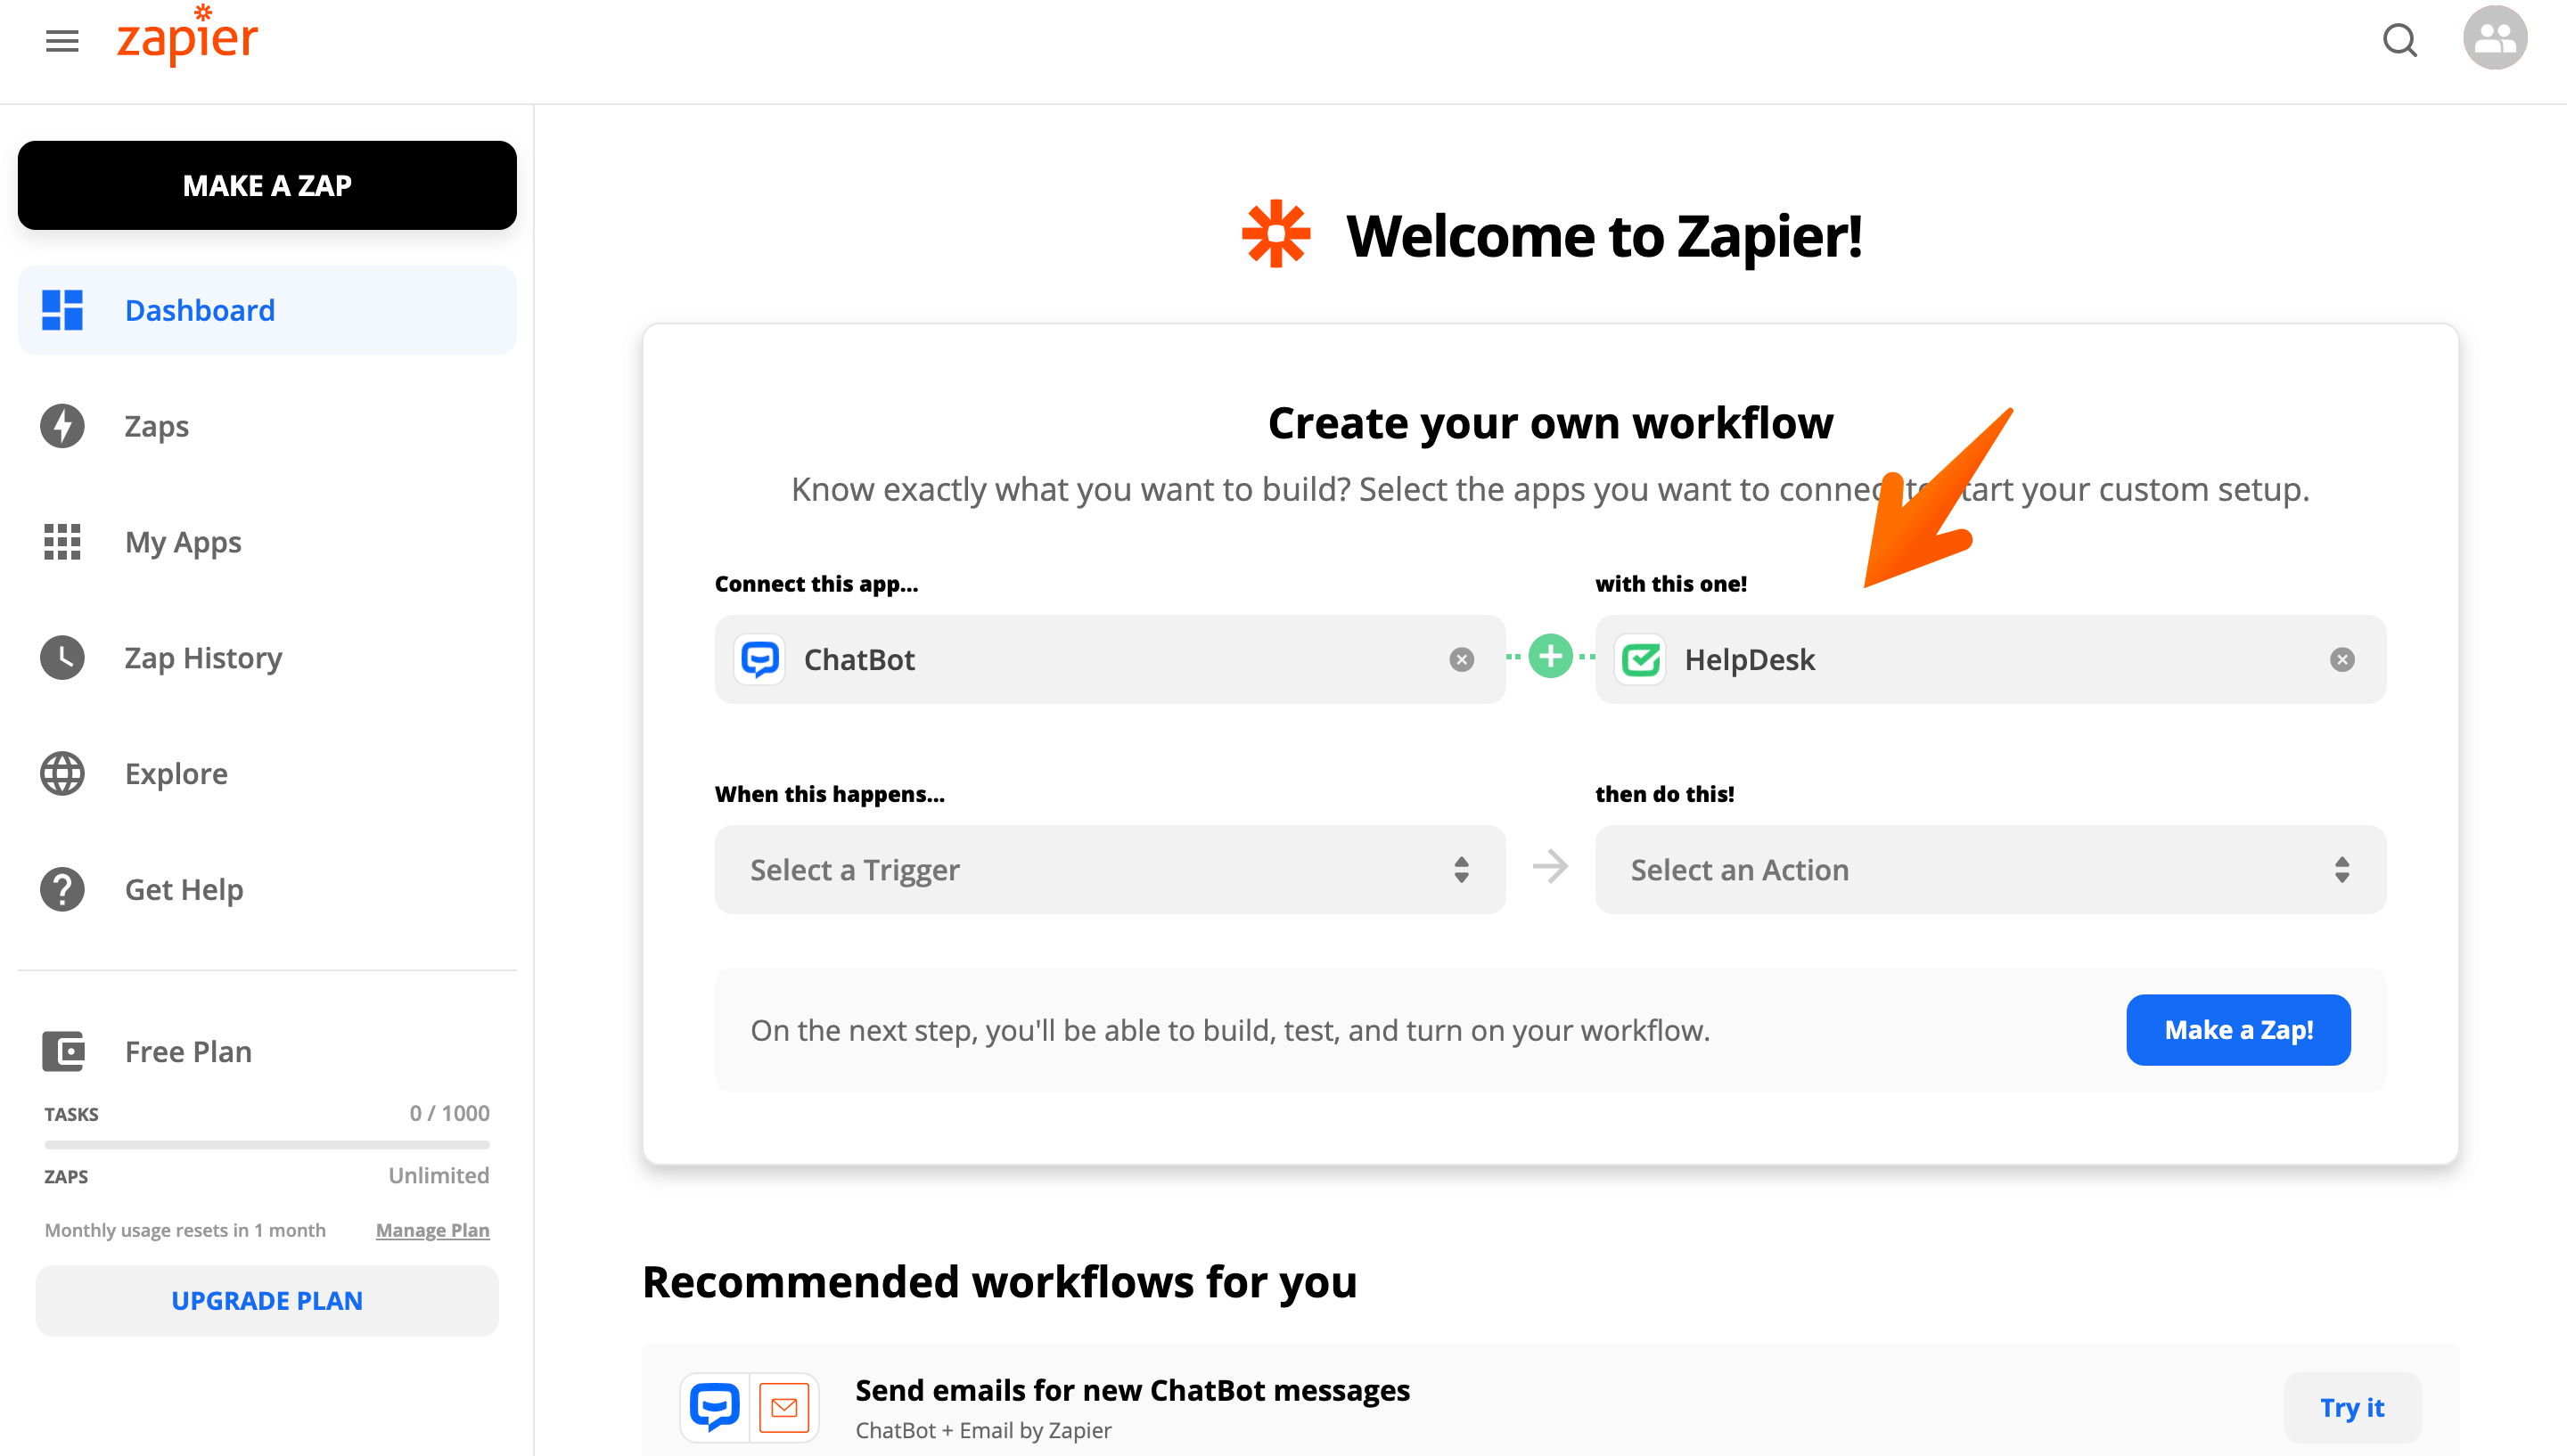
-
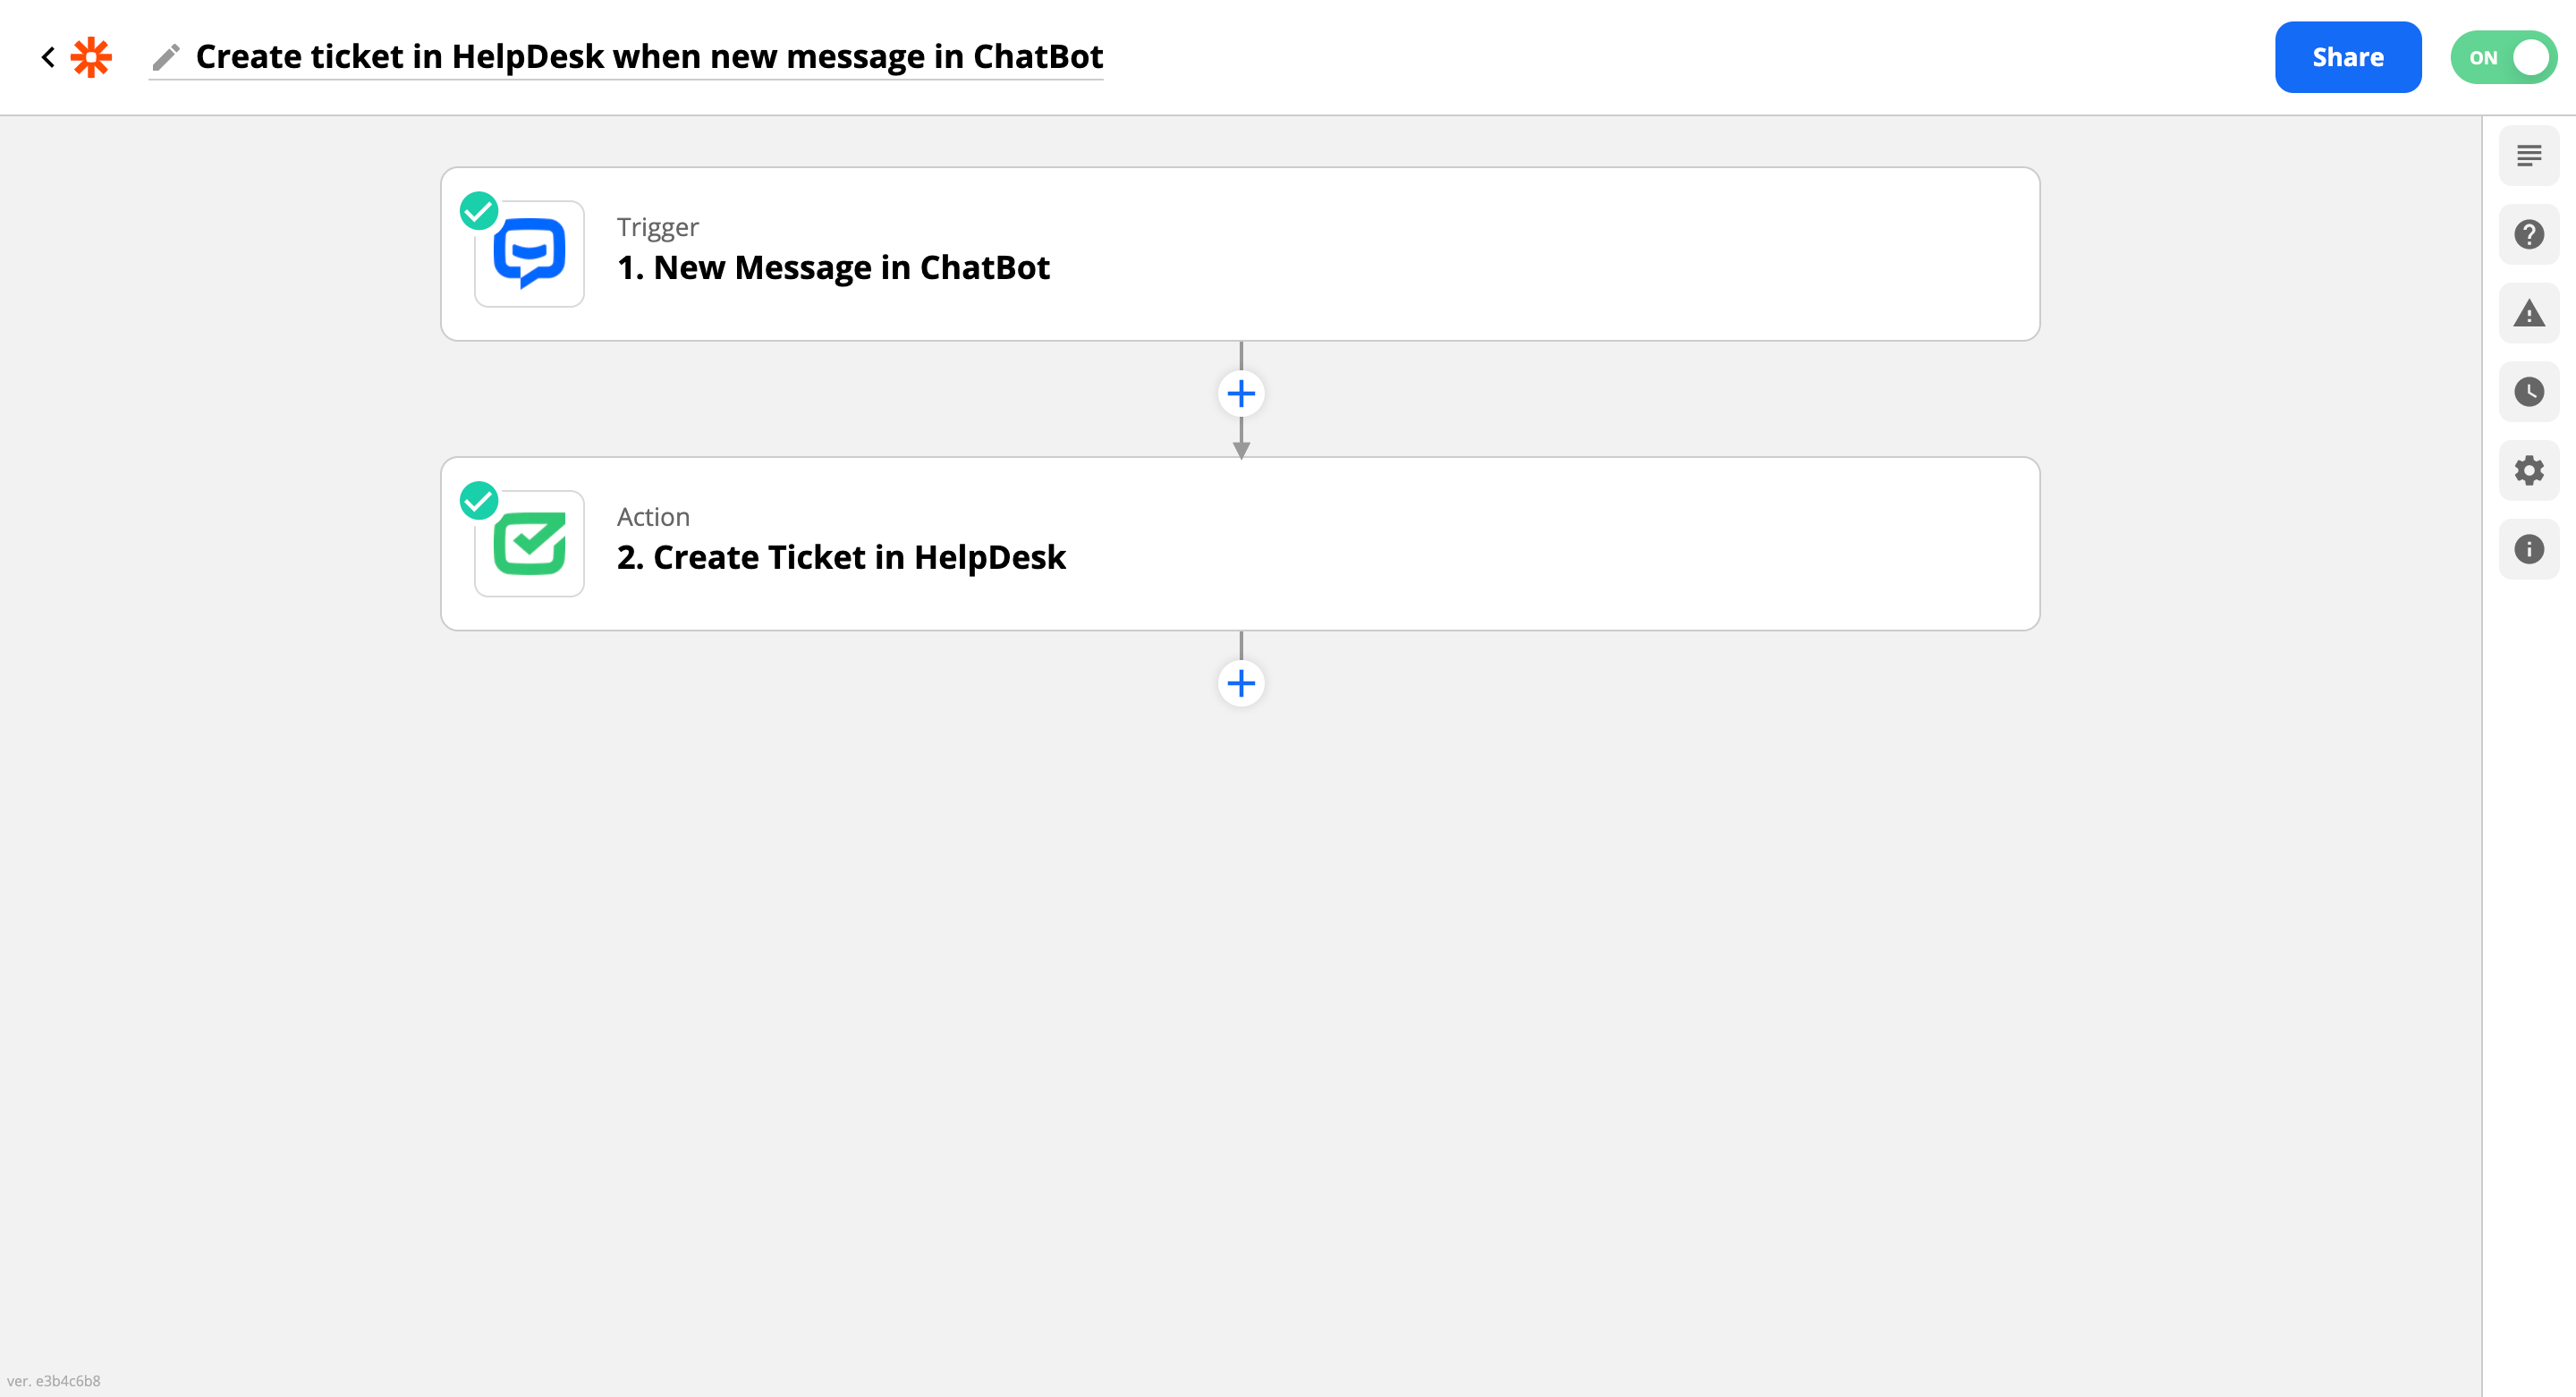
Next, choose New message in the When this happens field.
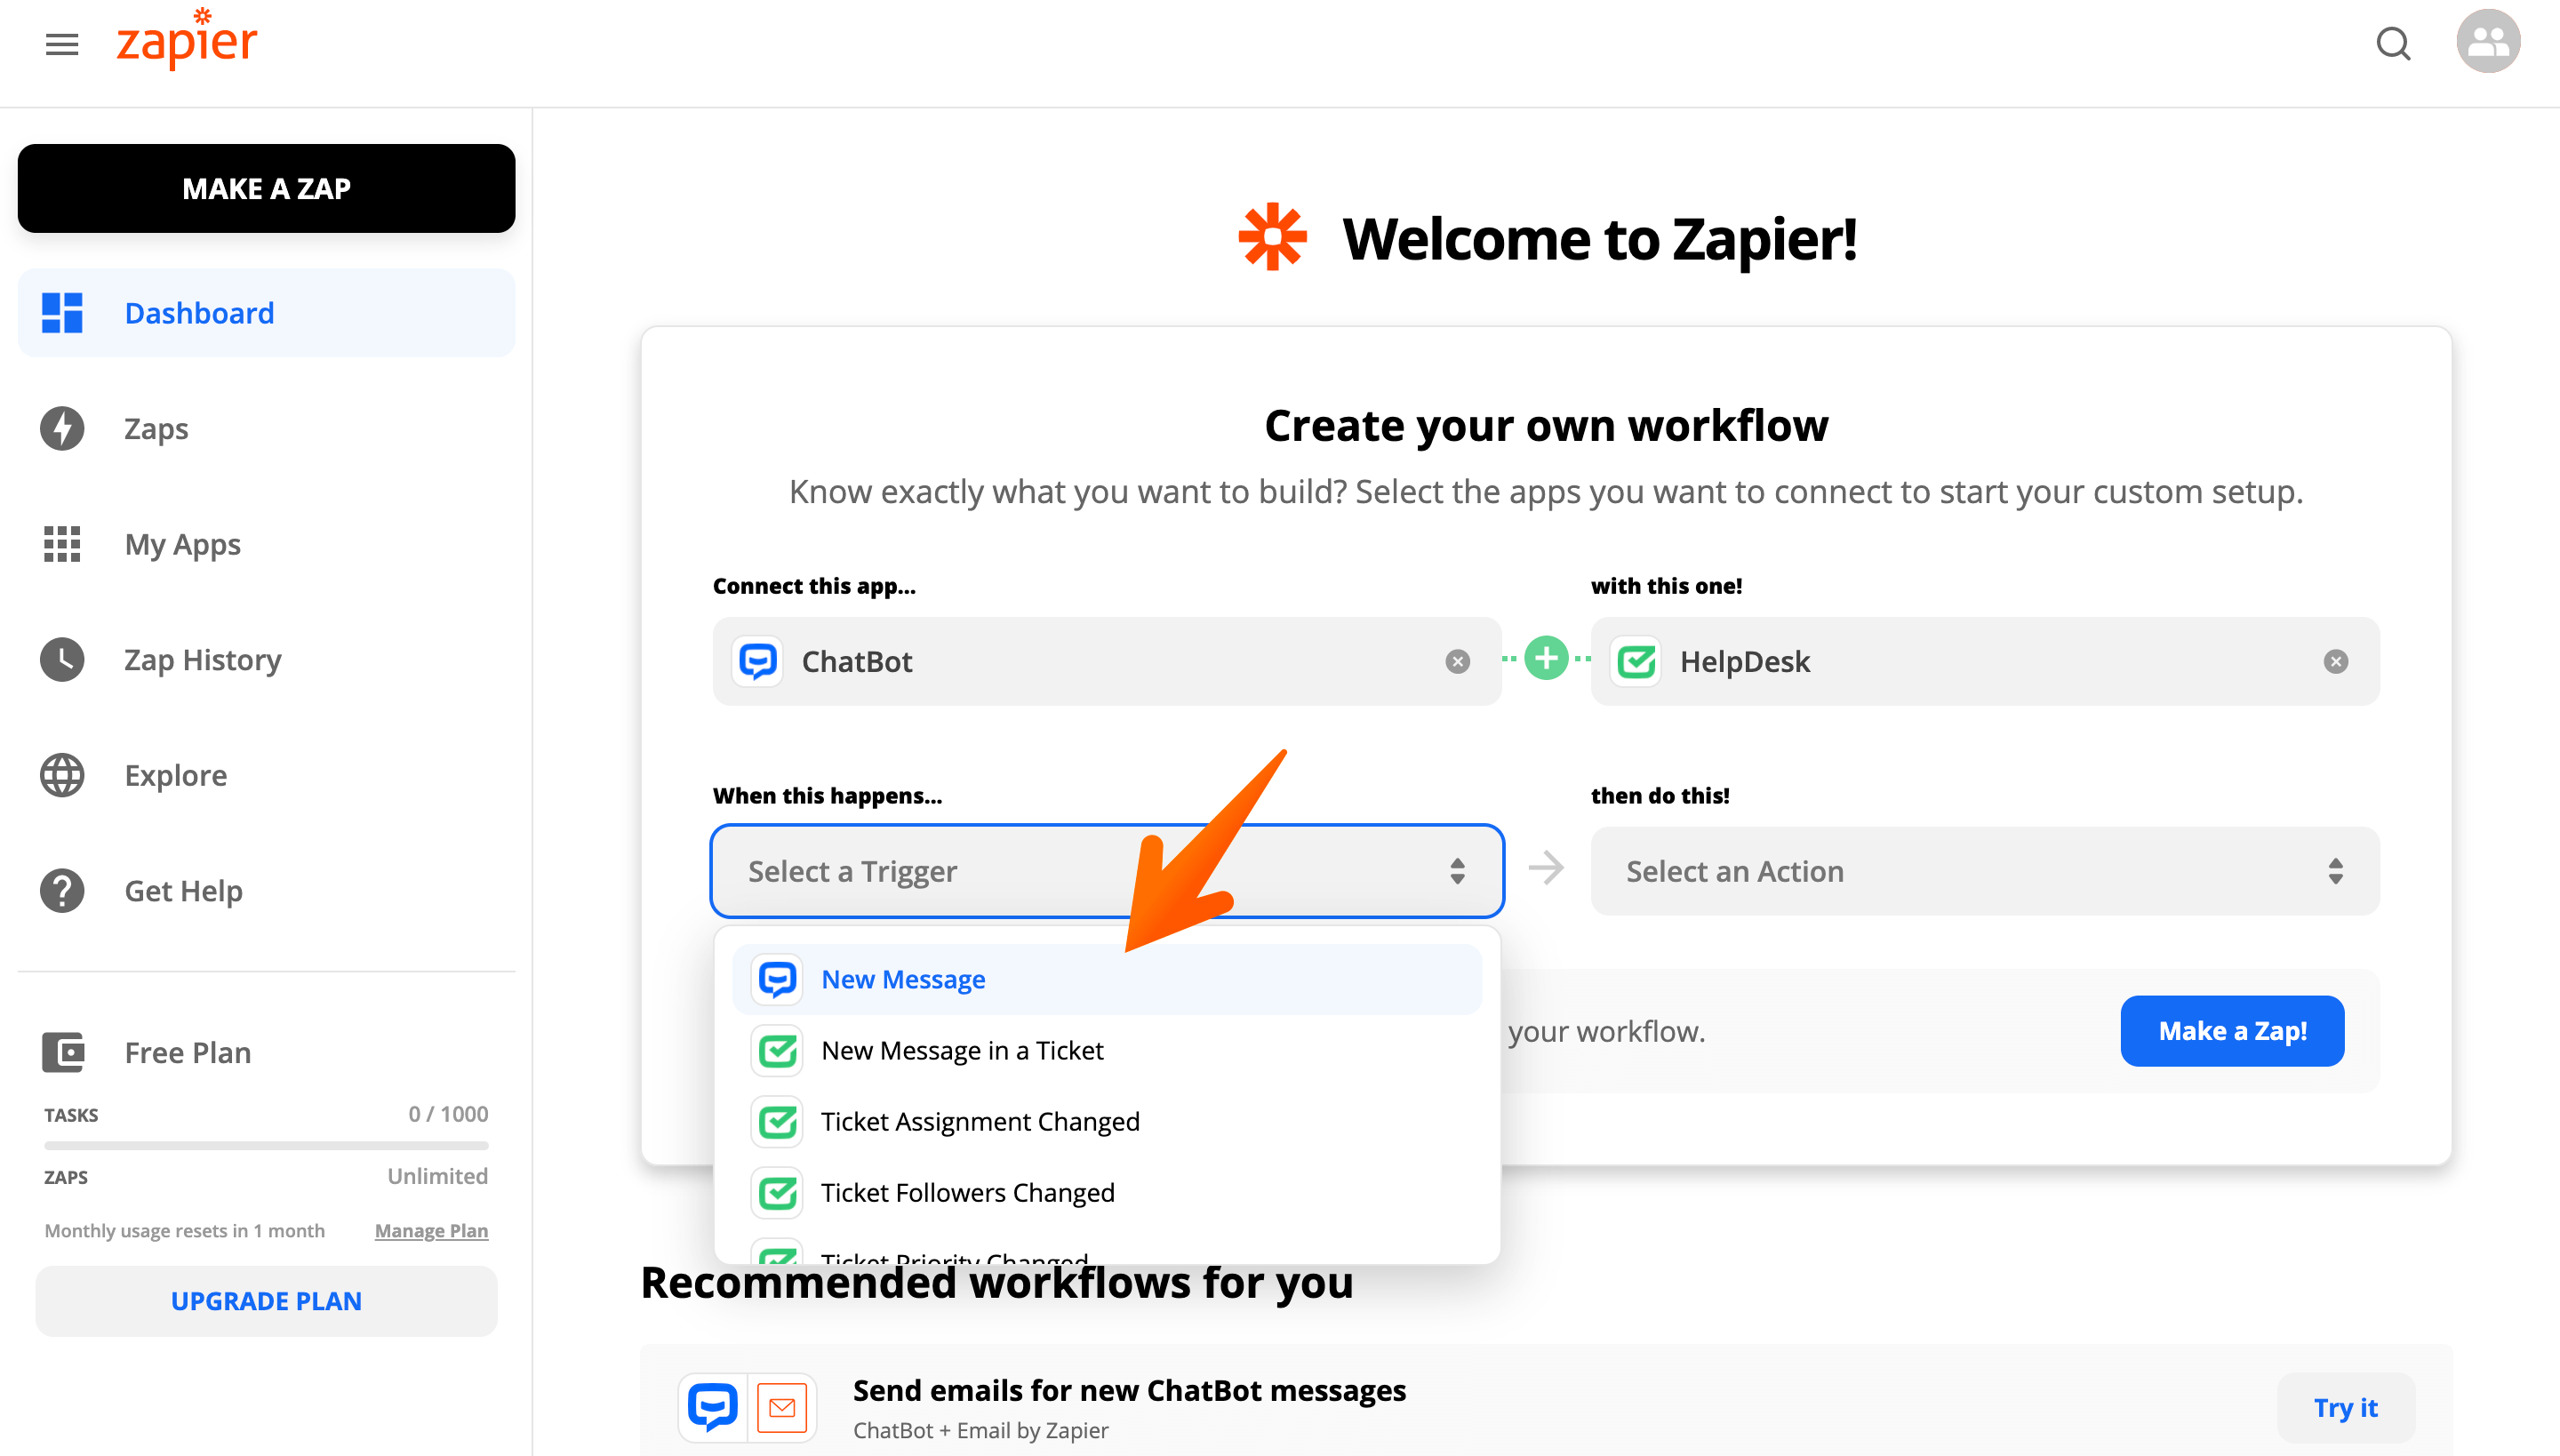
-
Select Create Ticket in the then do this field and click Try it.
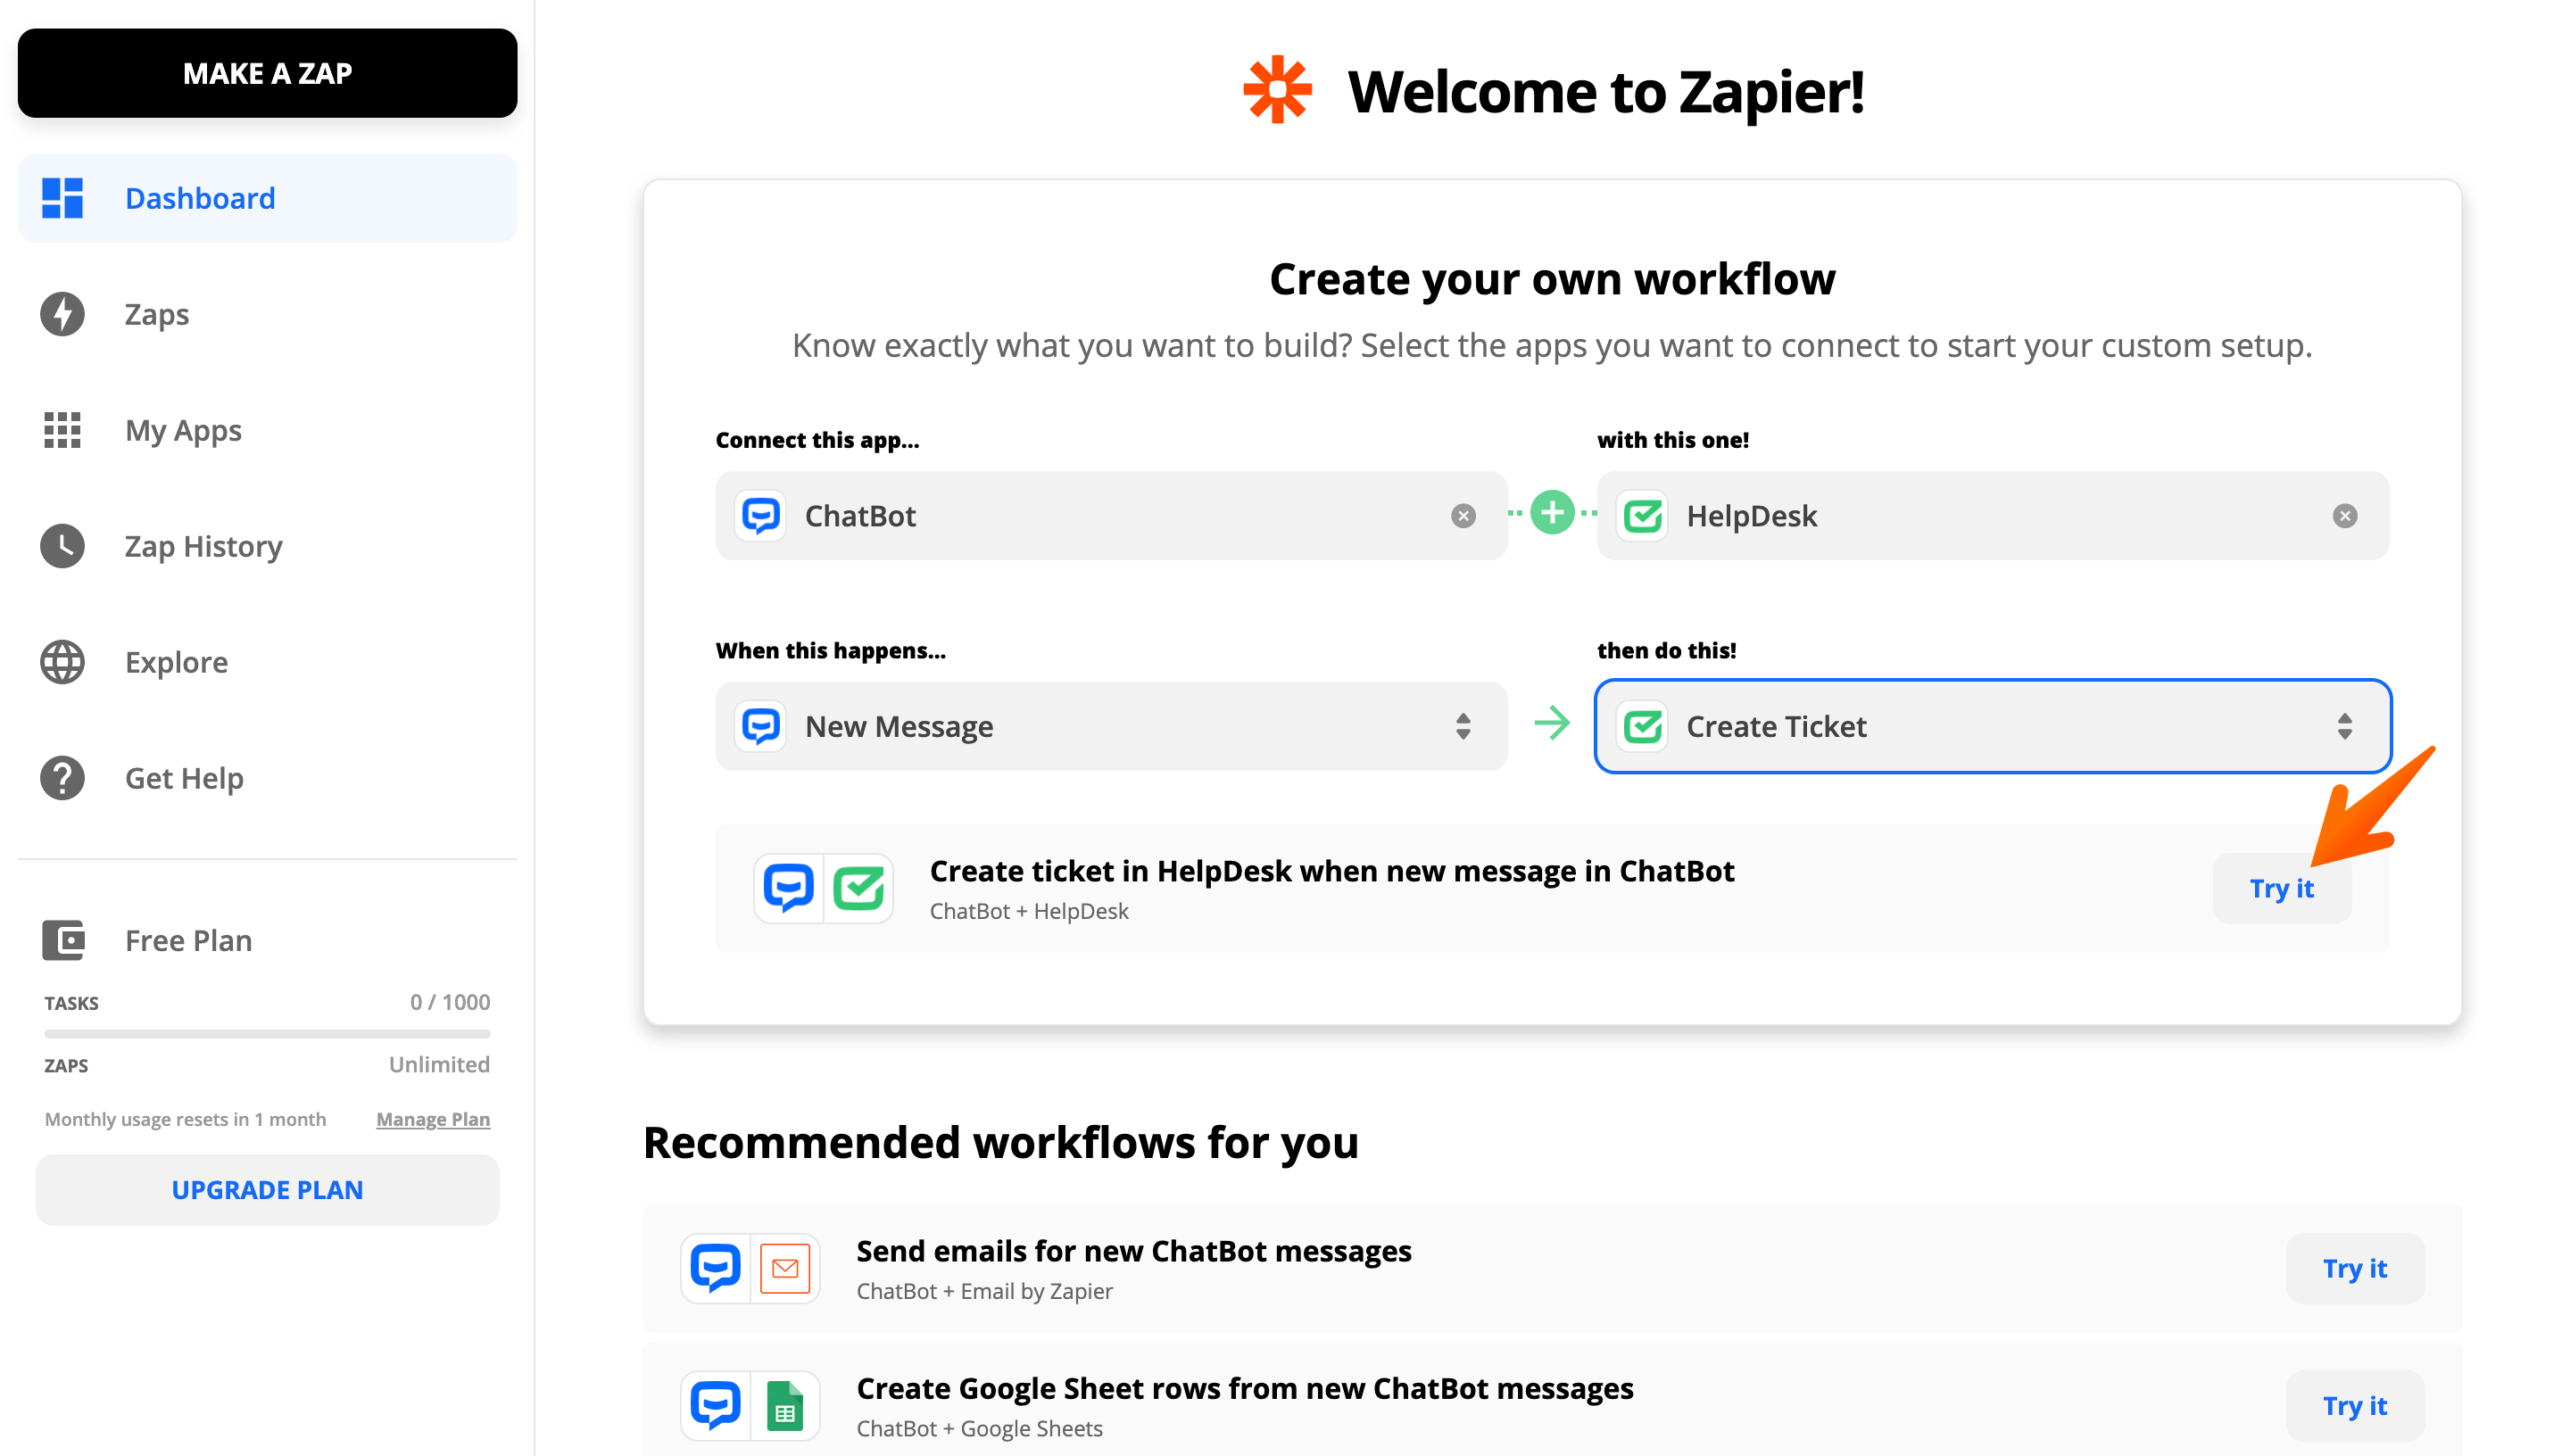
-
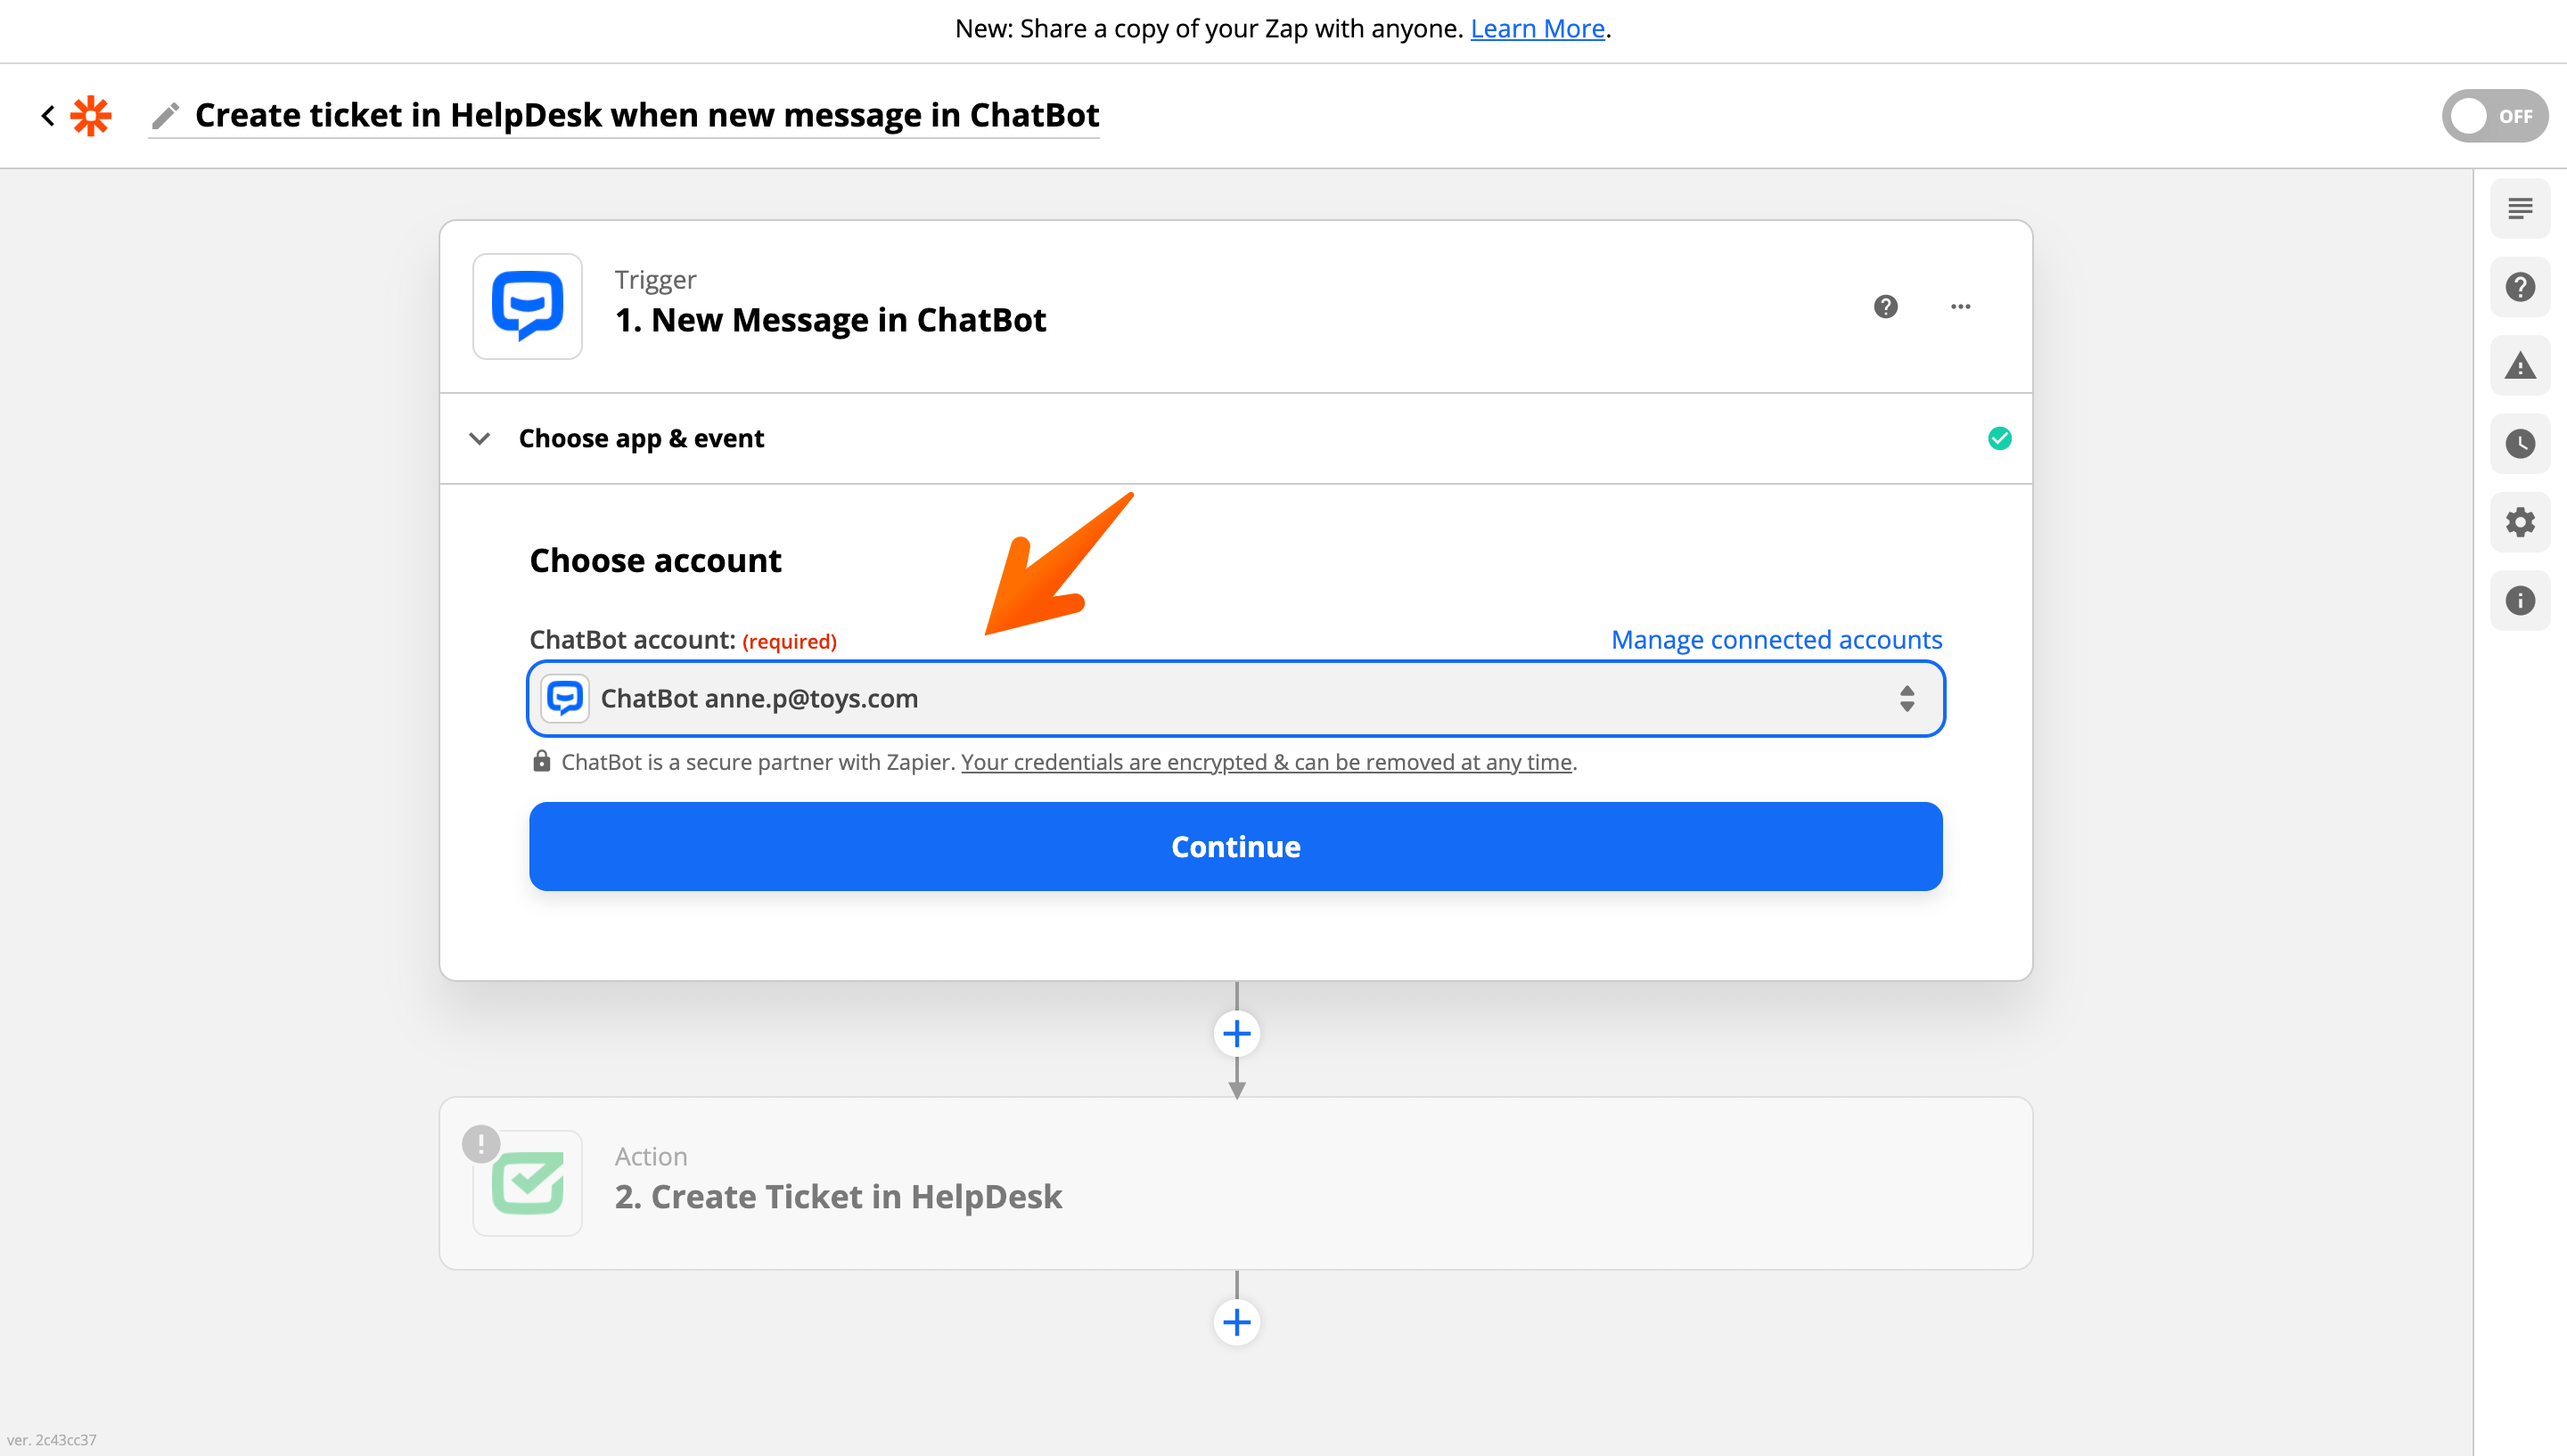
Now, choose a ChatBot account you want to connect with HelpDesk. Then click Continue.
-
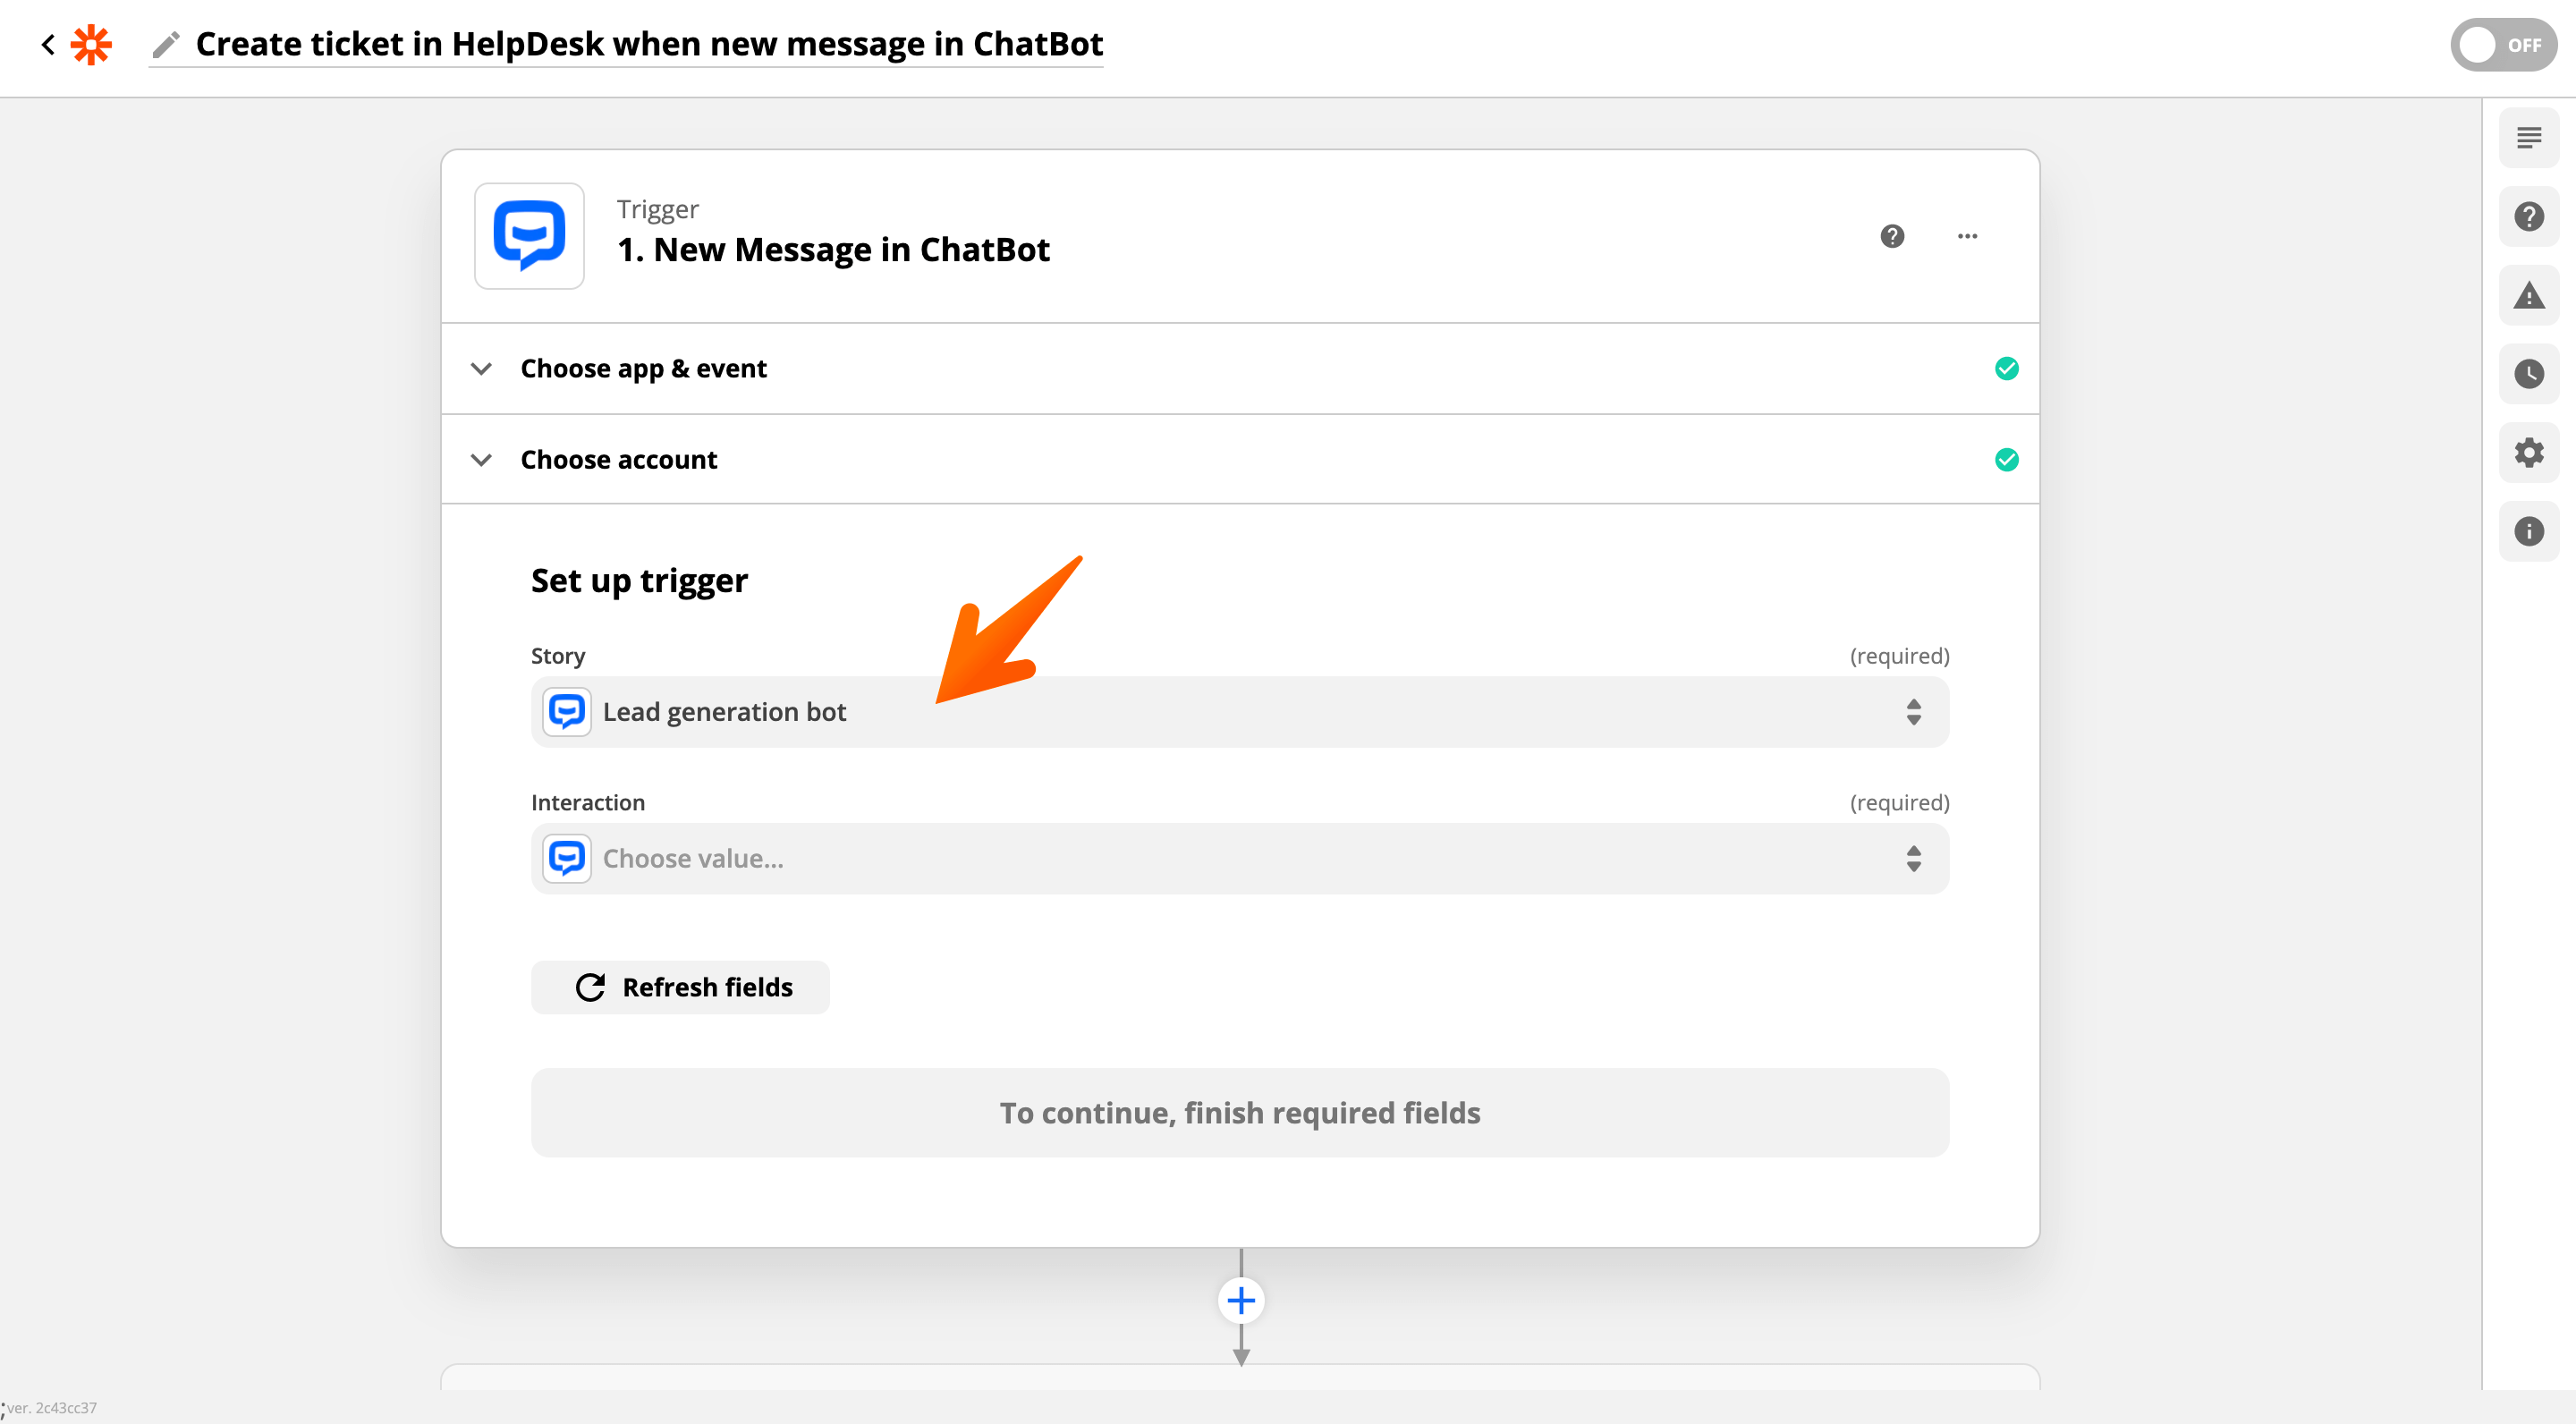
Now, set up a trigger. Choose a Story you want to connect with HelpDesk.
-
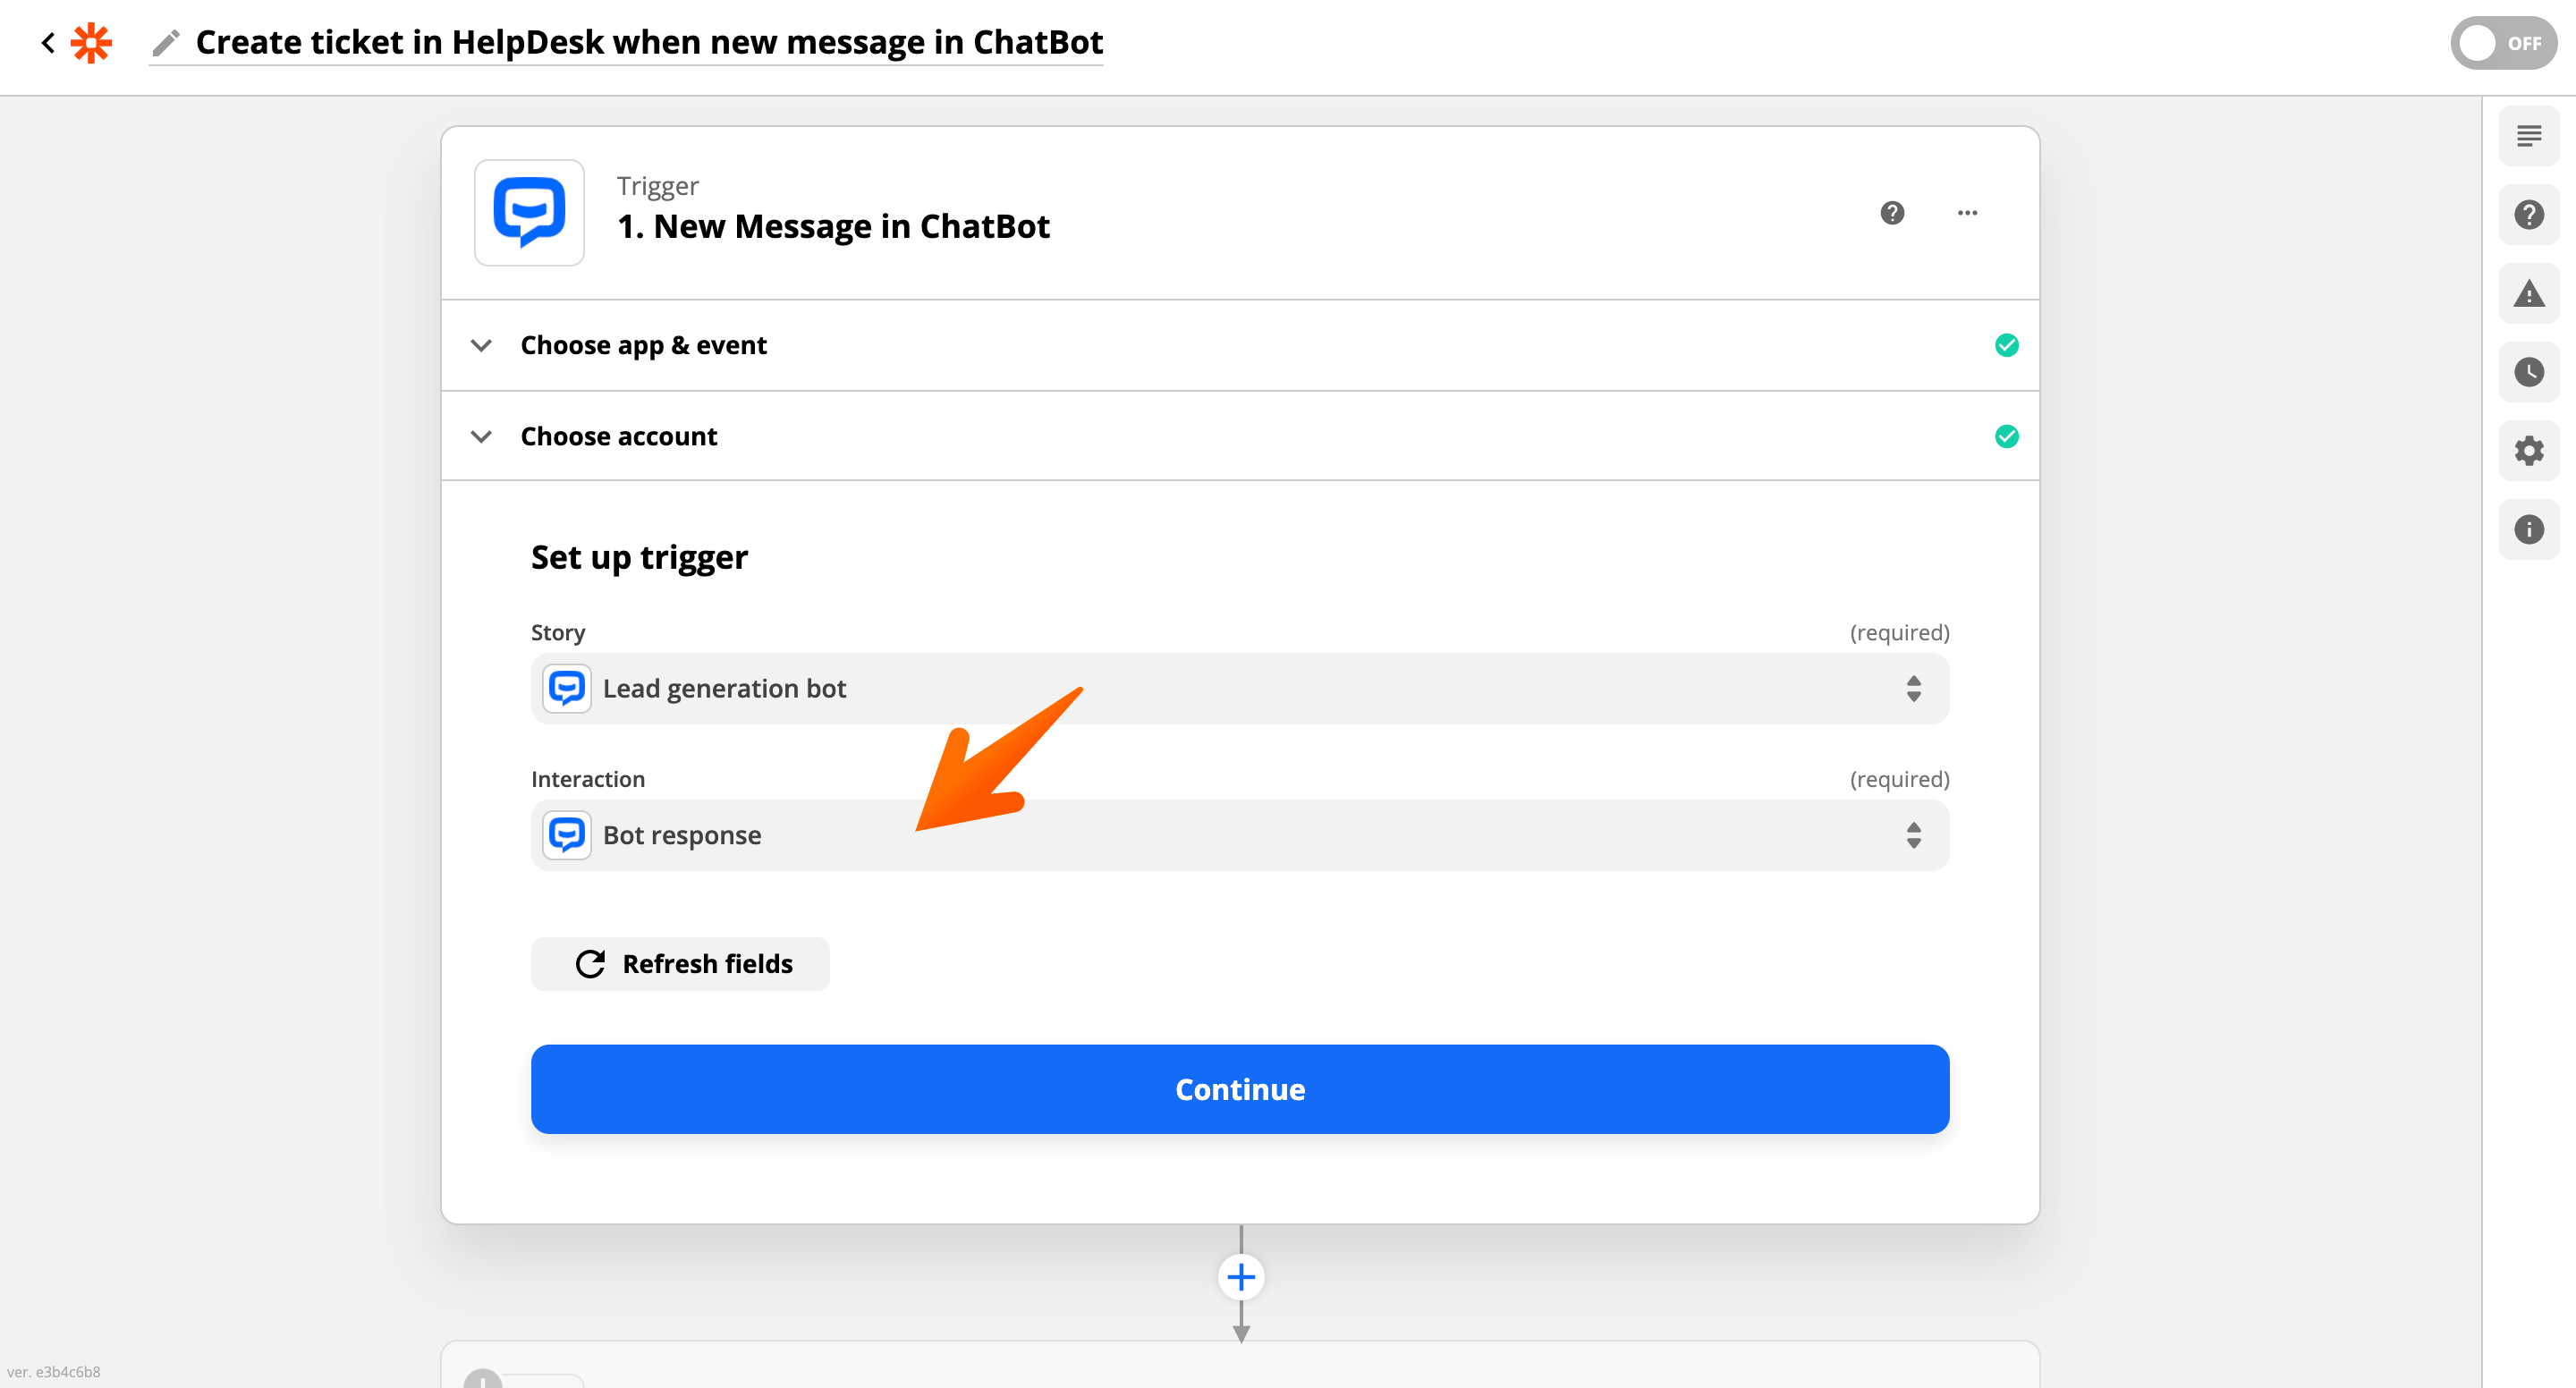
Now, choose an interaction out of which a ticket should be created.
-
Click Continue.

-
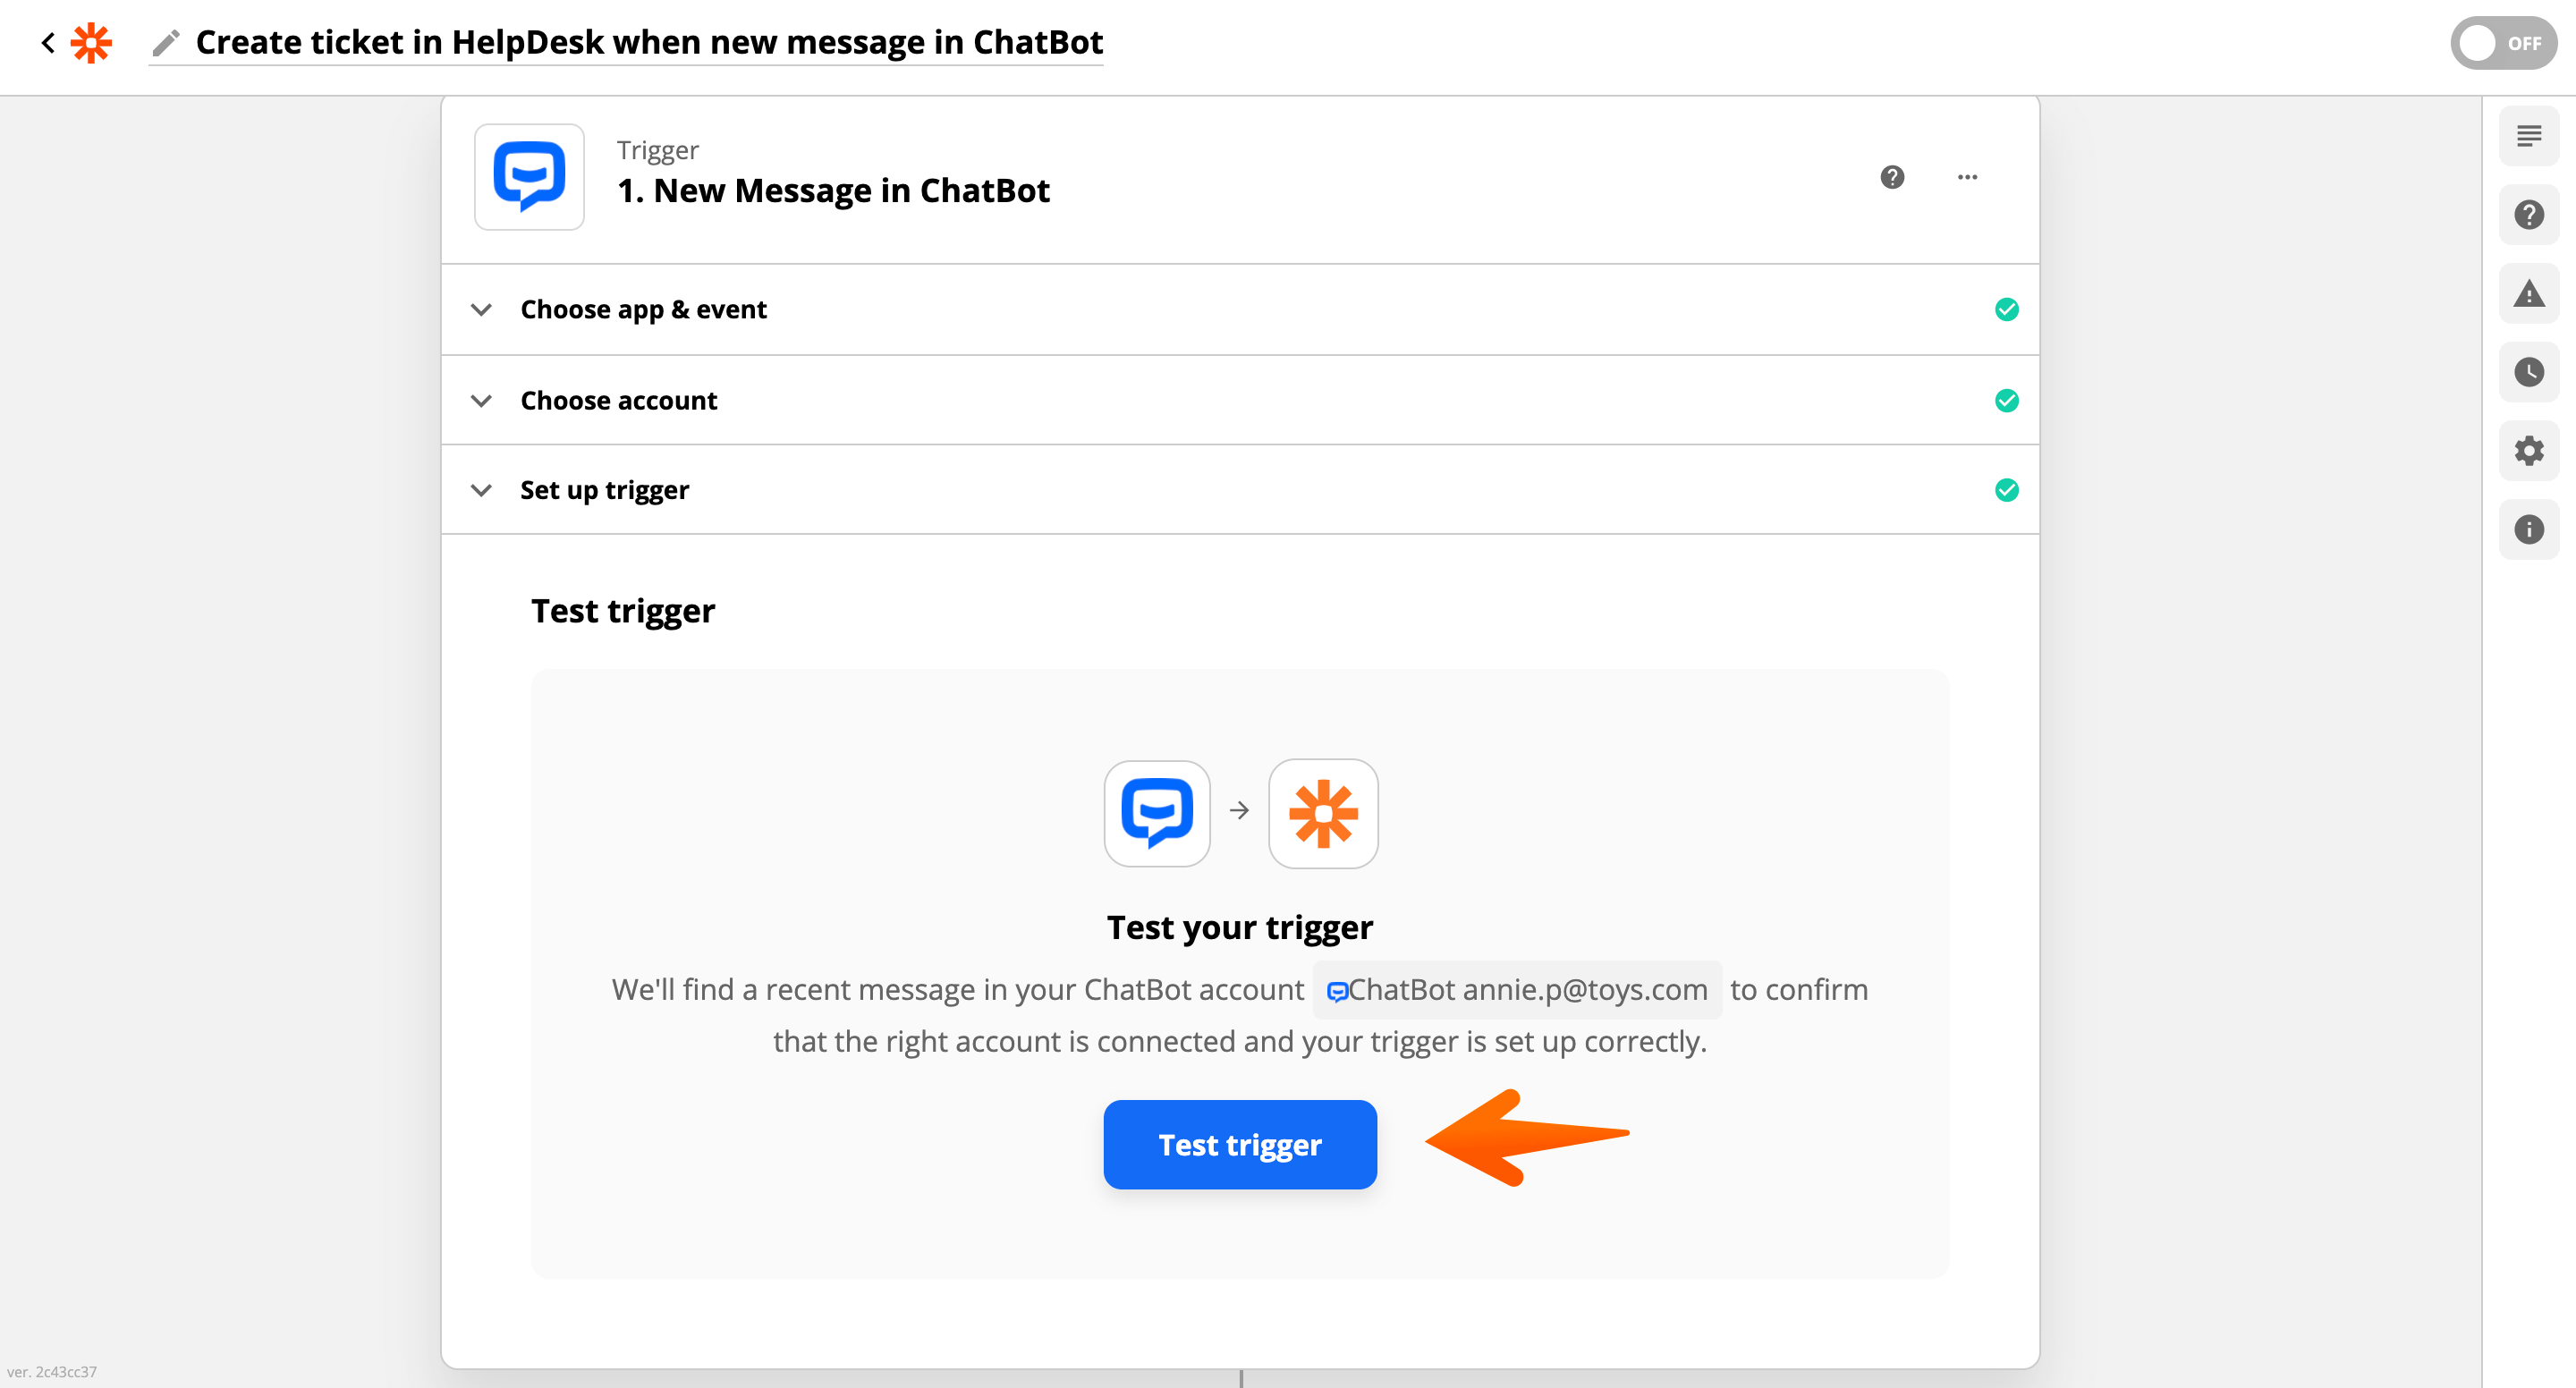
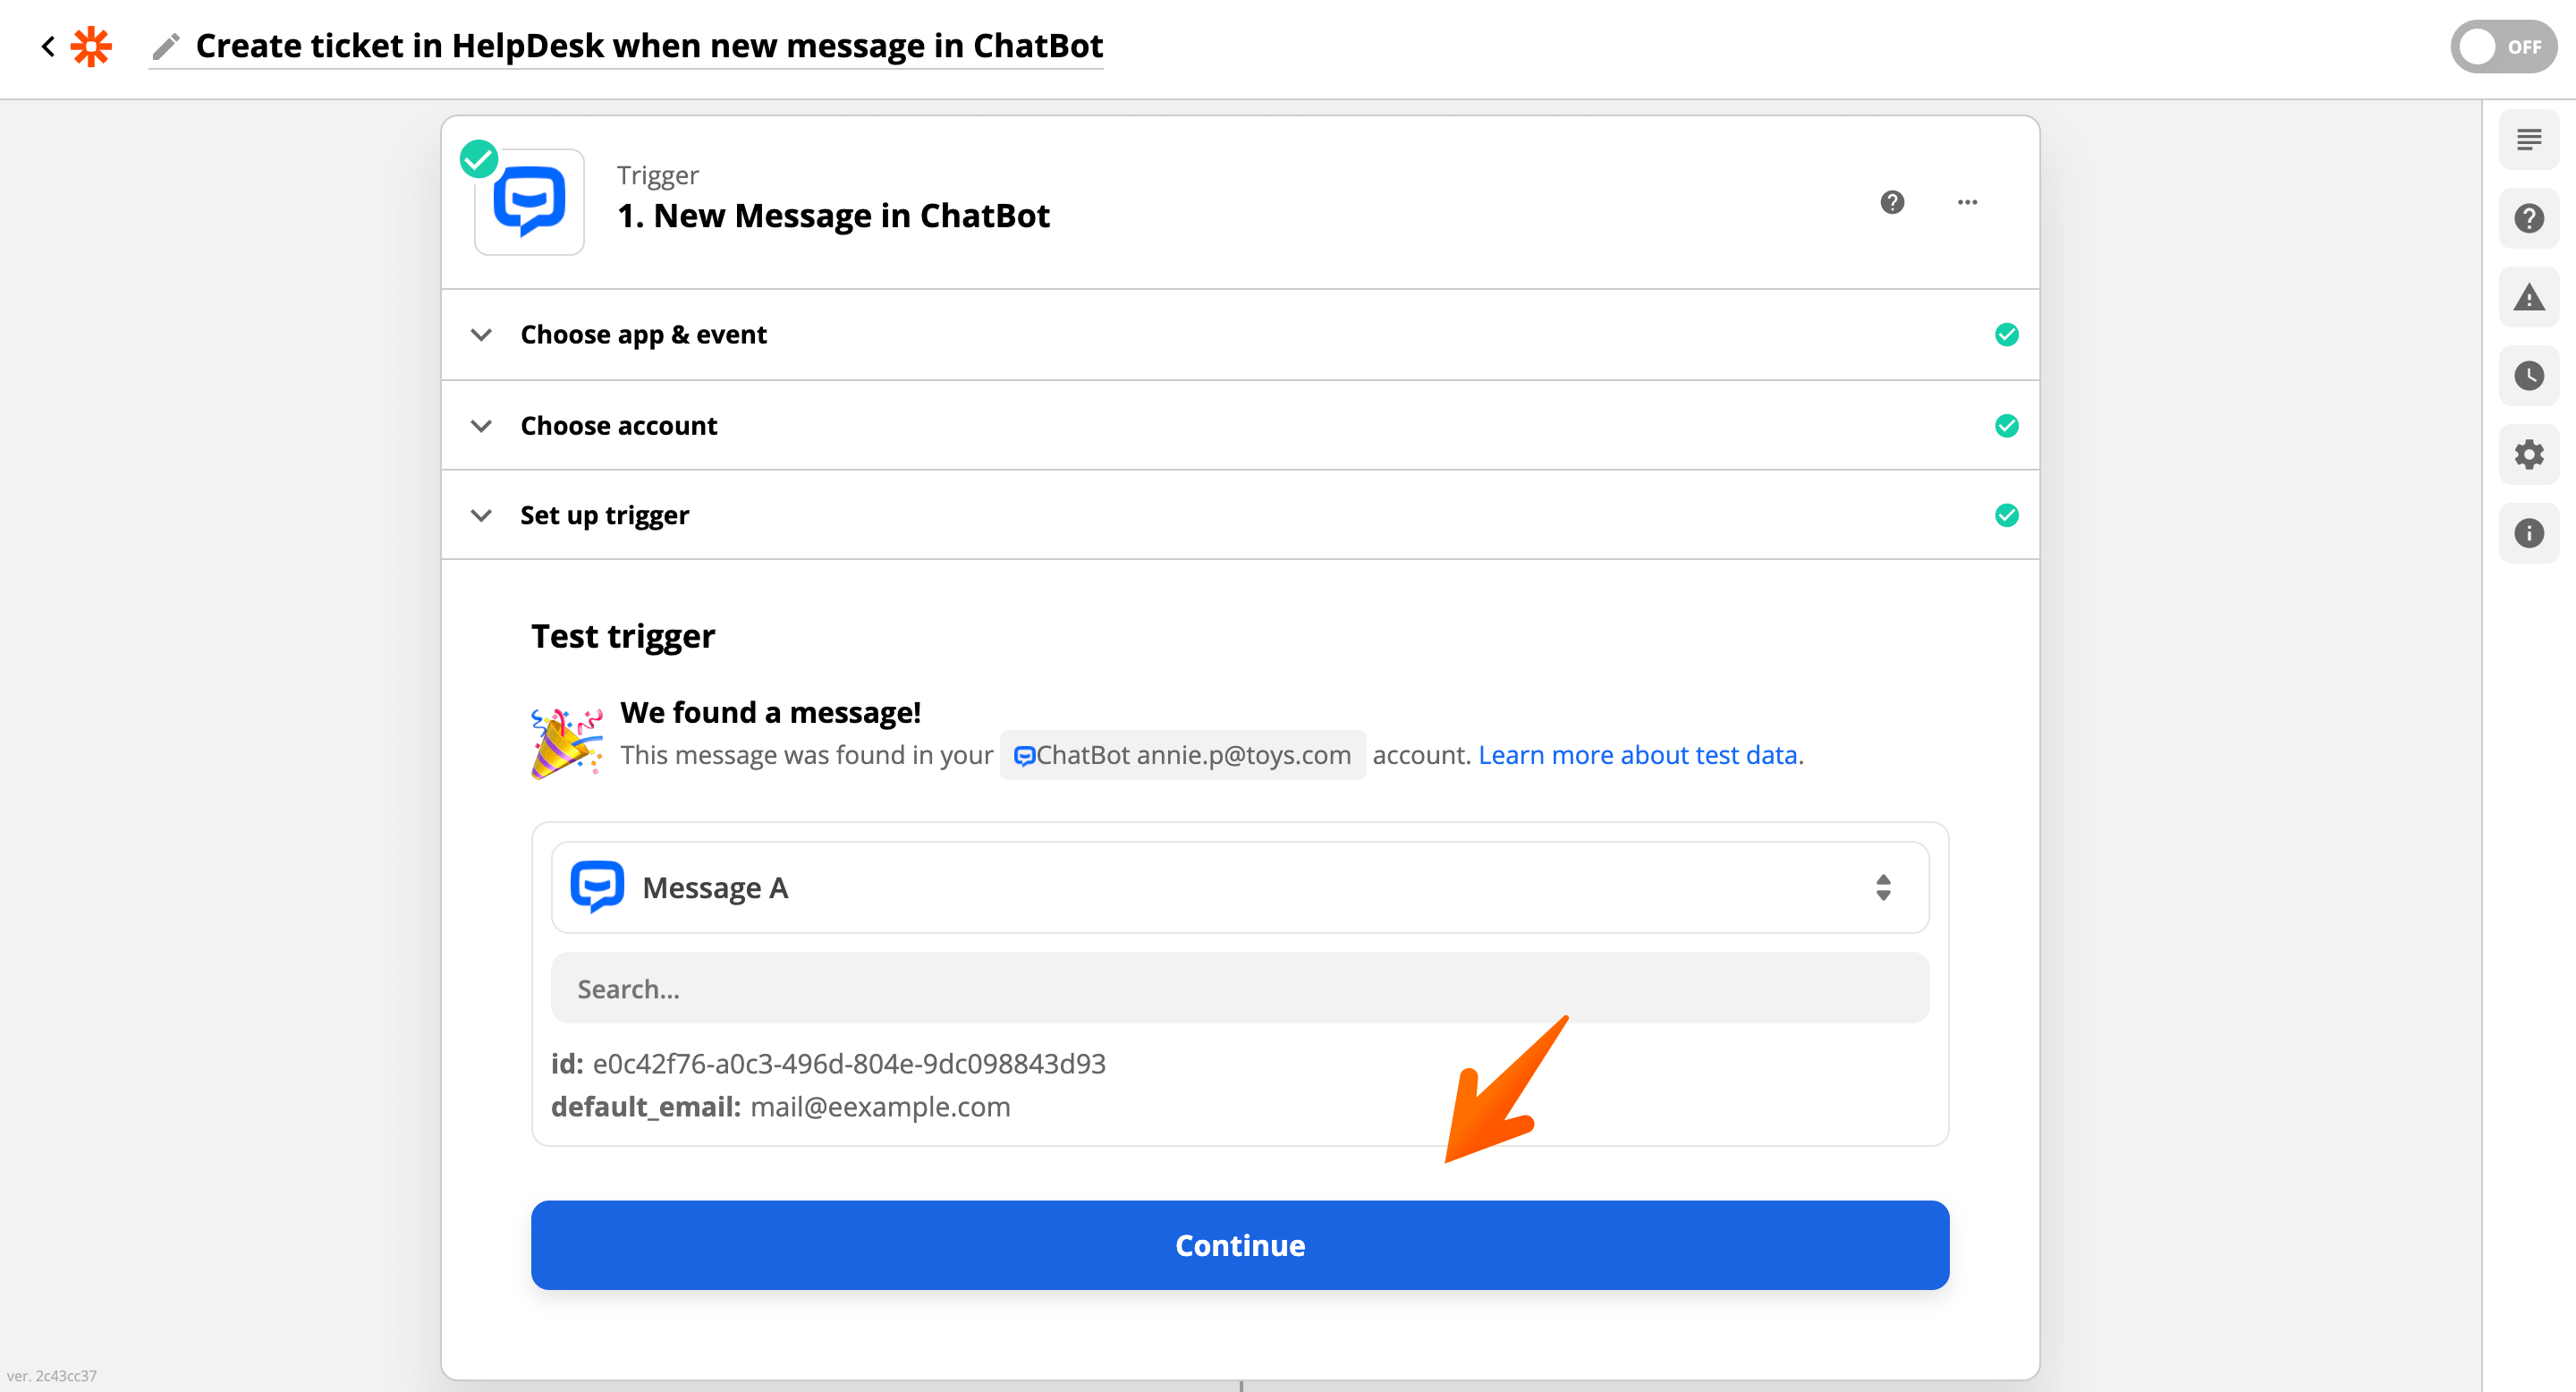
Now, click Test trigger.
-
Then, click Continue.
-
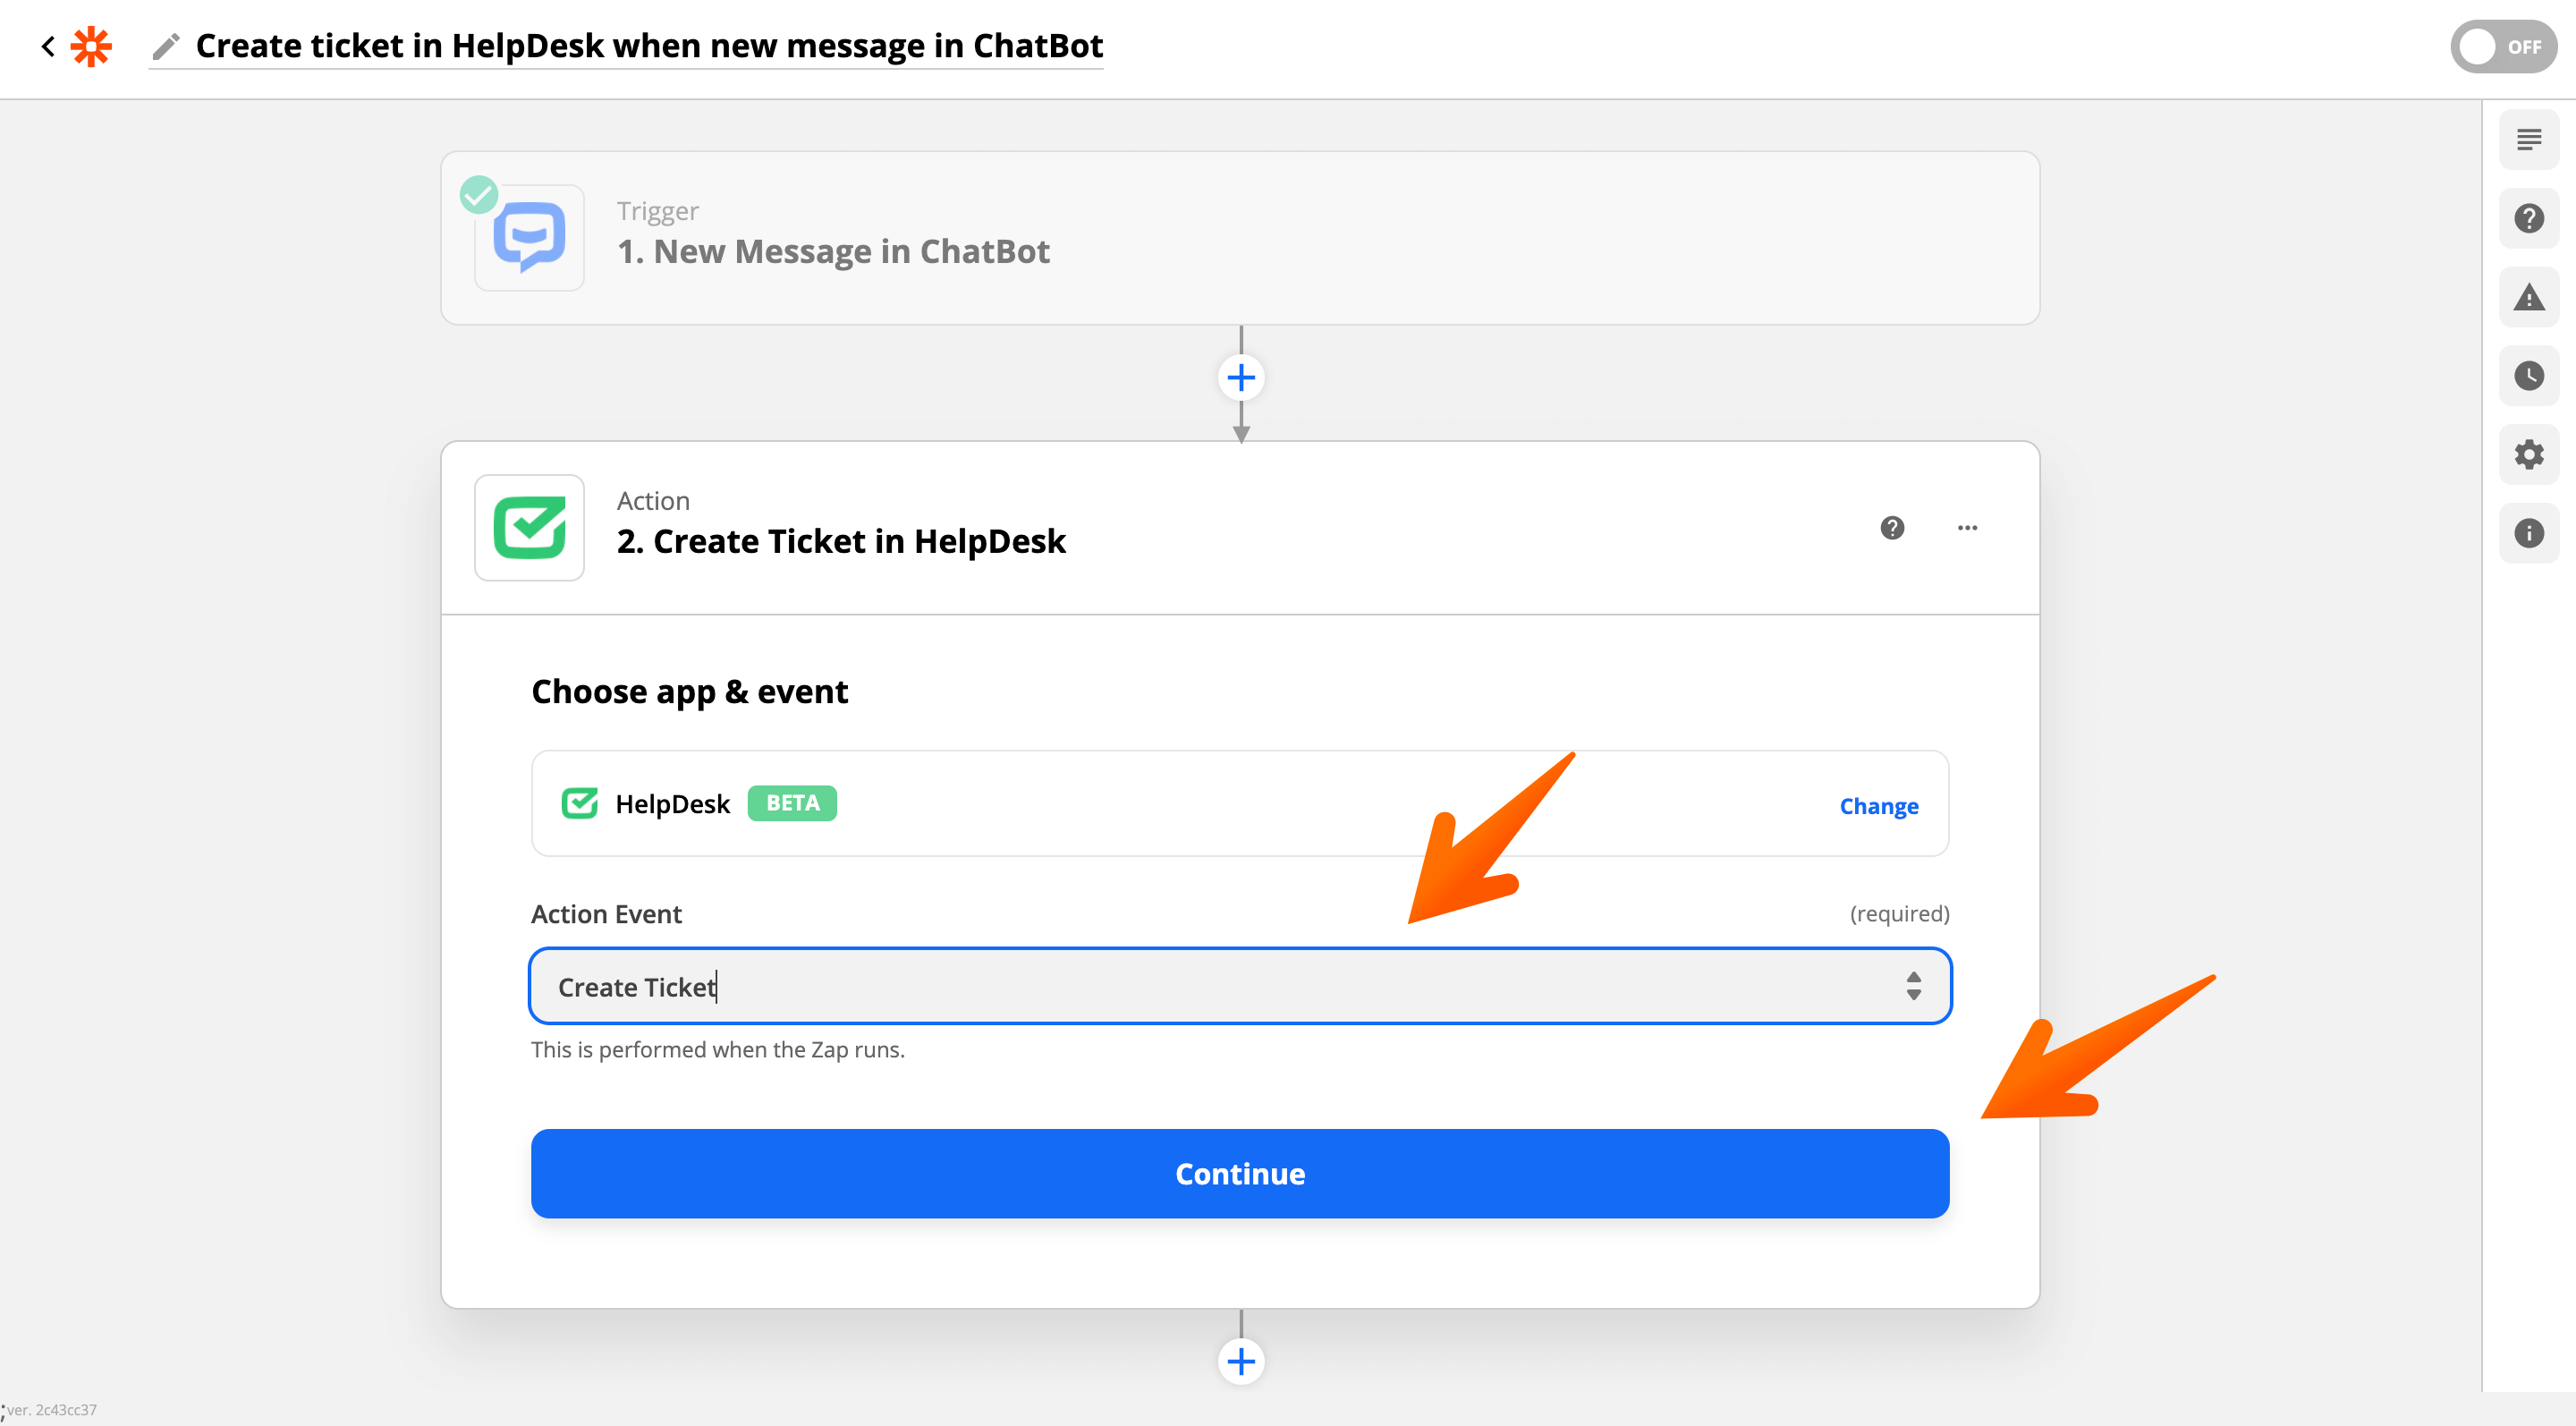
Now, select the Create Ticket event and click Continue.
-
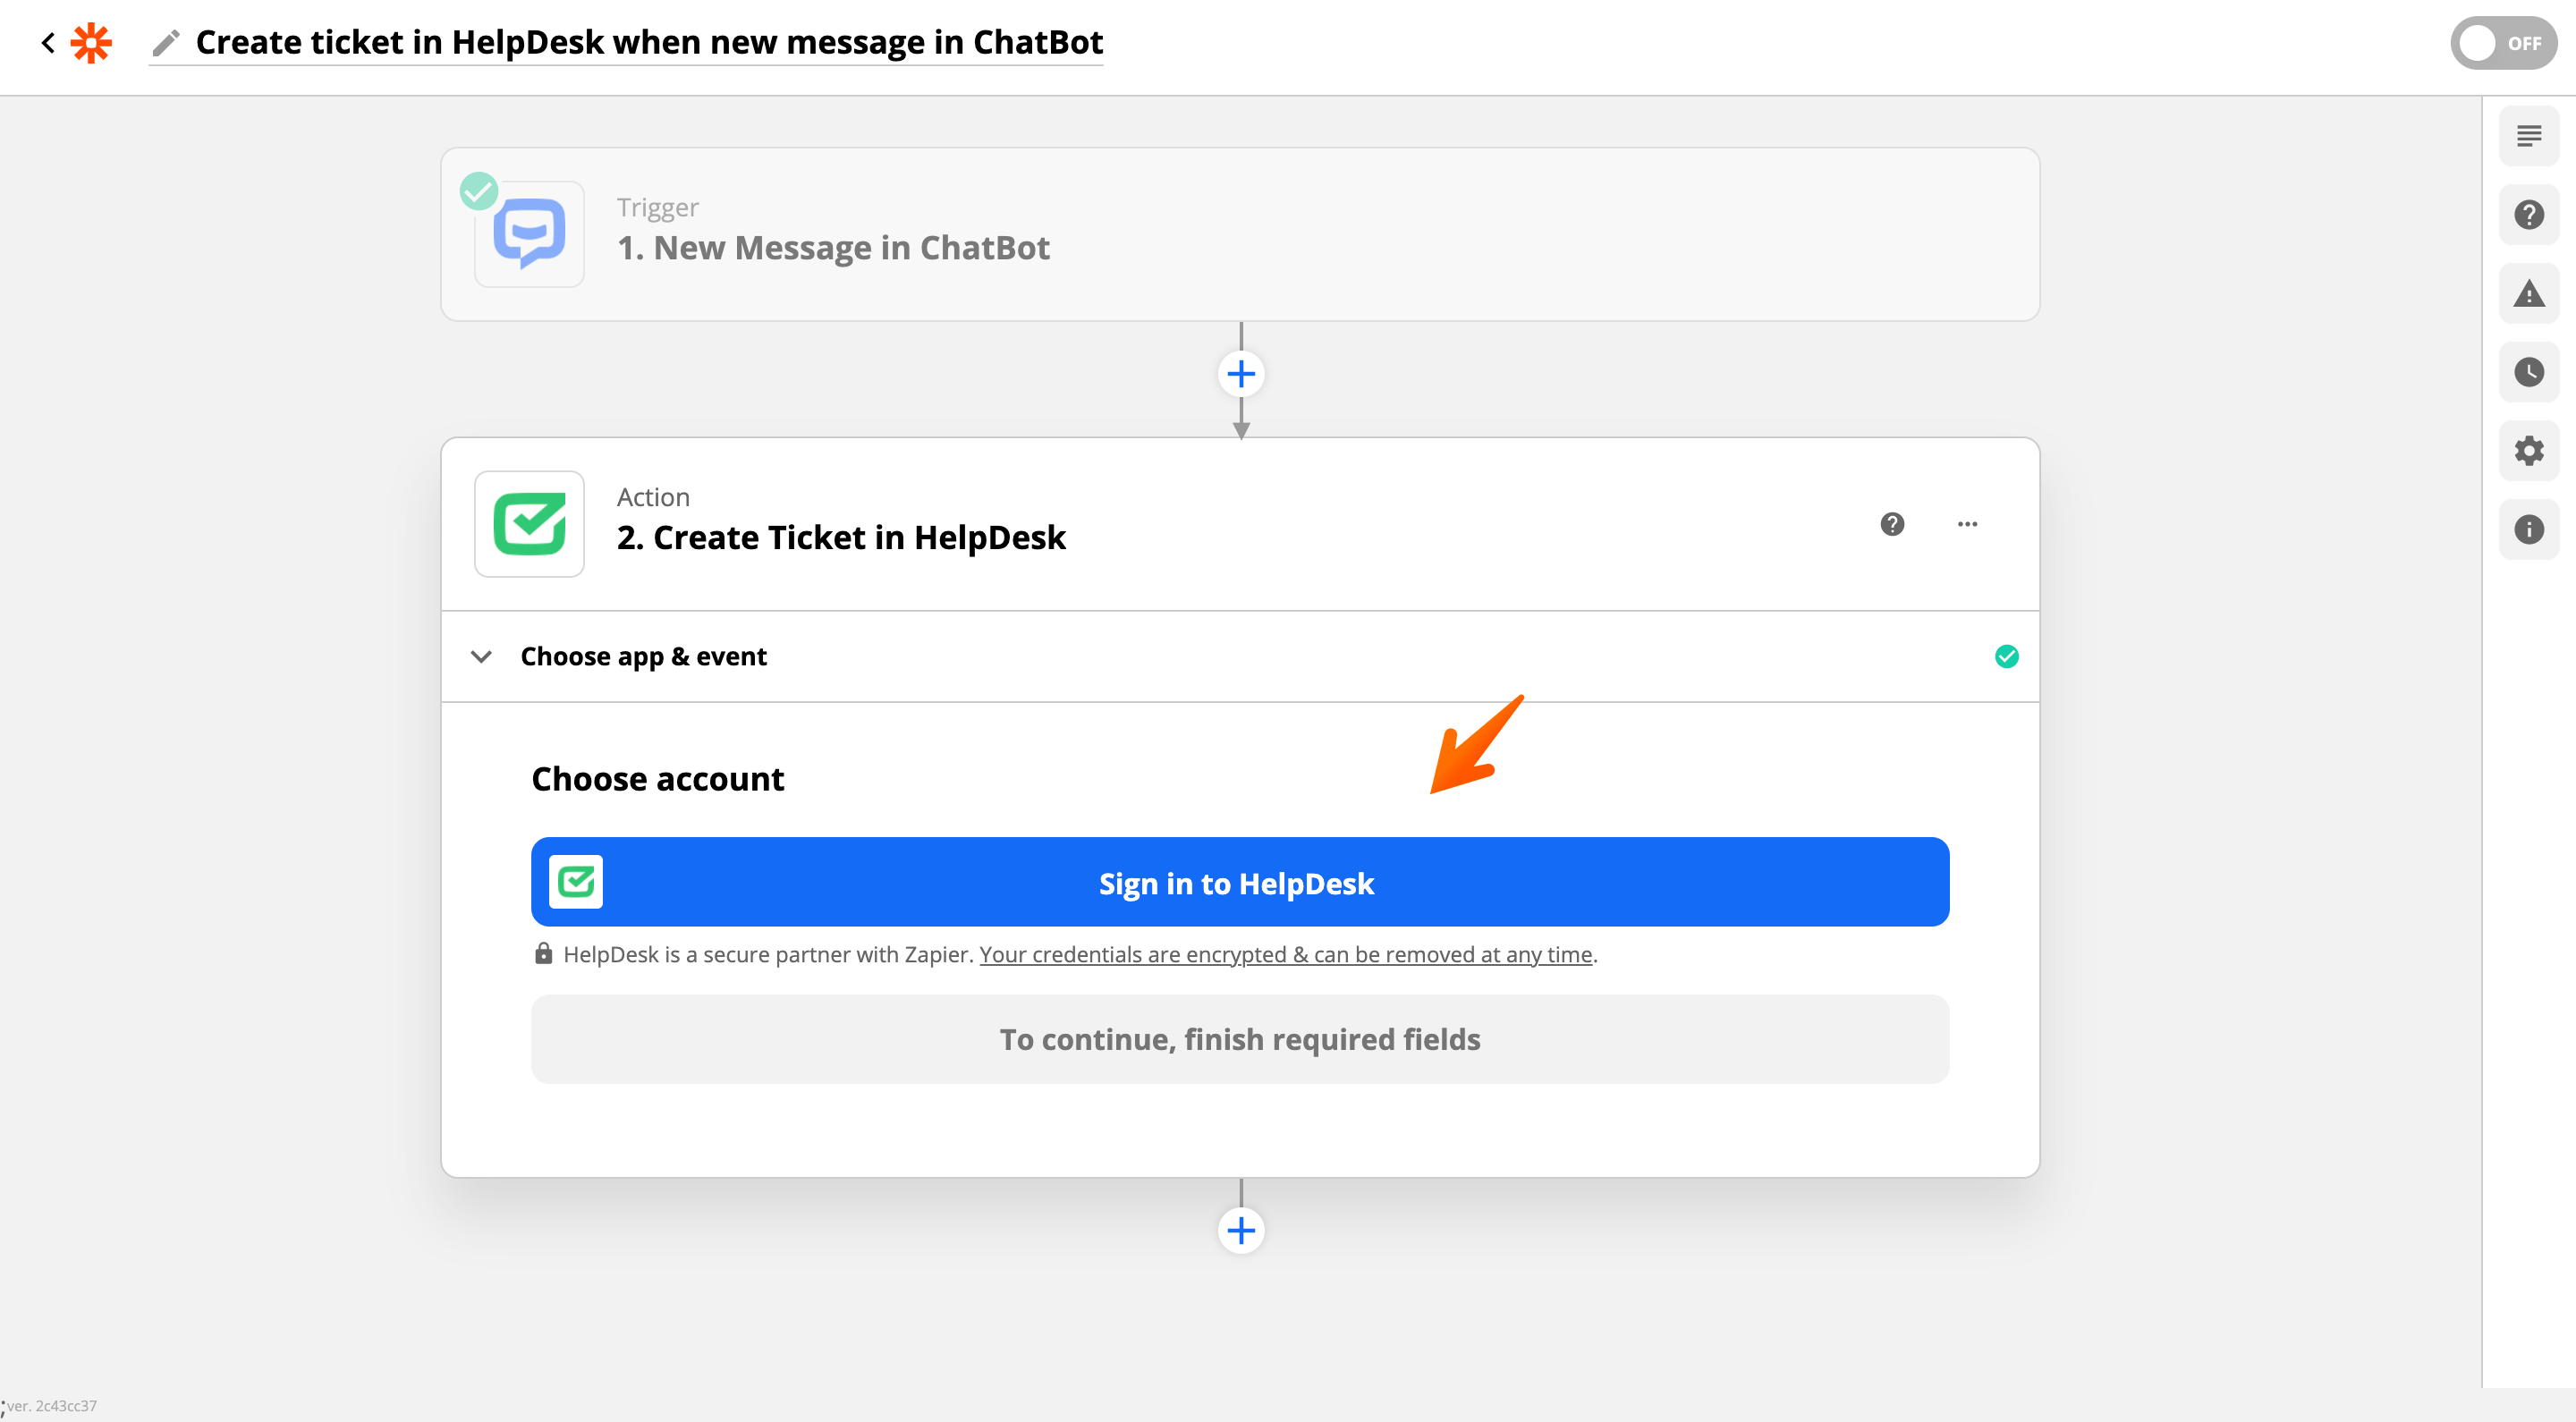
Click on Sign in to HelpDesk.
-
Next, select your HelpDesk account. Then, click Continue.

-
Now, choose the information you want to pass to HelpDesk. In Zapier, you can only pass information via the attribute form. You can choose it from the list.
-
In the Requester Email choose the Default Email attribute.
-
In the Requester Name choose the Default Name attribute.
-
In the Ticket Subject enter A new ticket from and use the Default Name attribute so that your chatbot can assign this ticket to a person that has created it.
-
In Message Text, use an already created attribute called Message.

-
-
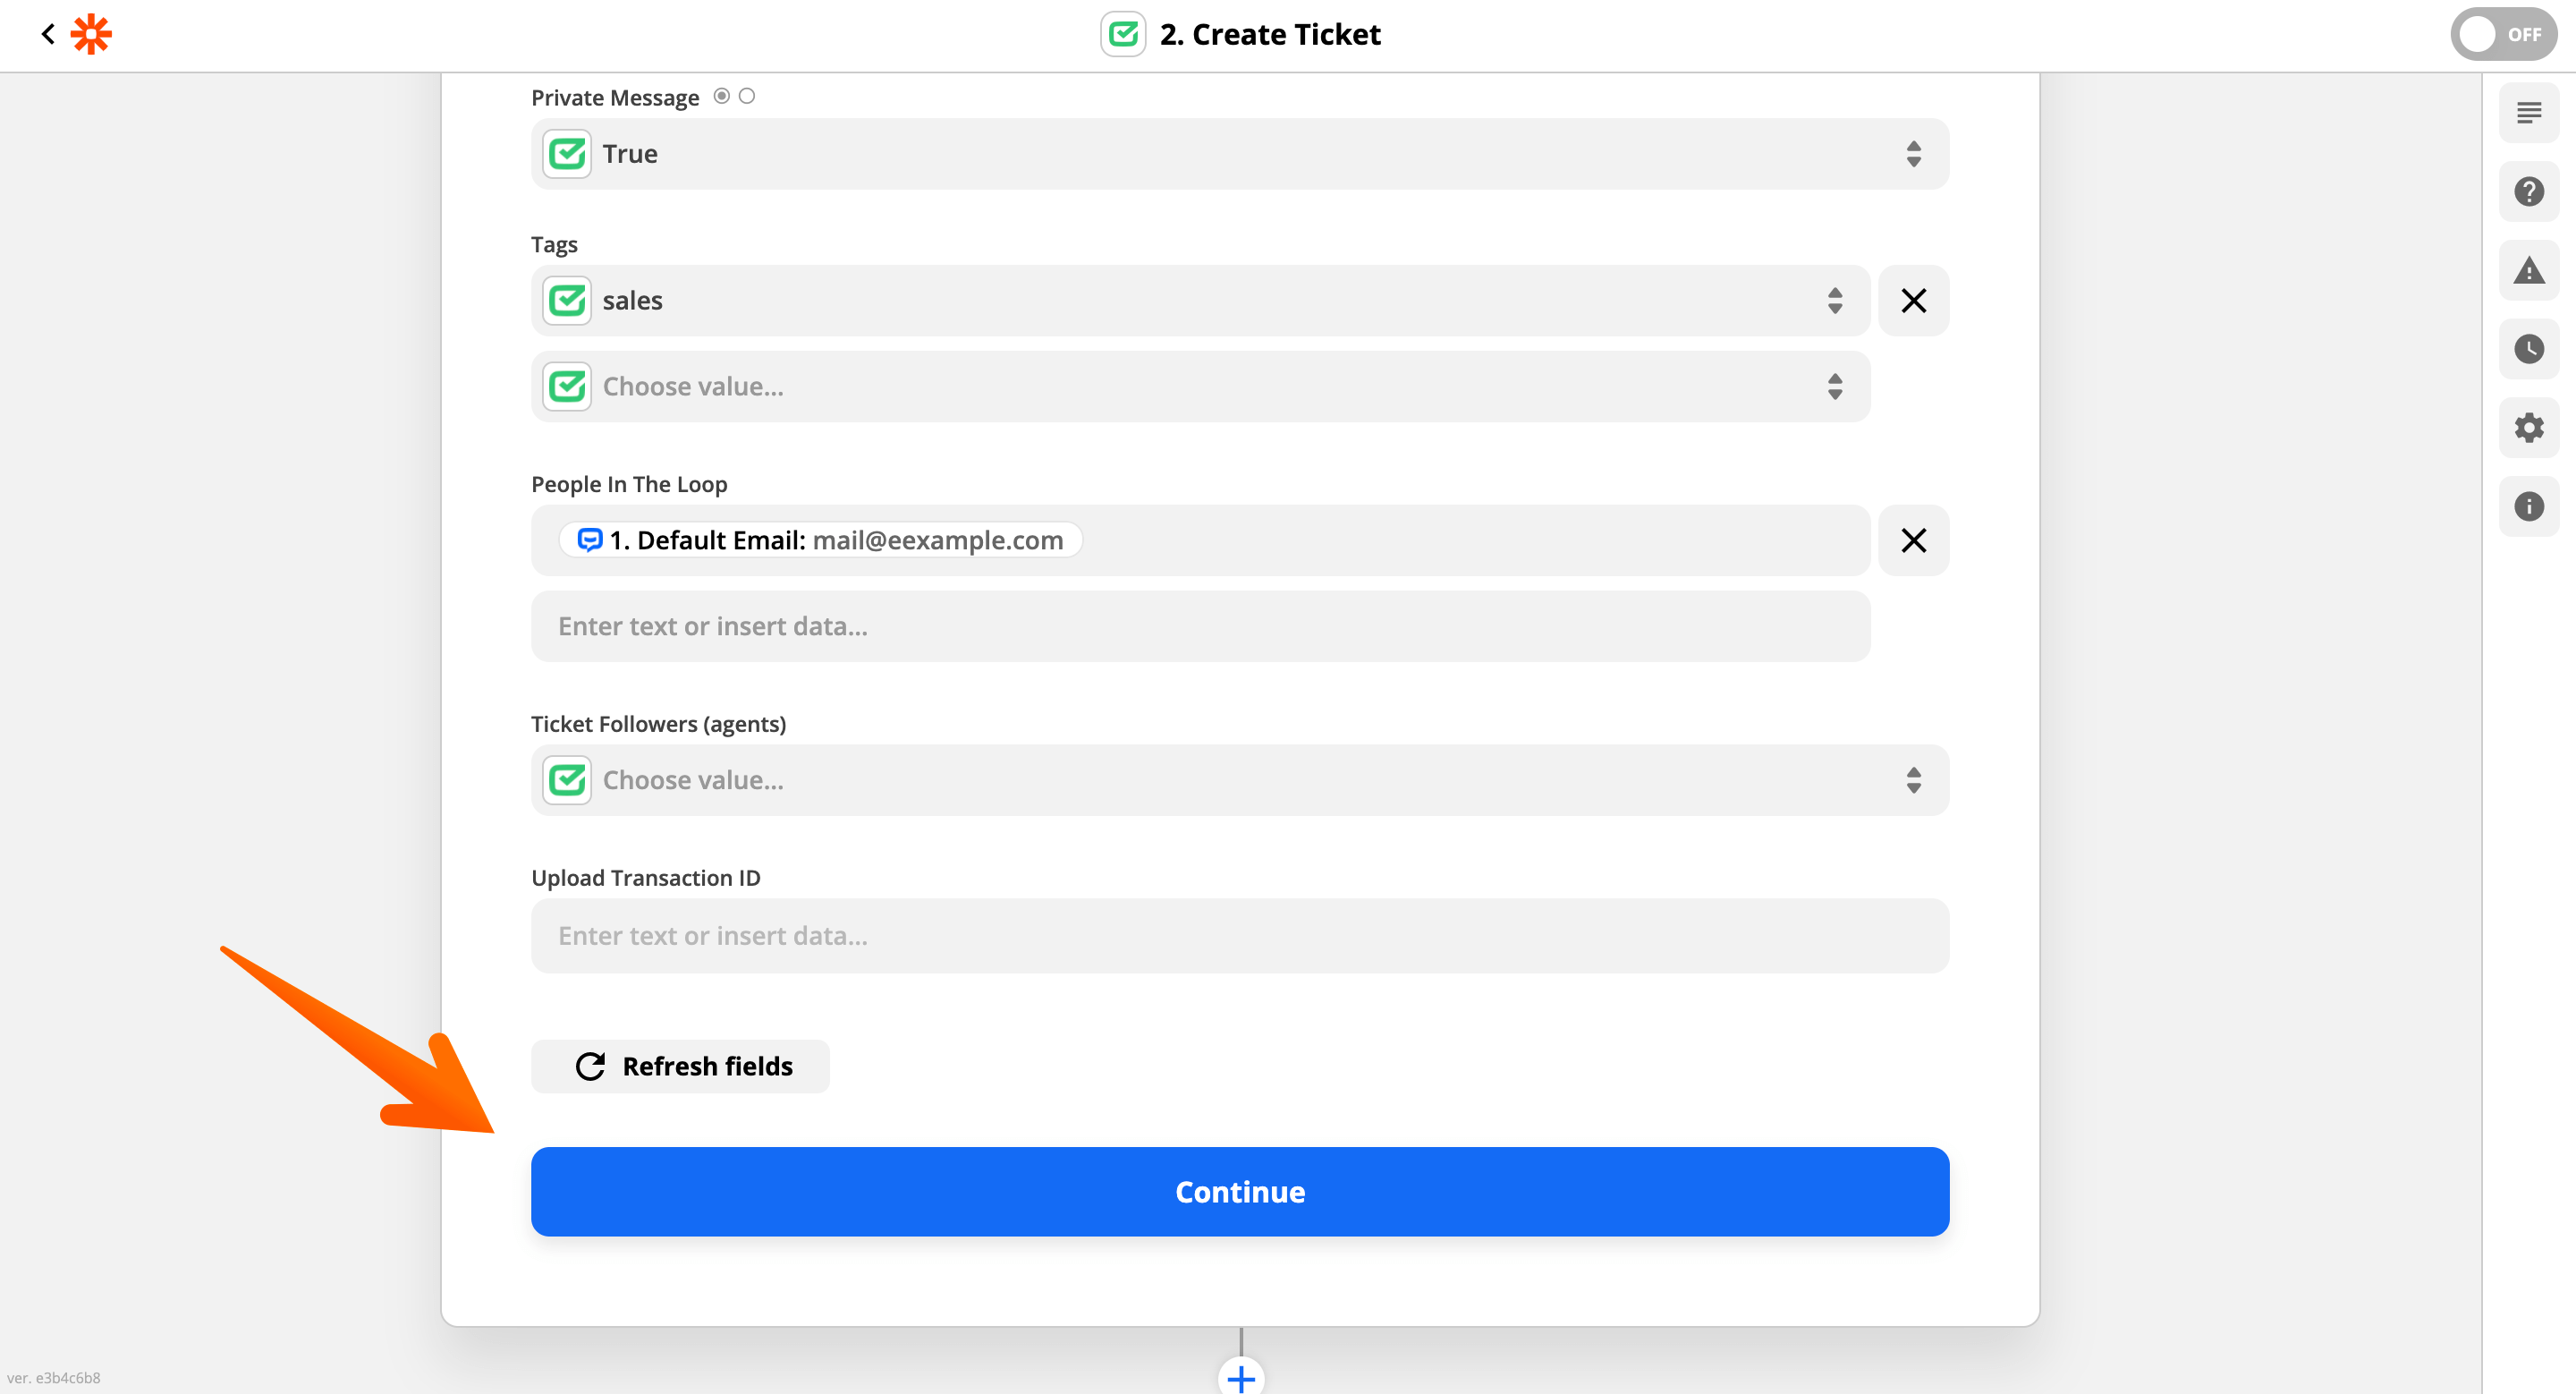
If necessary, you can configure your ticket priority, assign your ticket to a specific team or tag it. When you’re finished, click Continue.
-
Now, select Test & continue.

-
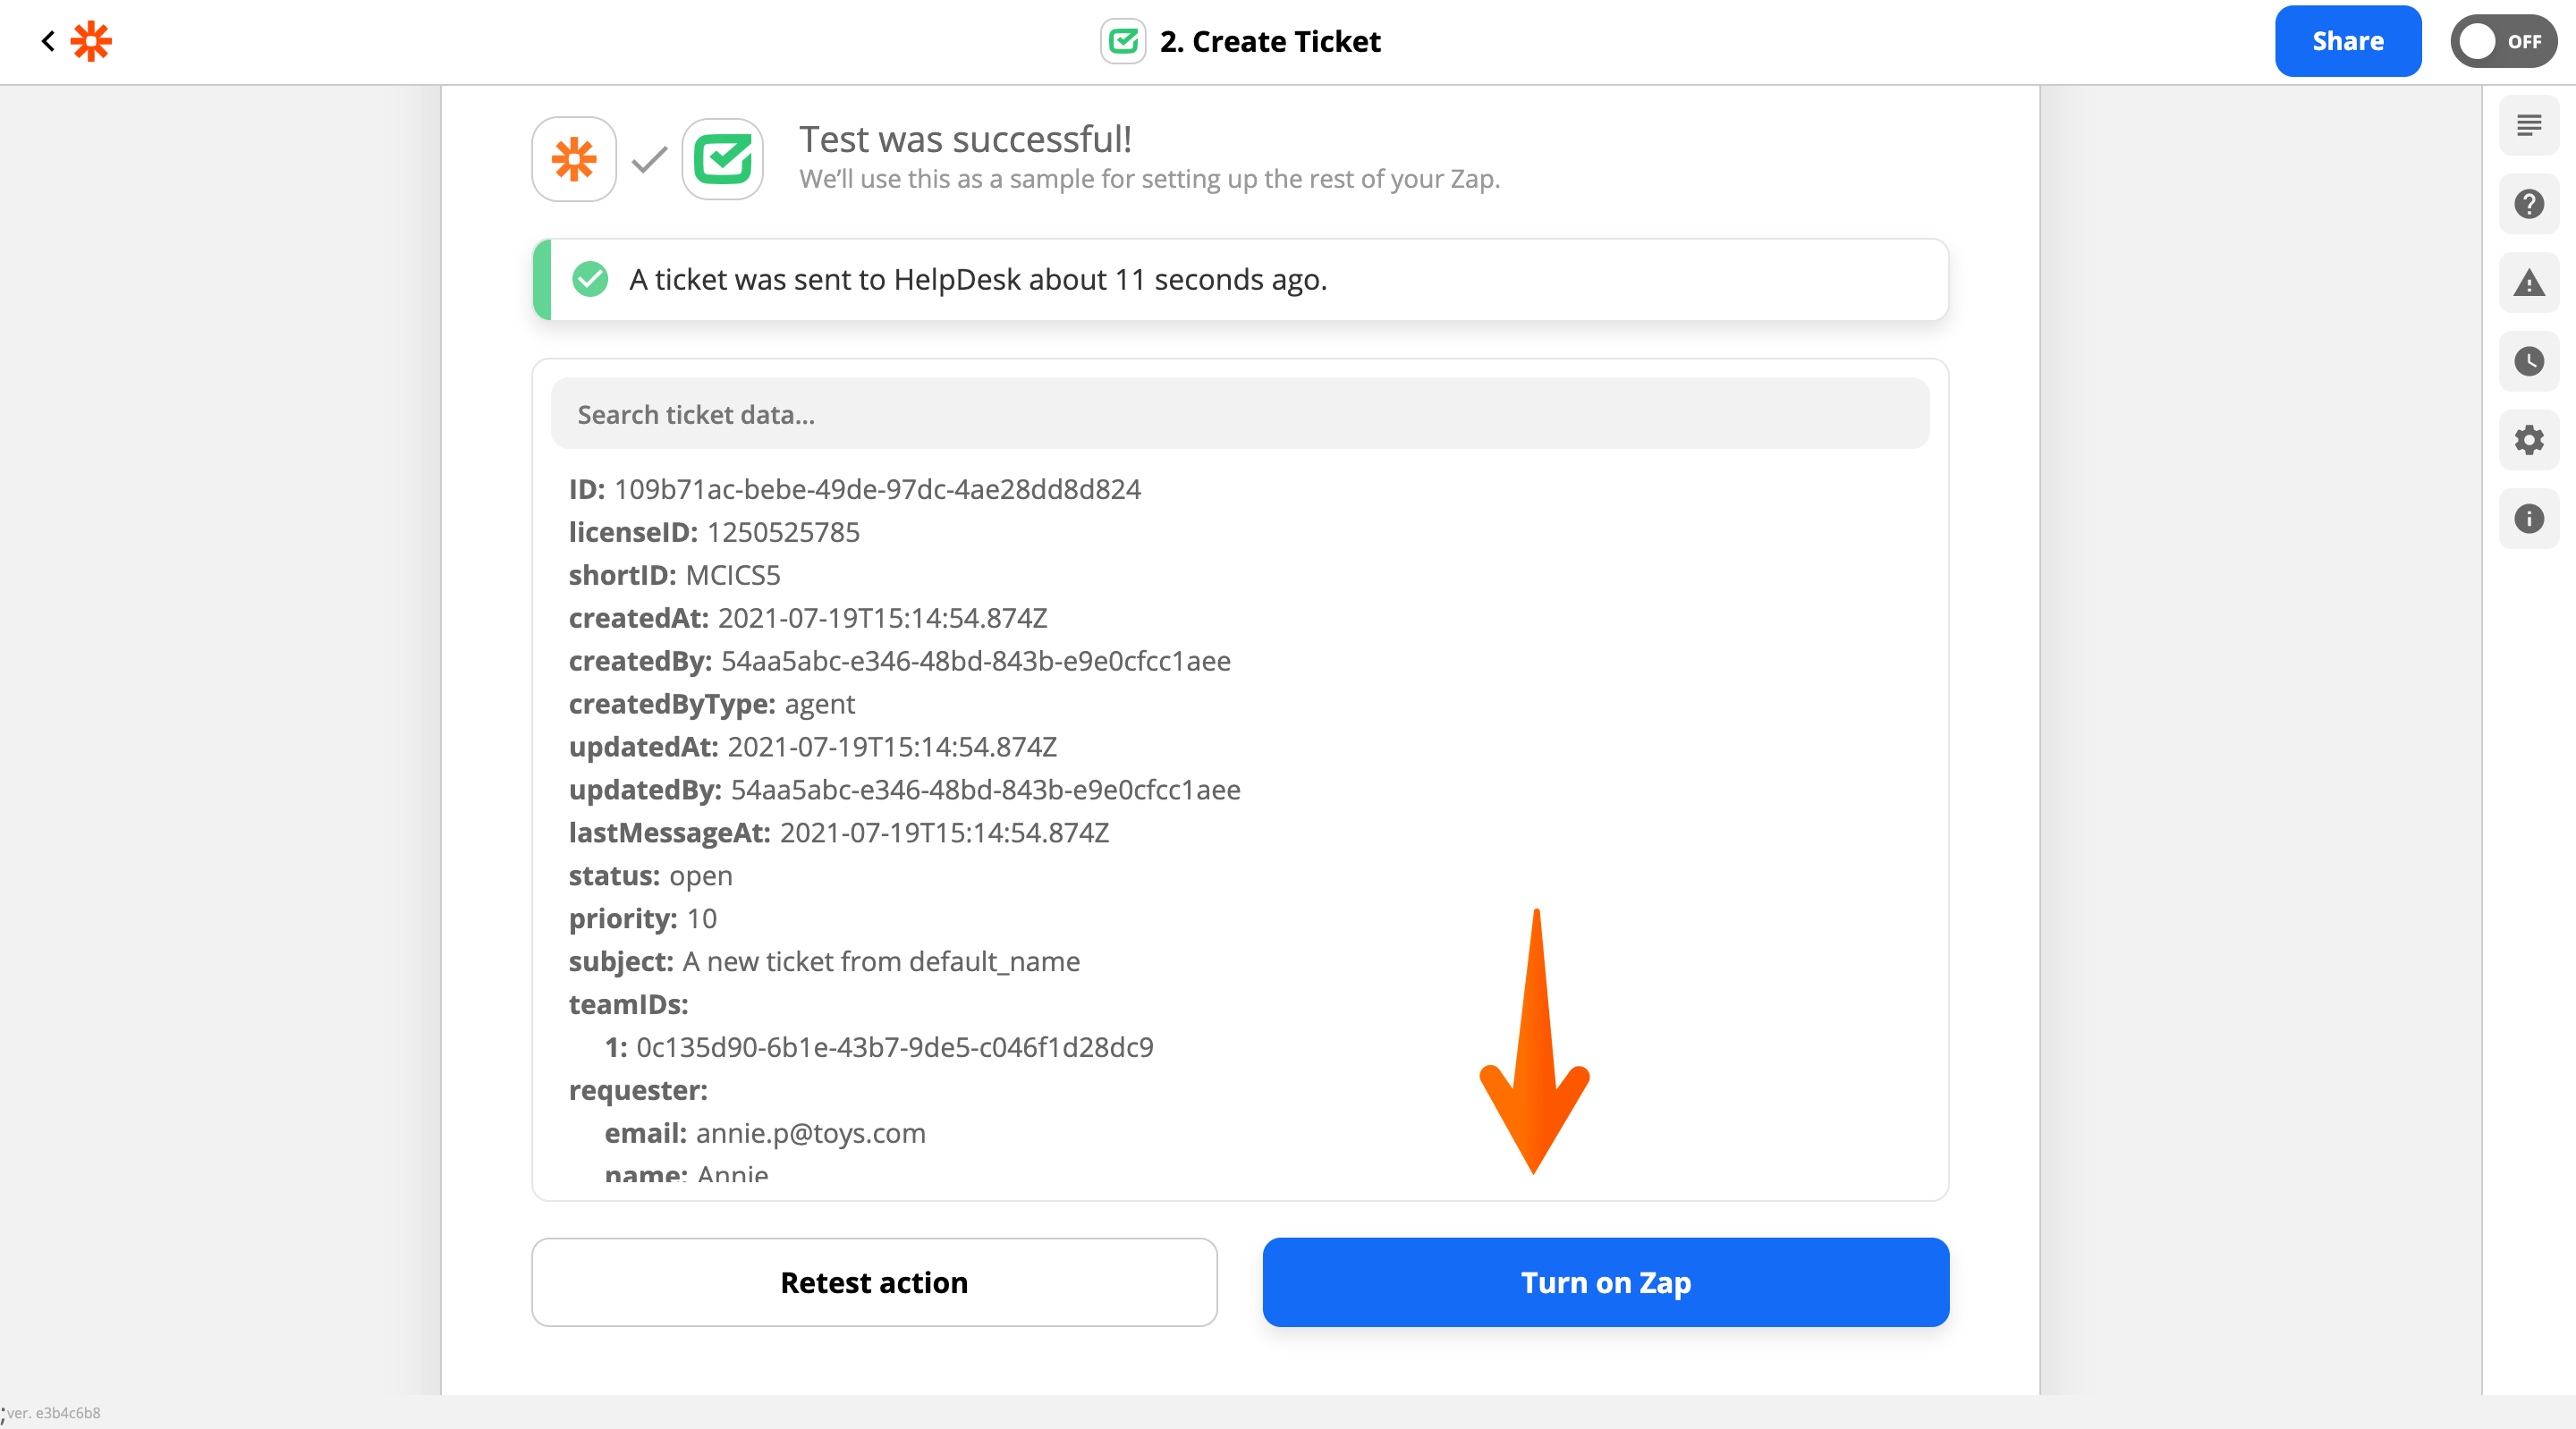
If your setup was correct, you’ll see the Test was successful message. Then, click on Turn on zap.
-
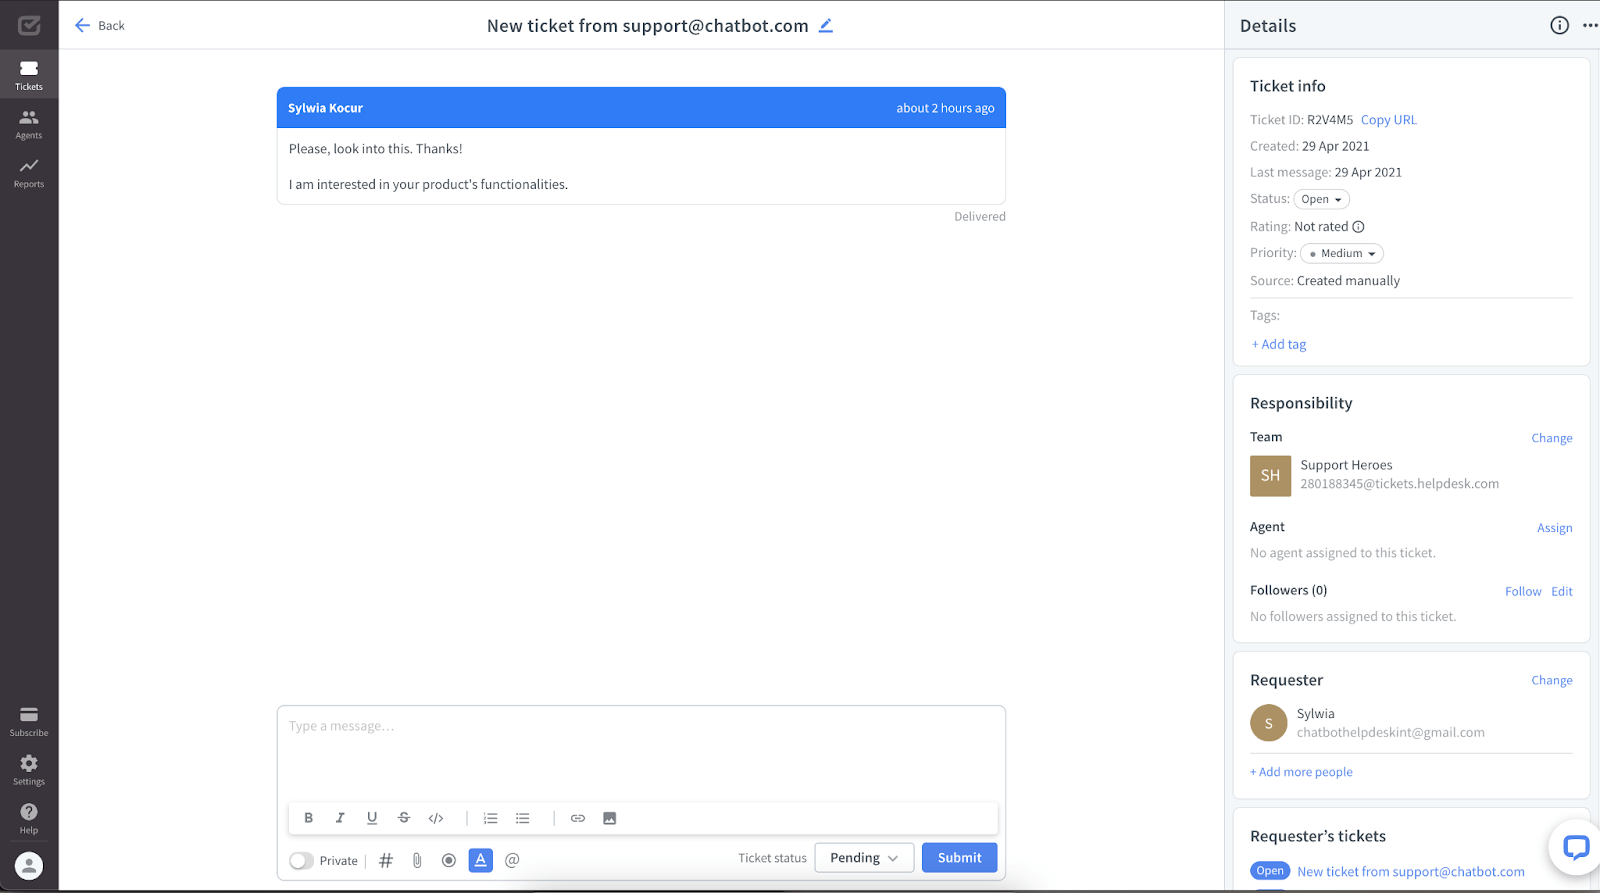
Now, go to the HelpDesk app. The ticket should appear there.
Next steps
-
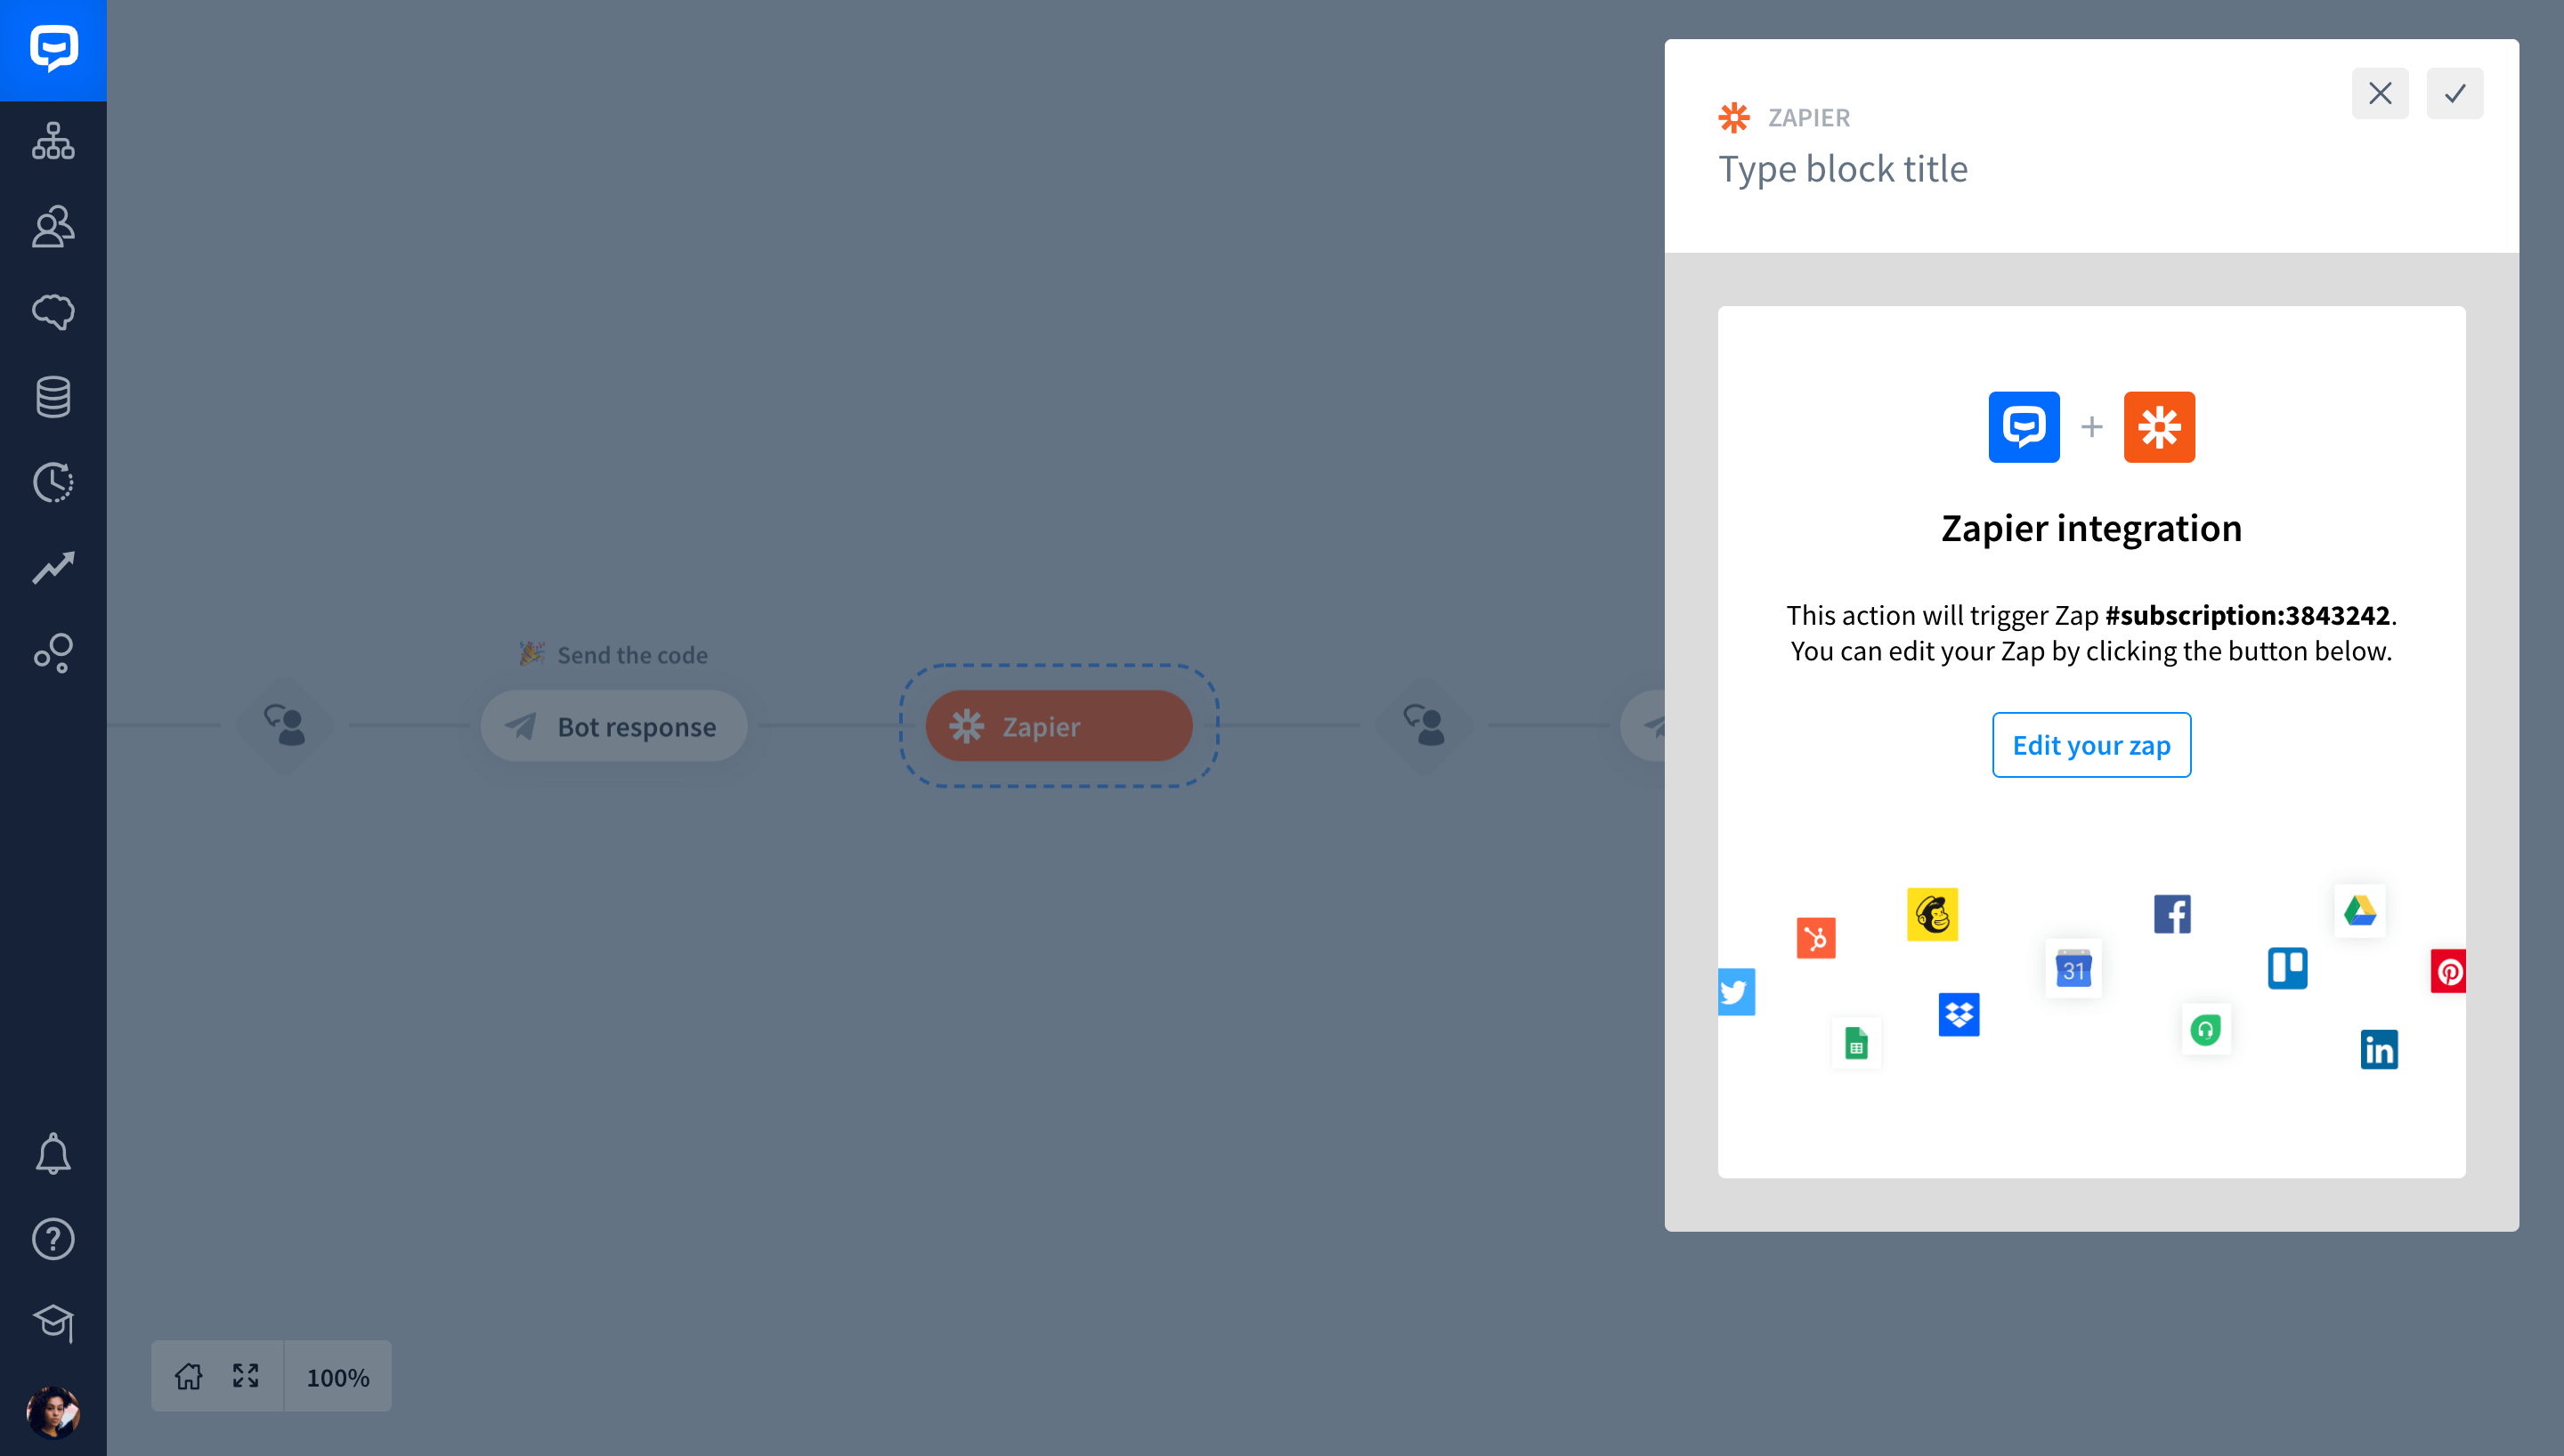
After you configure the integration, the customer can leave their message, and you can reach out to them later. At this point, the new Zapier block will be added to your Story.

-
To access the zap’s configuration in the Zapier app, you need to open the Zapier block.
-
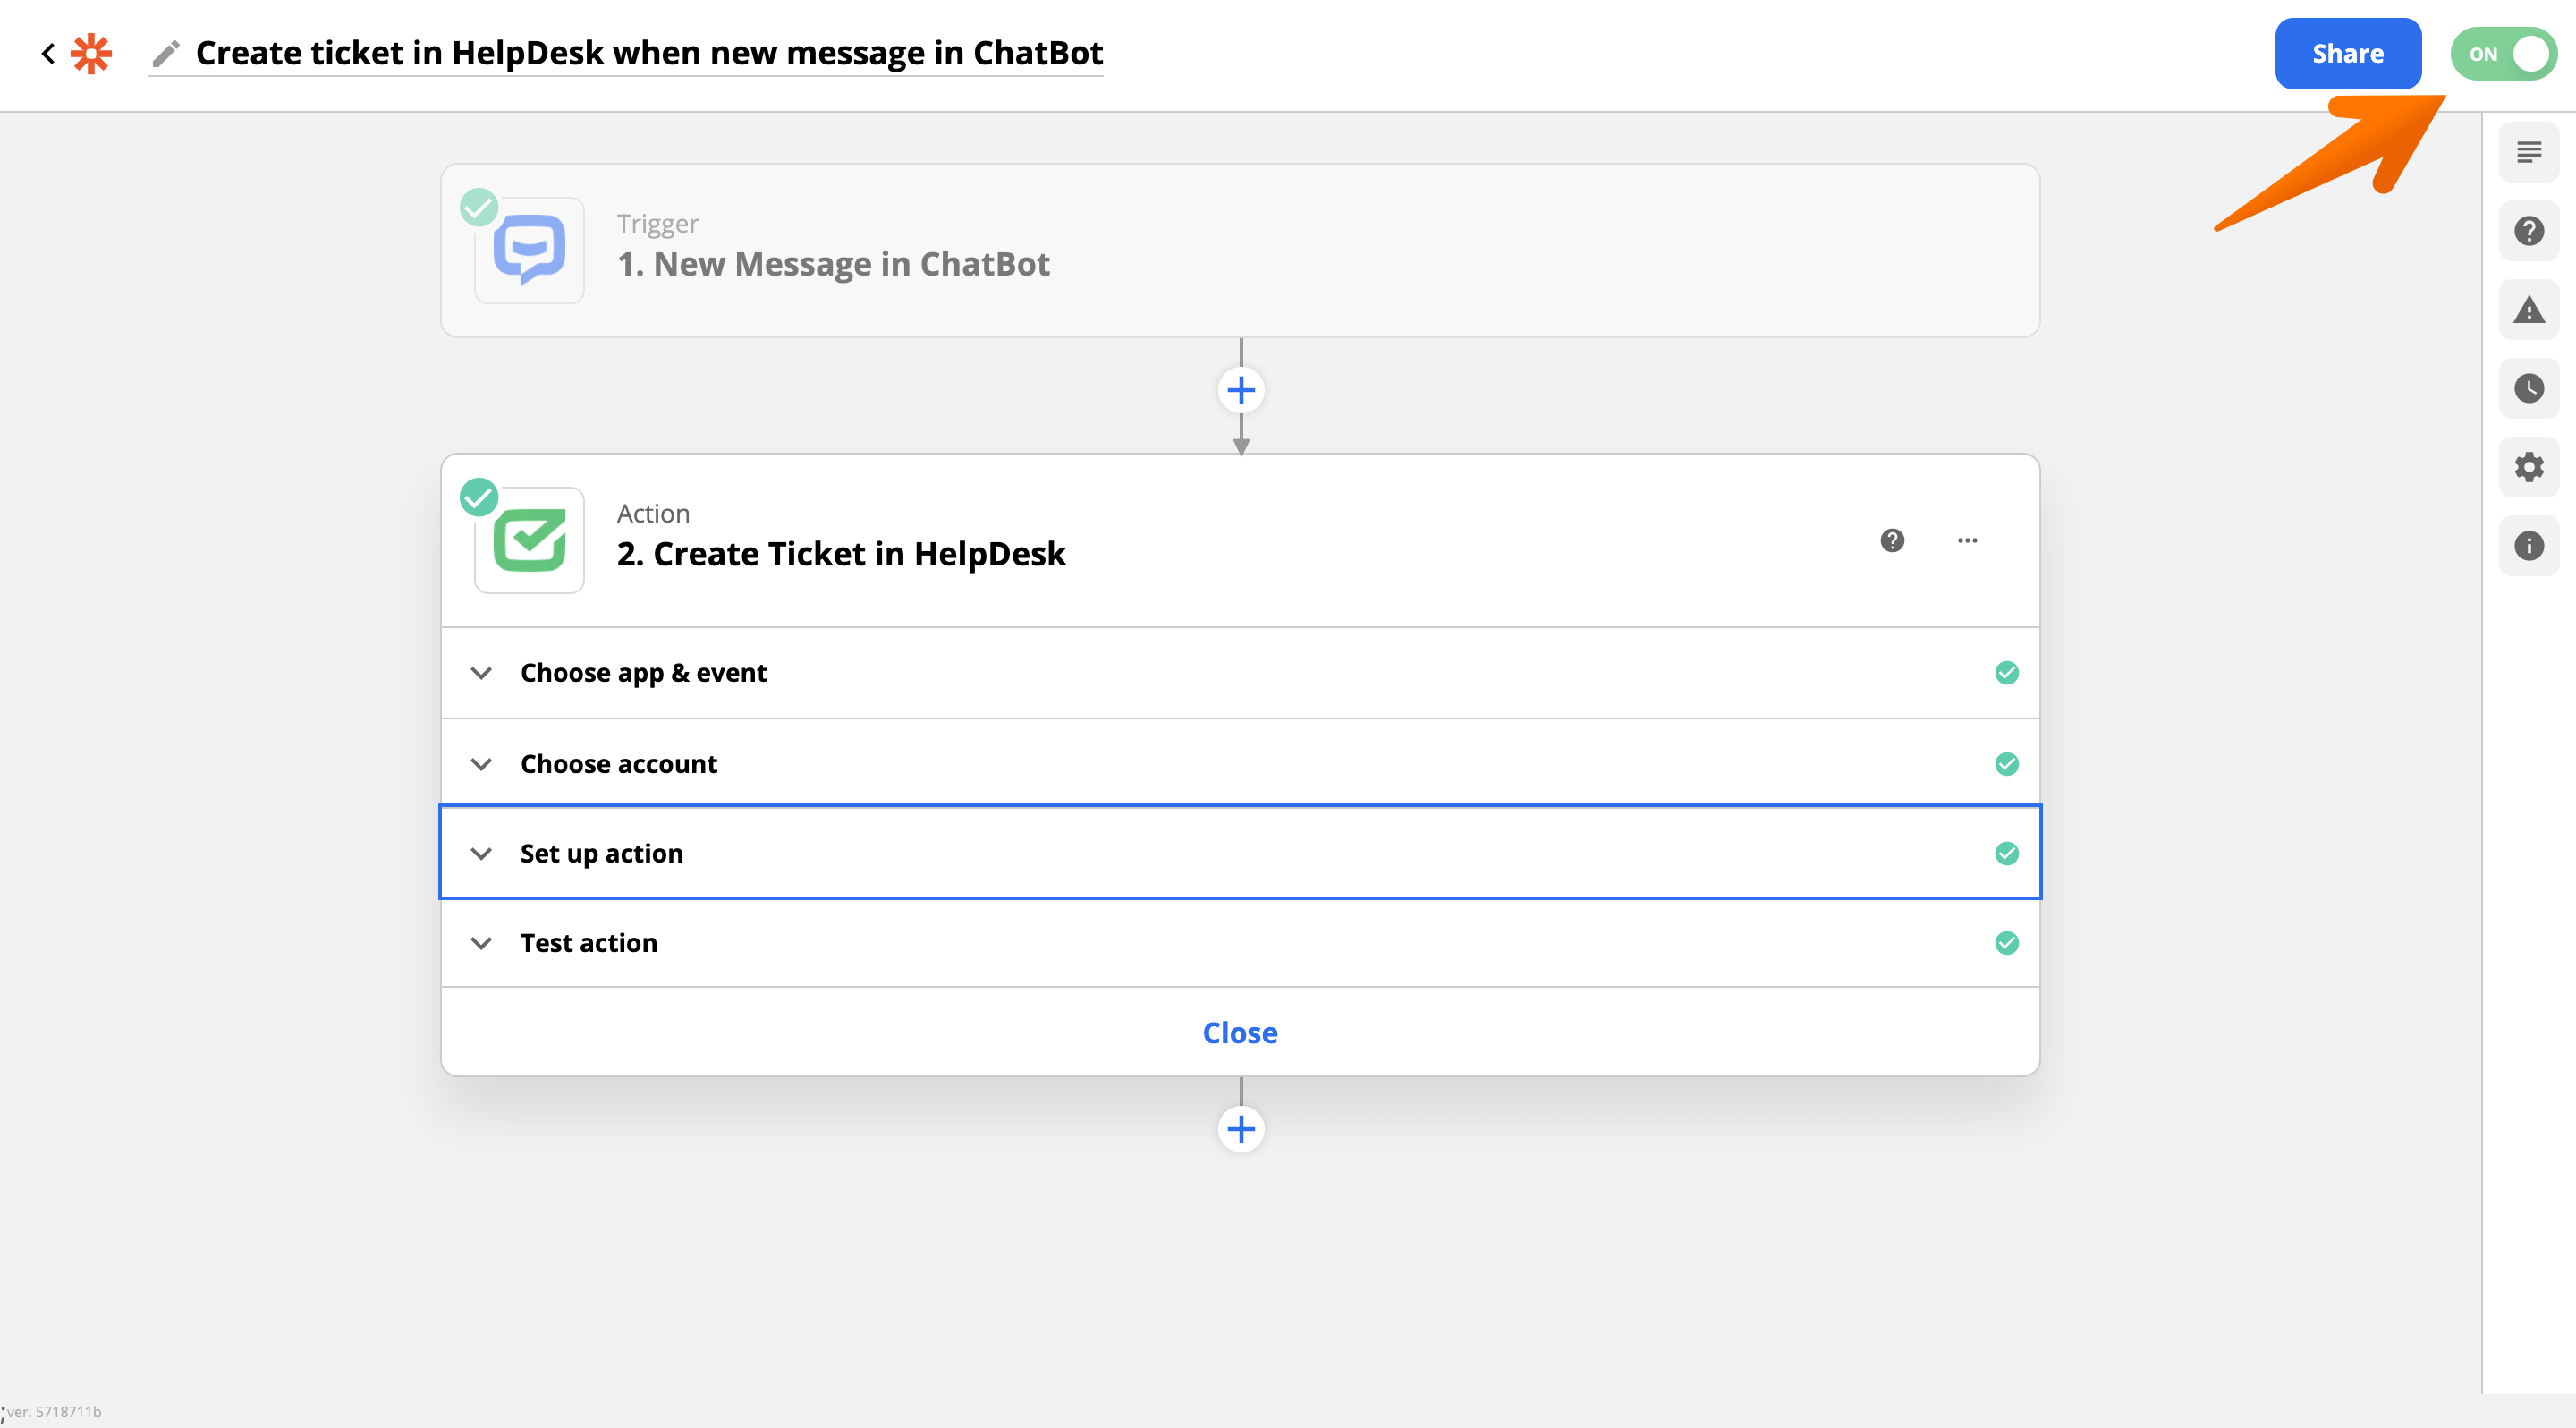
The new sections in Zapier indicate that everything works as planned.
-
At last, you can test the Story in the Visual Builder. After you finish testing, you should see a new ticket in the HelpDesk app.

