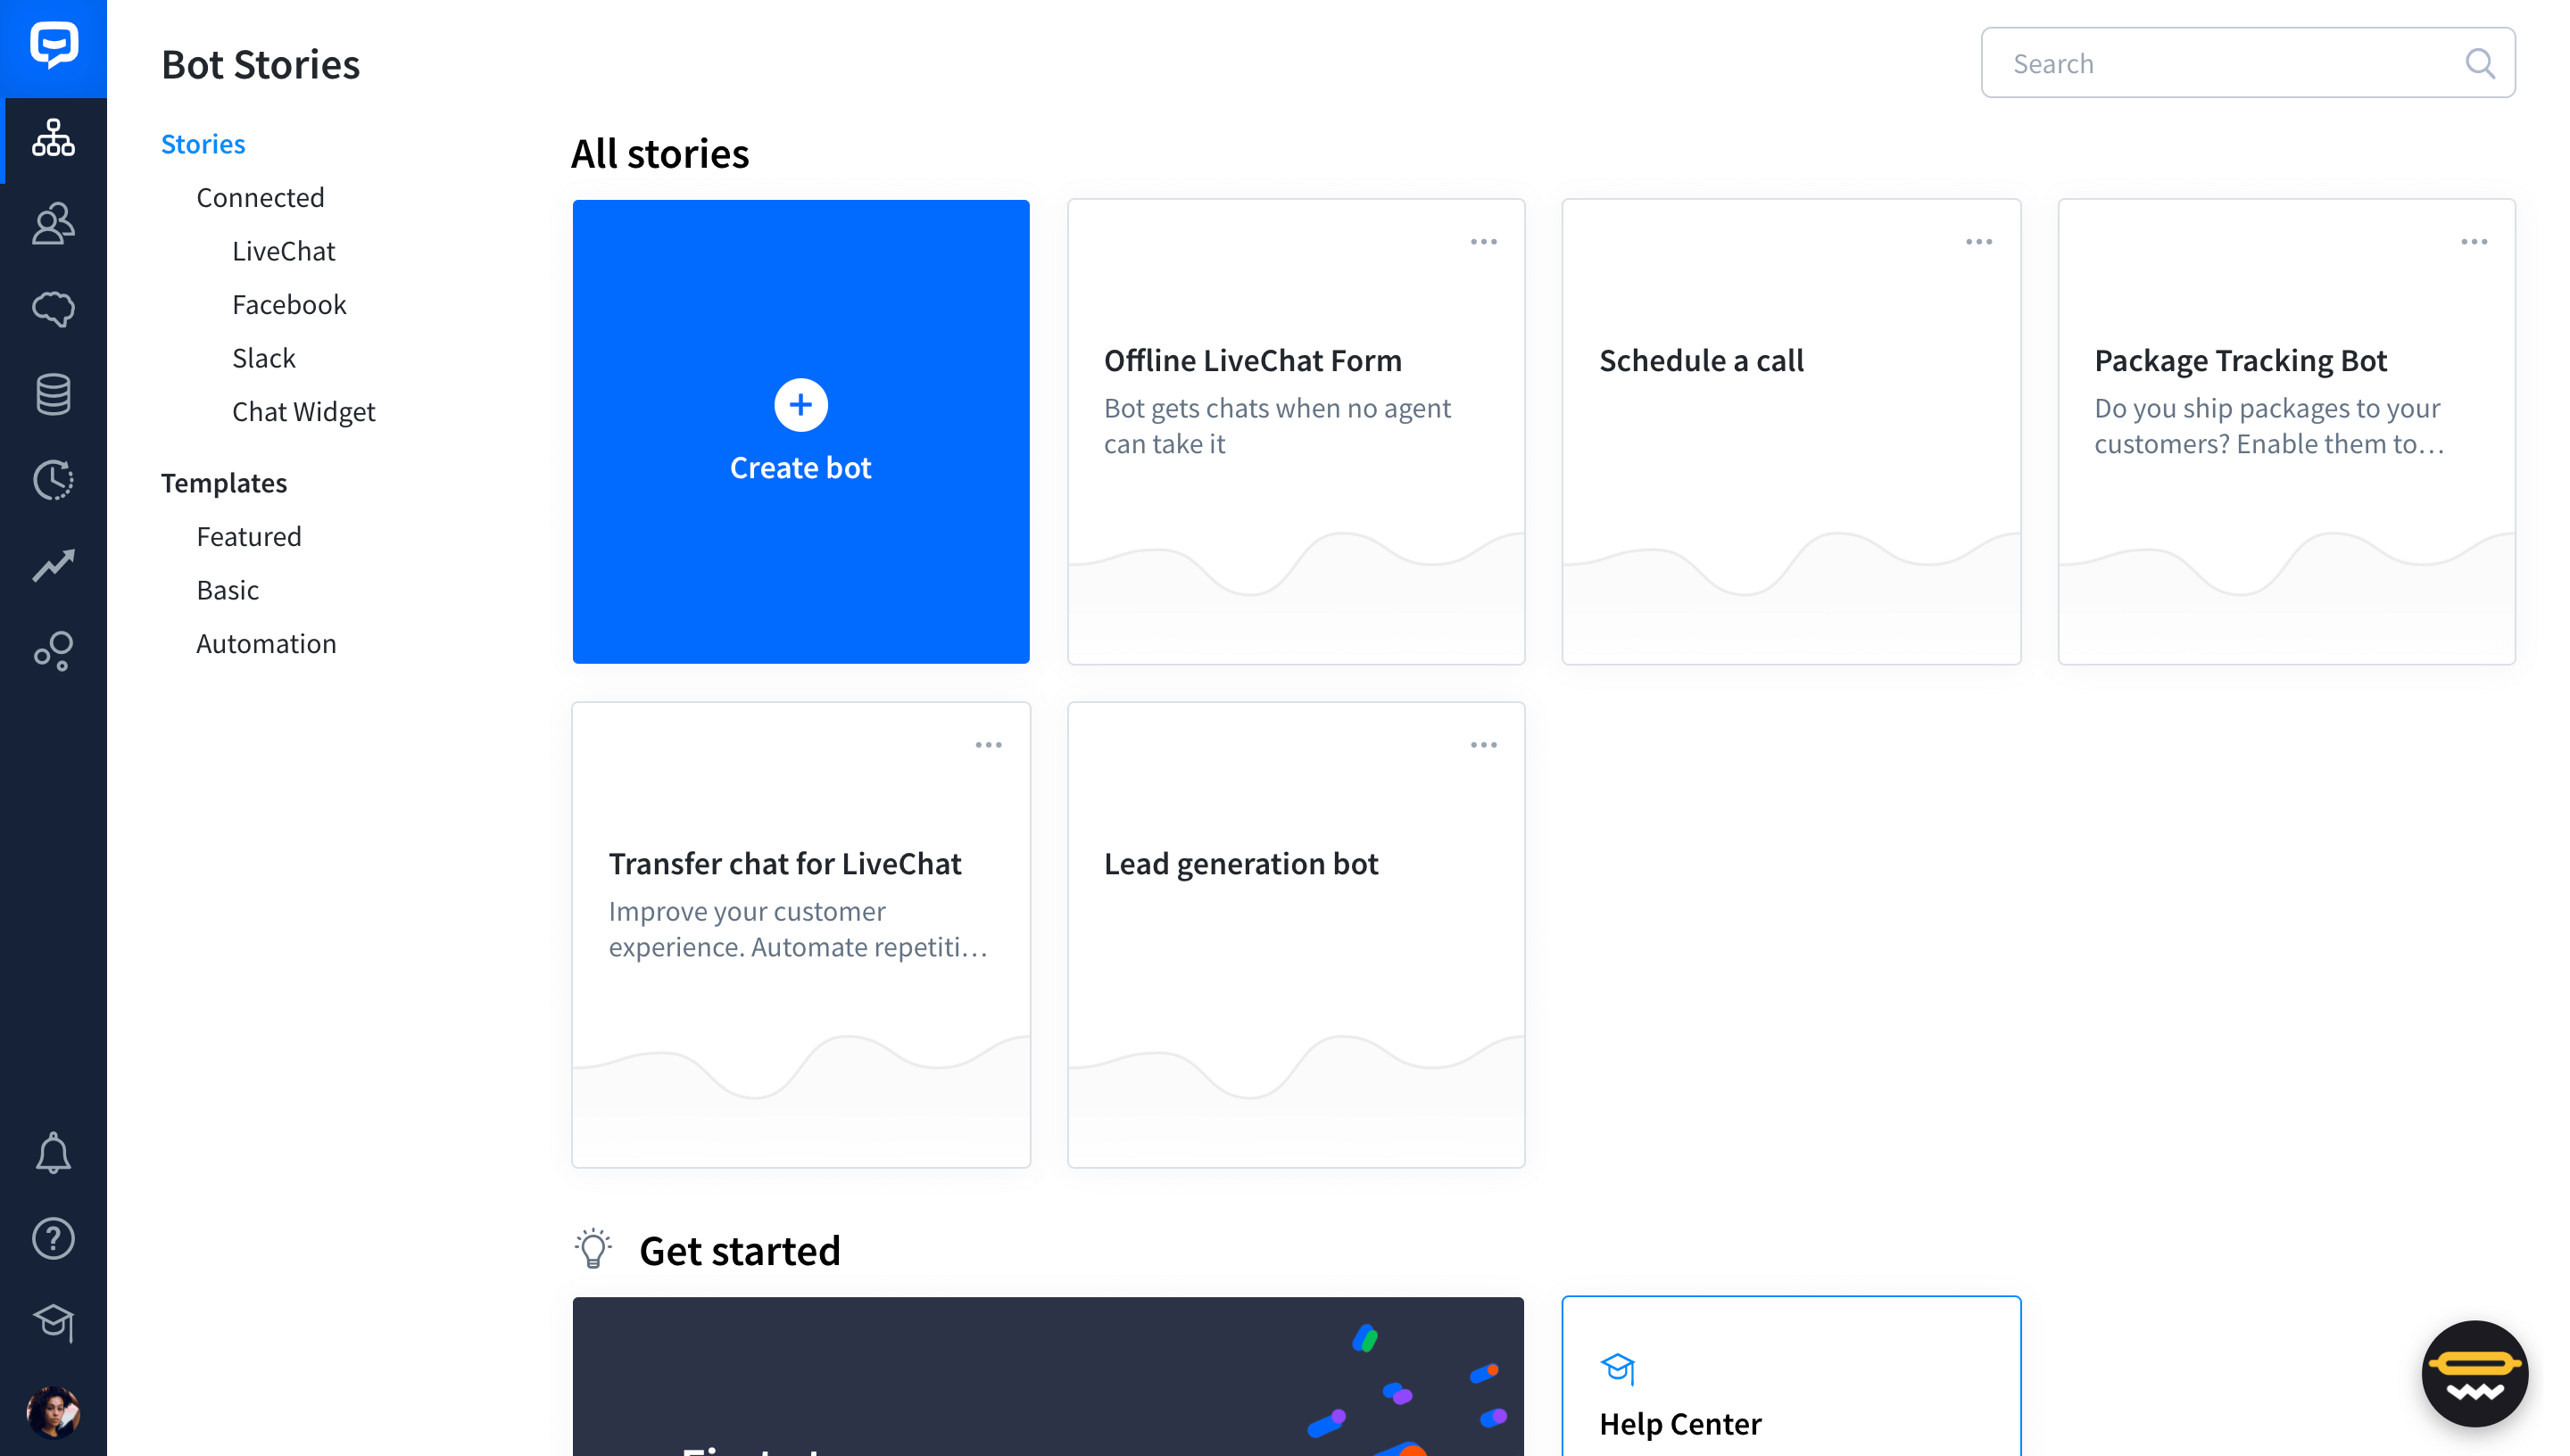
Start collecting support tickets from chatbot chats by using the HelpDesk integration .
ChatBot lets you resolve popular customer questions by using automated responses. By integrating ChatBot and HelpDesk, you can make it possible for your customers to raise a HelpDesk ticket out of a chat every time the human touch is needed.
HelpDesk is a simple yet powerful ticketing system that allows you to turn your support emails into manageable tickets and gather them all in one system. The tool can help you improve your workflow and simplify your customer support tasks.
How to connect ChatBot with HelpDesk
-
Go to your ChatBot dashboard.

-
Create a new Story or select an existing one to connect with your HelpDesk account.

-
Head to the Actions and Interactions menu and scroll down to access HelpDesk actions. Choose the Create ticket action and place the resulting block in the appropriate place in your Story.

-
Select the Create ticket block you added to your Story and then select the Connect with HelpDesk button in the panel that appears.

-
Select the Sign in with HelpDesk button.

-
You’ll be taken to the login screen. Enter your HelpDesk credentials there.

-
Lastly, select the Add integration button to complete the configuration.

How to configure the Create ticket for HelpDesk action
Let’s say you use a chatbot to answer common questions, but you also want to allow the user to leave a HelpDesk ticket when their problem requires human attention. In that case, the Create ticket action for HelpDesk can help.
Note that to configure the Create ticket for HelpDesk action, first you need to collect information from the user via attributes. To gather multiple pieces of information at once you can use the Question action.
Below you can see how to collect attributes and then use them to configure the Create ticket action for HelpDesk.
-
Add a Question action to the path that should allow the user to leave a ticket.

-
Open the Question action that you added and fill in the required fields:
-
In the Question variants field, ask the user for their email address.
-
In the Validate response with entity drop-down menu, select the Email entity type.
-
In the Save response to attribute drop-down menu, select the default Email attribute. This way the system can verify whether the user enters the proper email format.

-
-
Now, select Add next question. This will allow you to get more information from the user.

-
In the Question variants field, ask the user about their problem. Then in the Validate response with entity drop-down menu, select Any.

-
Now select Save response to attribute and then select the Add custom attribute button. This will let you create a custom description attribute. This attribute makes it possible to save the user’s response as the content of a ticket.

-
In the Attribute name field, type in “description” and select the Add attribute button.


-
You can also decide whether all tickets coming from your chatbot should have the same subject (e.g. “Ticket from ChatBot”) or you can let the user fill the subject in. In that case, you need to add another question and ask the user to provide the subject/category of their issue. To save their response as a subject, you need to create a custom subject attribute. When you’re ready, save your changes.

-
After you configure the Question action that collects user data, head to the HelpDesk section in the Actions and Interactions menu. Select Create ticket action and drop it after the Question block.

-
Open the Create ticket action. In the Subject field you can either:
-
Type in the default subject field copy — e.g. “Ticket from ChatBot” — that will be displayed in HelpDesk every time a ticket is created through your chatbot.

-
Or add the custom subject attribute — provided you have asked the user about it earlier in the Story and saved their response as a custom subject attribute, for instance by using the Question action.

-
-
In the Email field select the default Email attribute.

-
Now, in the Tag field, choose a tag for tickets created by your chatbot. Adding a tag can help your team quickly fathom the nature of the customer’s problem.

-
Lastly, select the priority for tickets coming from ChatBot. This metric can help your HelpDesk agents determine whether the tickets are urgent or not.

-
Finally, in the Description field, select the custom description attribute from the list (if all went to plan, you created it earlier while configuring the Question action.) Fingers crossed, you’ve now turned the user’s query into the content of a HelpDesk ticket.

-
Now, select the Test your bot button and verify whether everything works as intended.

-
When you finish testing, open the Tickets section in your HelpDesk app. You should see the ticket from your chatbot on the list. The subject will differ depending on whether you entered a default subject for every ticket (e.g. “Ticket from ChatBot”) or you used the custom subject attribute so the user can enter the subject of a ticket on their own.

-
Select the ticket to see its content.
