Zapier is a handy tool designed for non-technical users that helps to automate daily tasks by connecting various web apps into useful workflows.
A Zap is a short workflow that can automate a piece of your daily work. With just a few clicks, you can send collected data to your Google Docs, text customers with Twillio, schedule events in your calendar, add new contacts to Autopilot and much more.
Main benefits of using the Zapier integration:
-
Connect your chatbot with your favorite app without writing a line of code.
-
Automate daily tasks such as adding new customers, sending email and text messages and much more.
-
Zapier integrates with hundreds of apps. Open your chatbot to these possibilities.
Available Zaps
Connect your marketing tools with your chatbot to organize your work and control your goals.
-
Add new contact to Autopilot — When a visitor arrives at a predefined point of the scenario, Zapier automatically adds the new contact to Autopilot.
-
Create a new calendar event — Use Zapier integration to allow your chatbot to automatically add Google events to your Calendar.
-
Add new leads to Salesforce — Organize your contacts by adding them automatically to your Salesforce lists.
-
Add rows to Google Sheets — Collect any data you need and store in your Google Sheets rows.
-
Create a new user in Intercom — Automate your Intercom user list with a single Zap.
-
Get emailed when an action is triggered — Control your chatbot flow and get notified when a certain step of the scenario is reached.
-
Send an SMS when an action is triggered — Automatically text any phone number directly from the bot scenario.
Create your first Zap
Using Zaps is simple and intuitive. In just a few steps you can create a workflow that can save you a lot of time. Let’s check it out together!
-
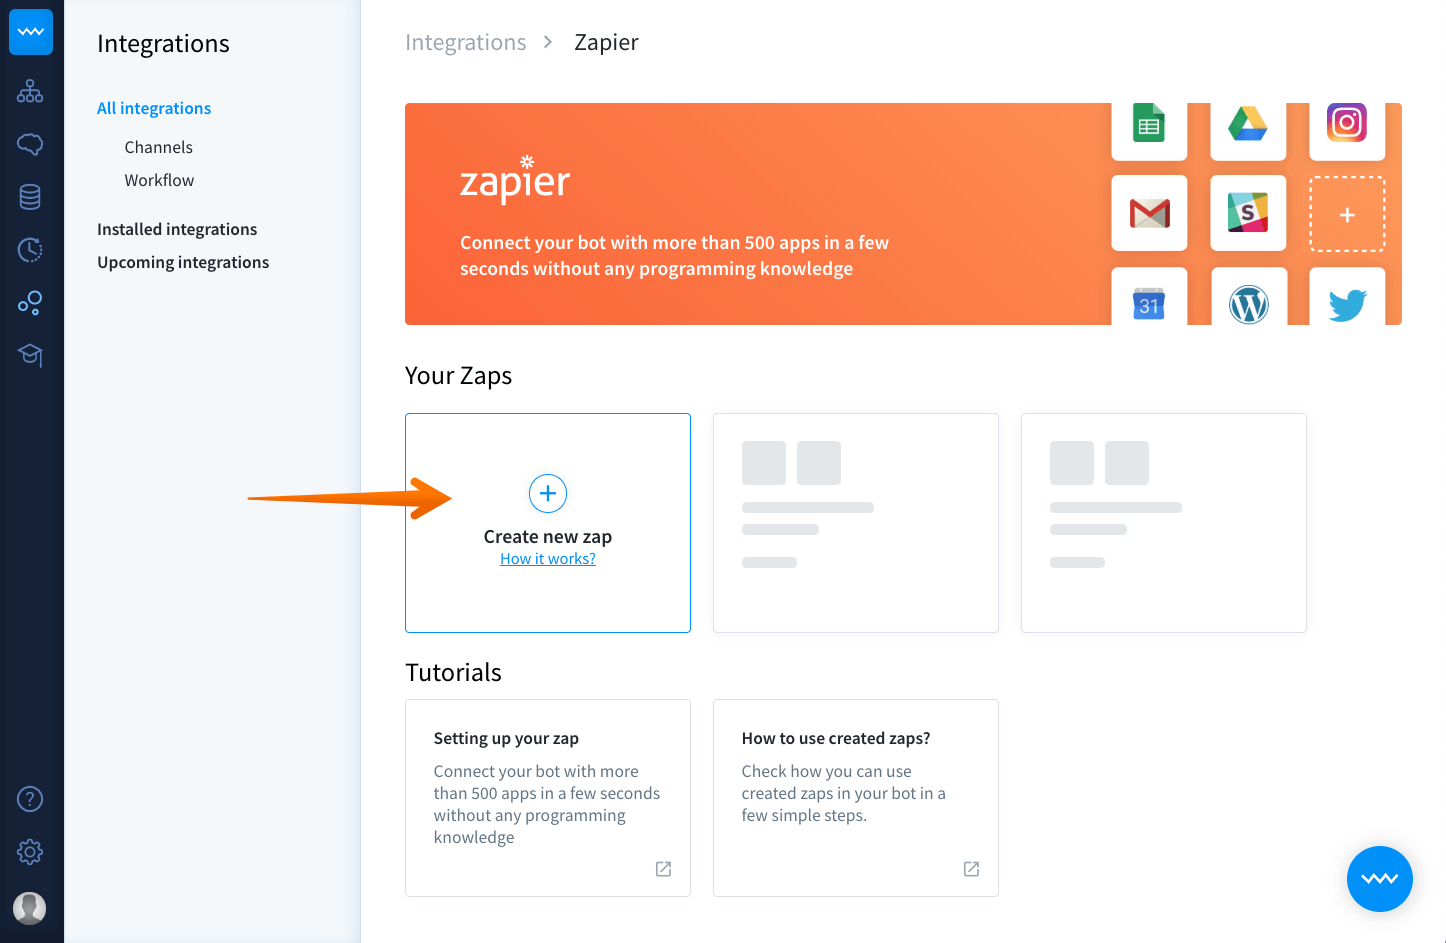
To create your first Zap, select Integrations from the left panel. Now you can see all available integrations. Select Zapier.

-
Click Create new zap to start.
-
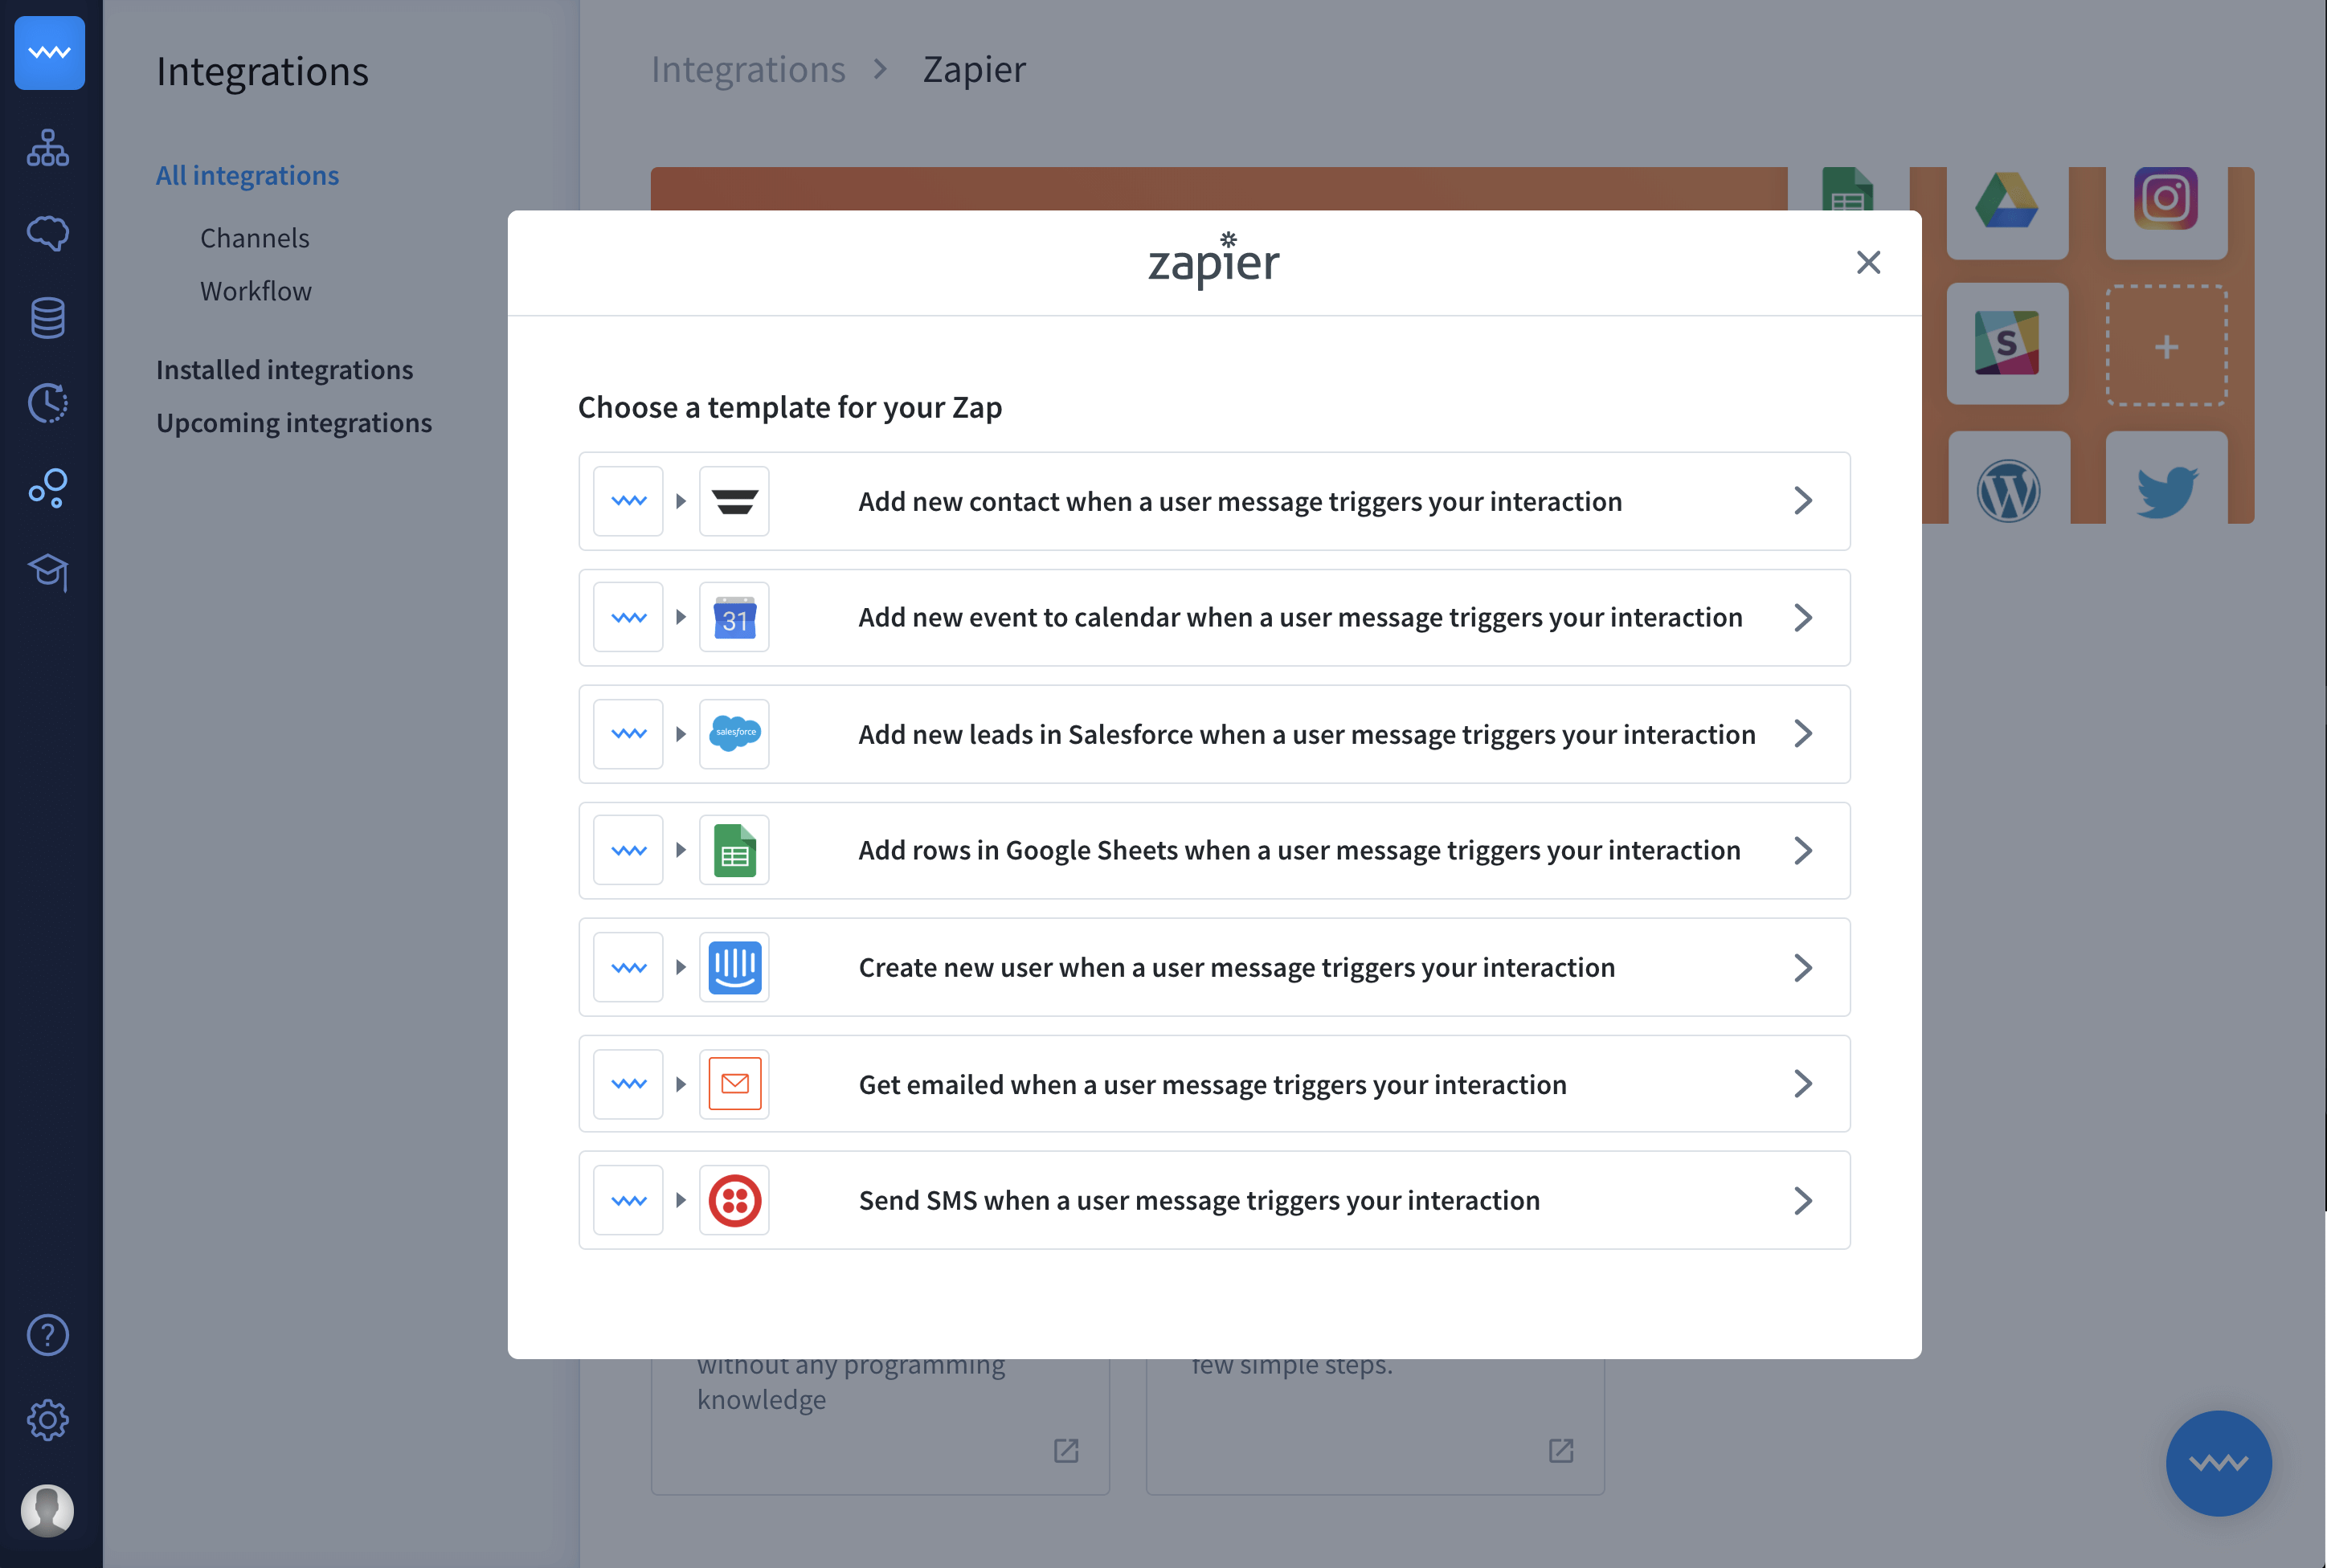
This step allows picking the type of the Zap that you want to connect to your chatbot.
-
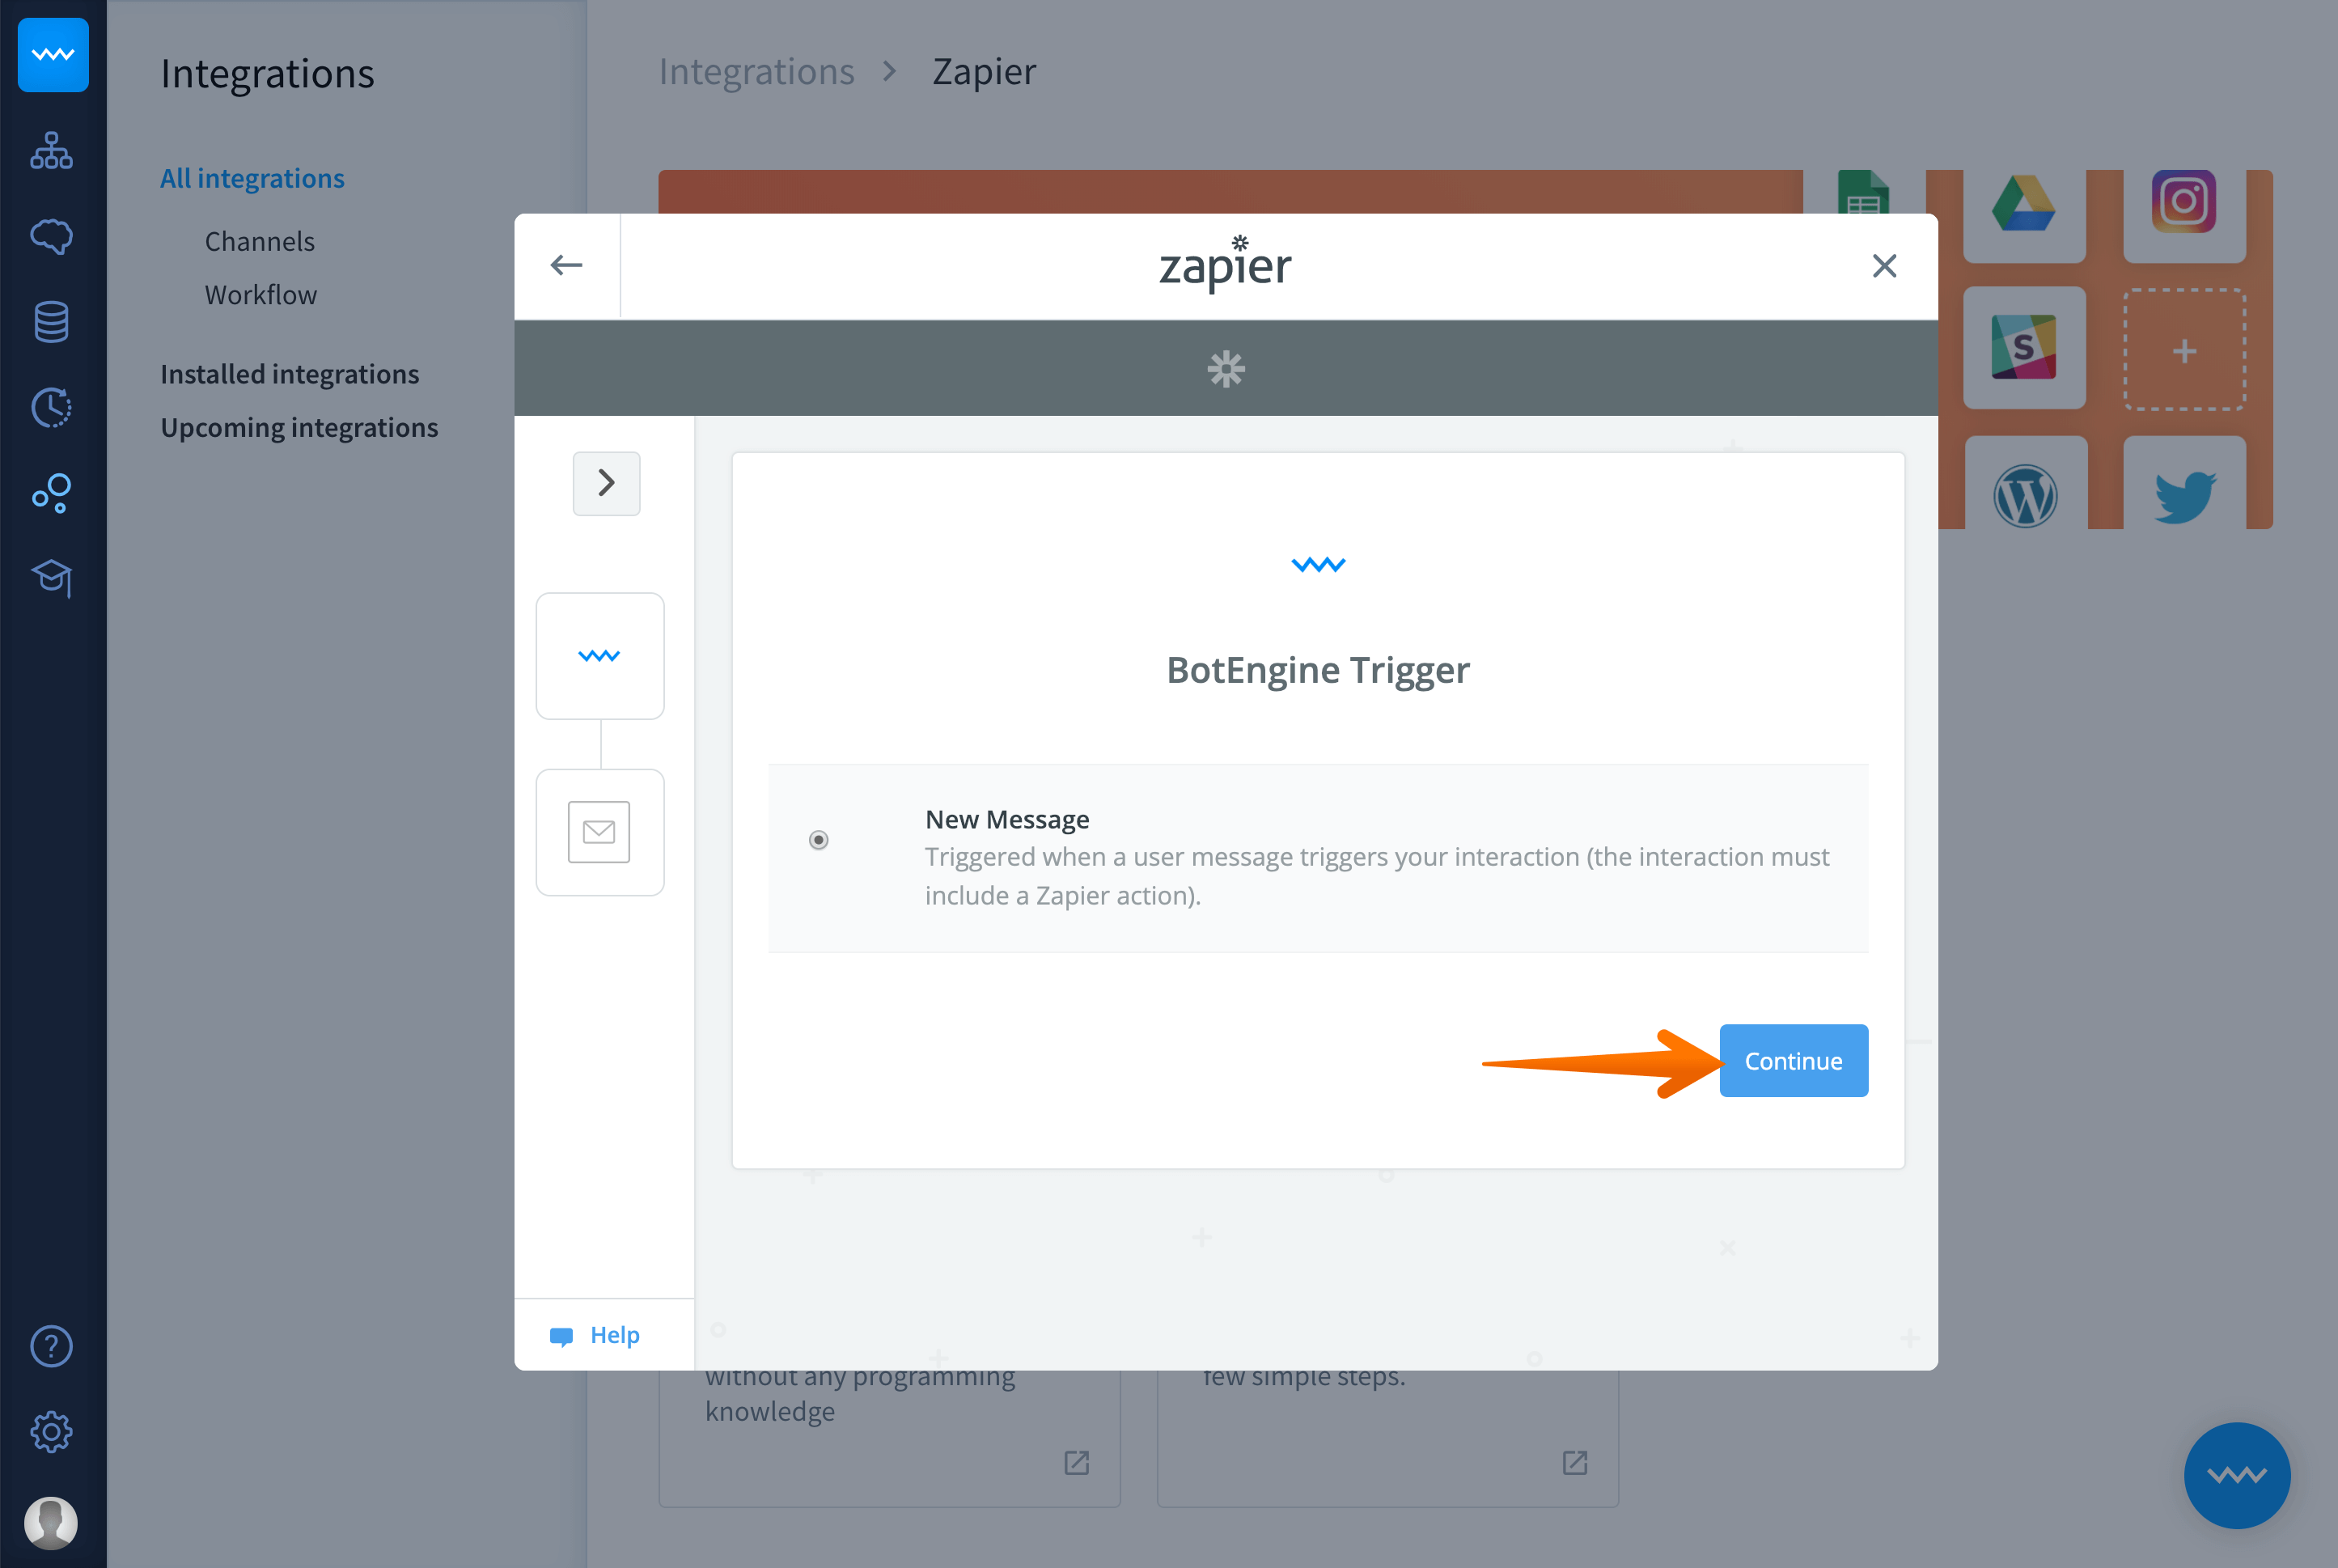
Choose the Get emailed when a users message triggers your interaction Zap and click Continue to go to the next step.
-
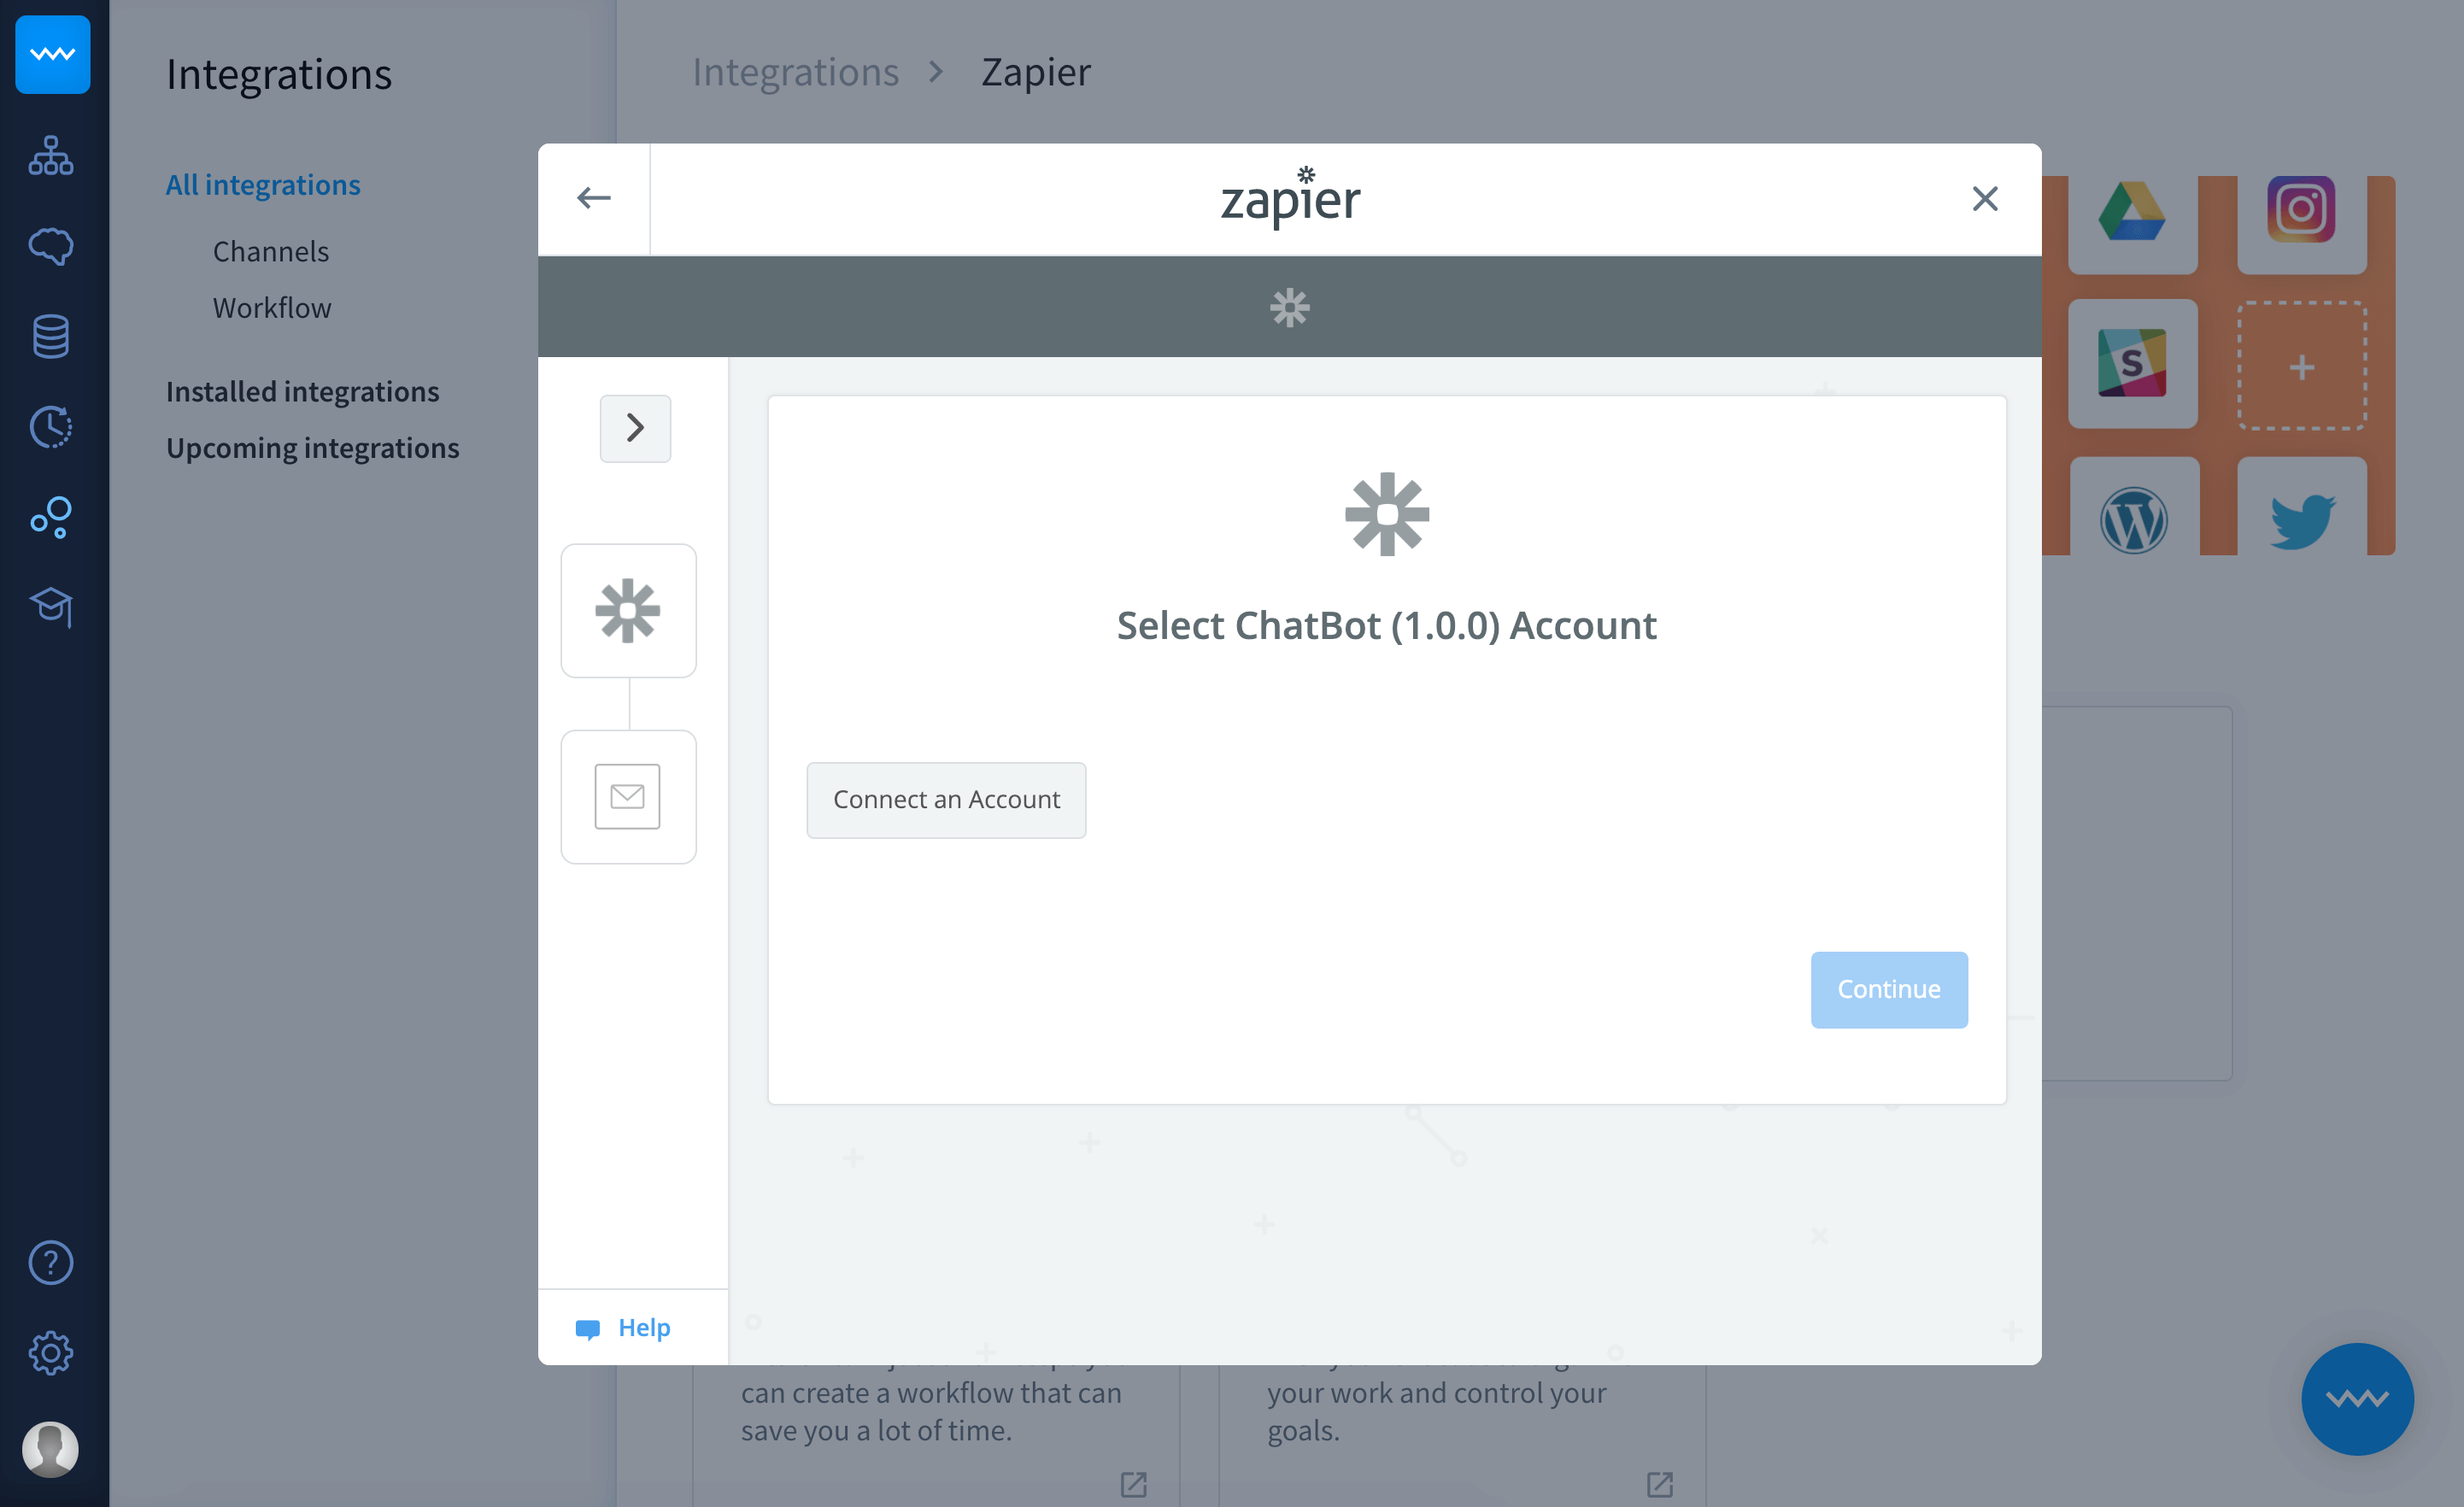
Log in to your ChatBot and Zapier accounts and click Continue.
-
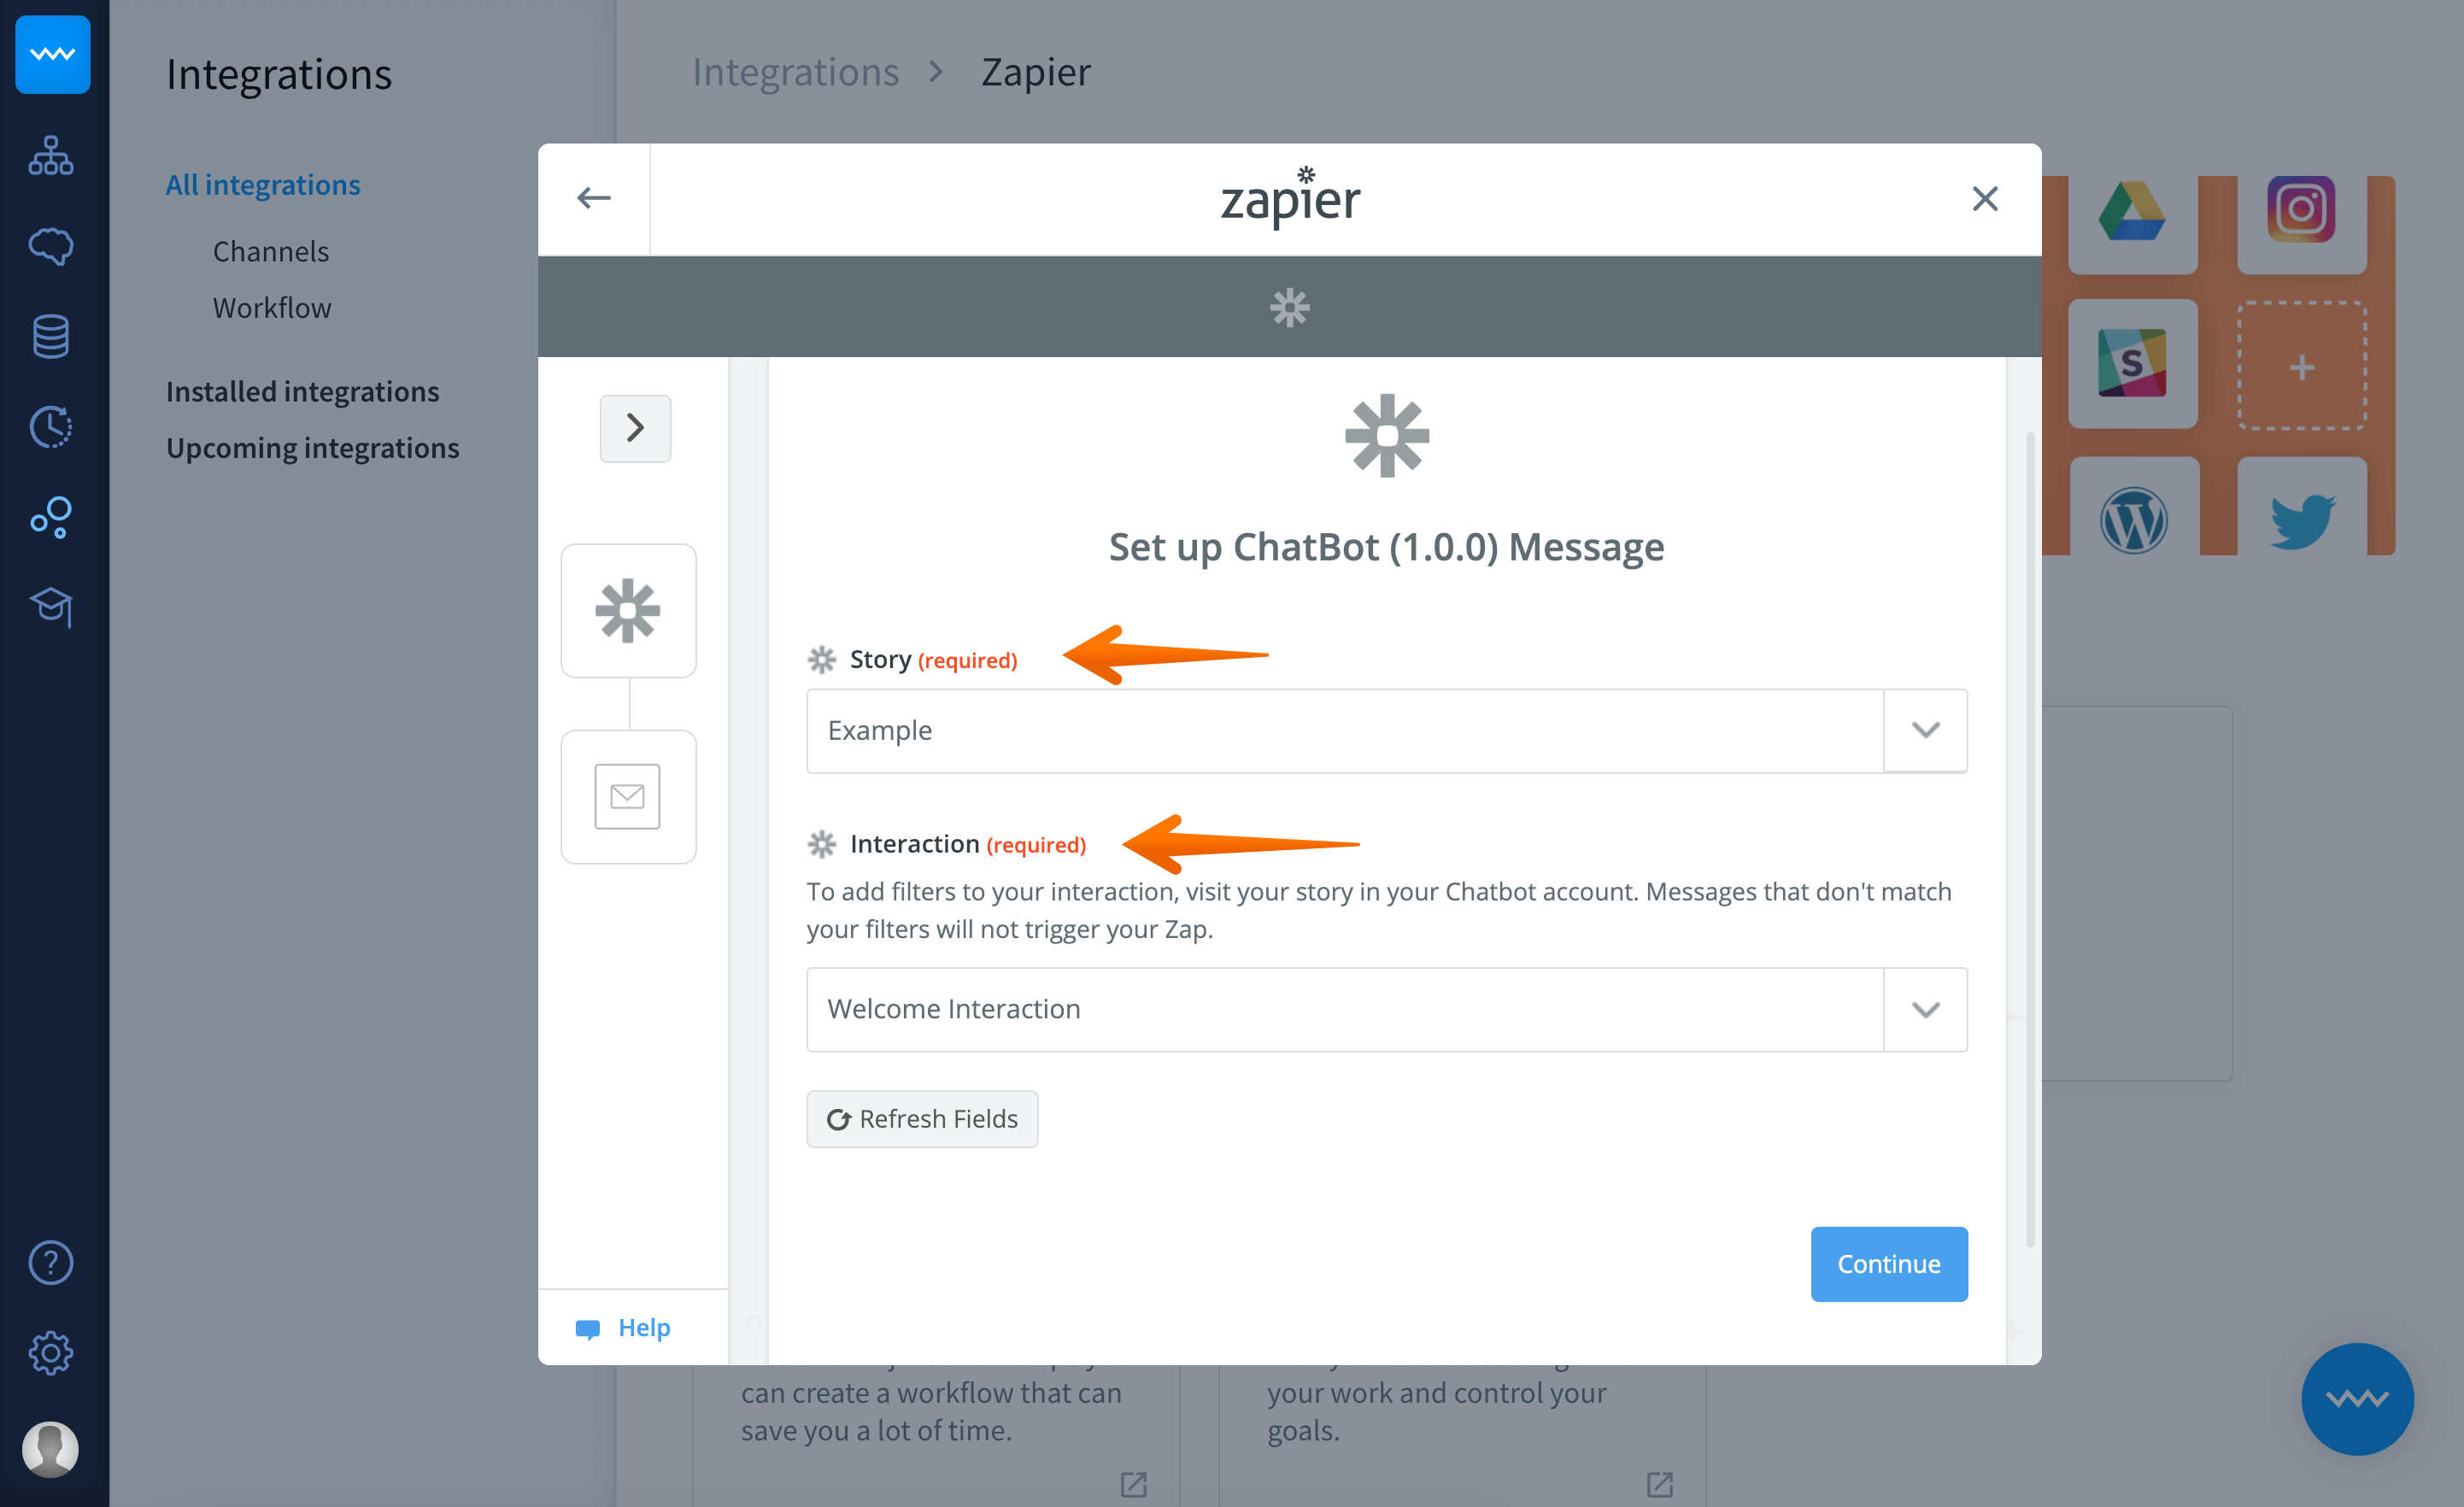
Select a ChatBot story and interaction that you want to add your Zap to.
-
In this step, the Zap pulls sample data that can help you to customize your integration.

-
We’ve arrived at the essential step of the settings. Here you can create a template for your Zap using example data that we’ve pulled for this purpose.

-
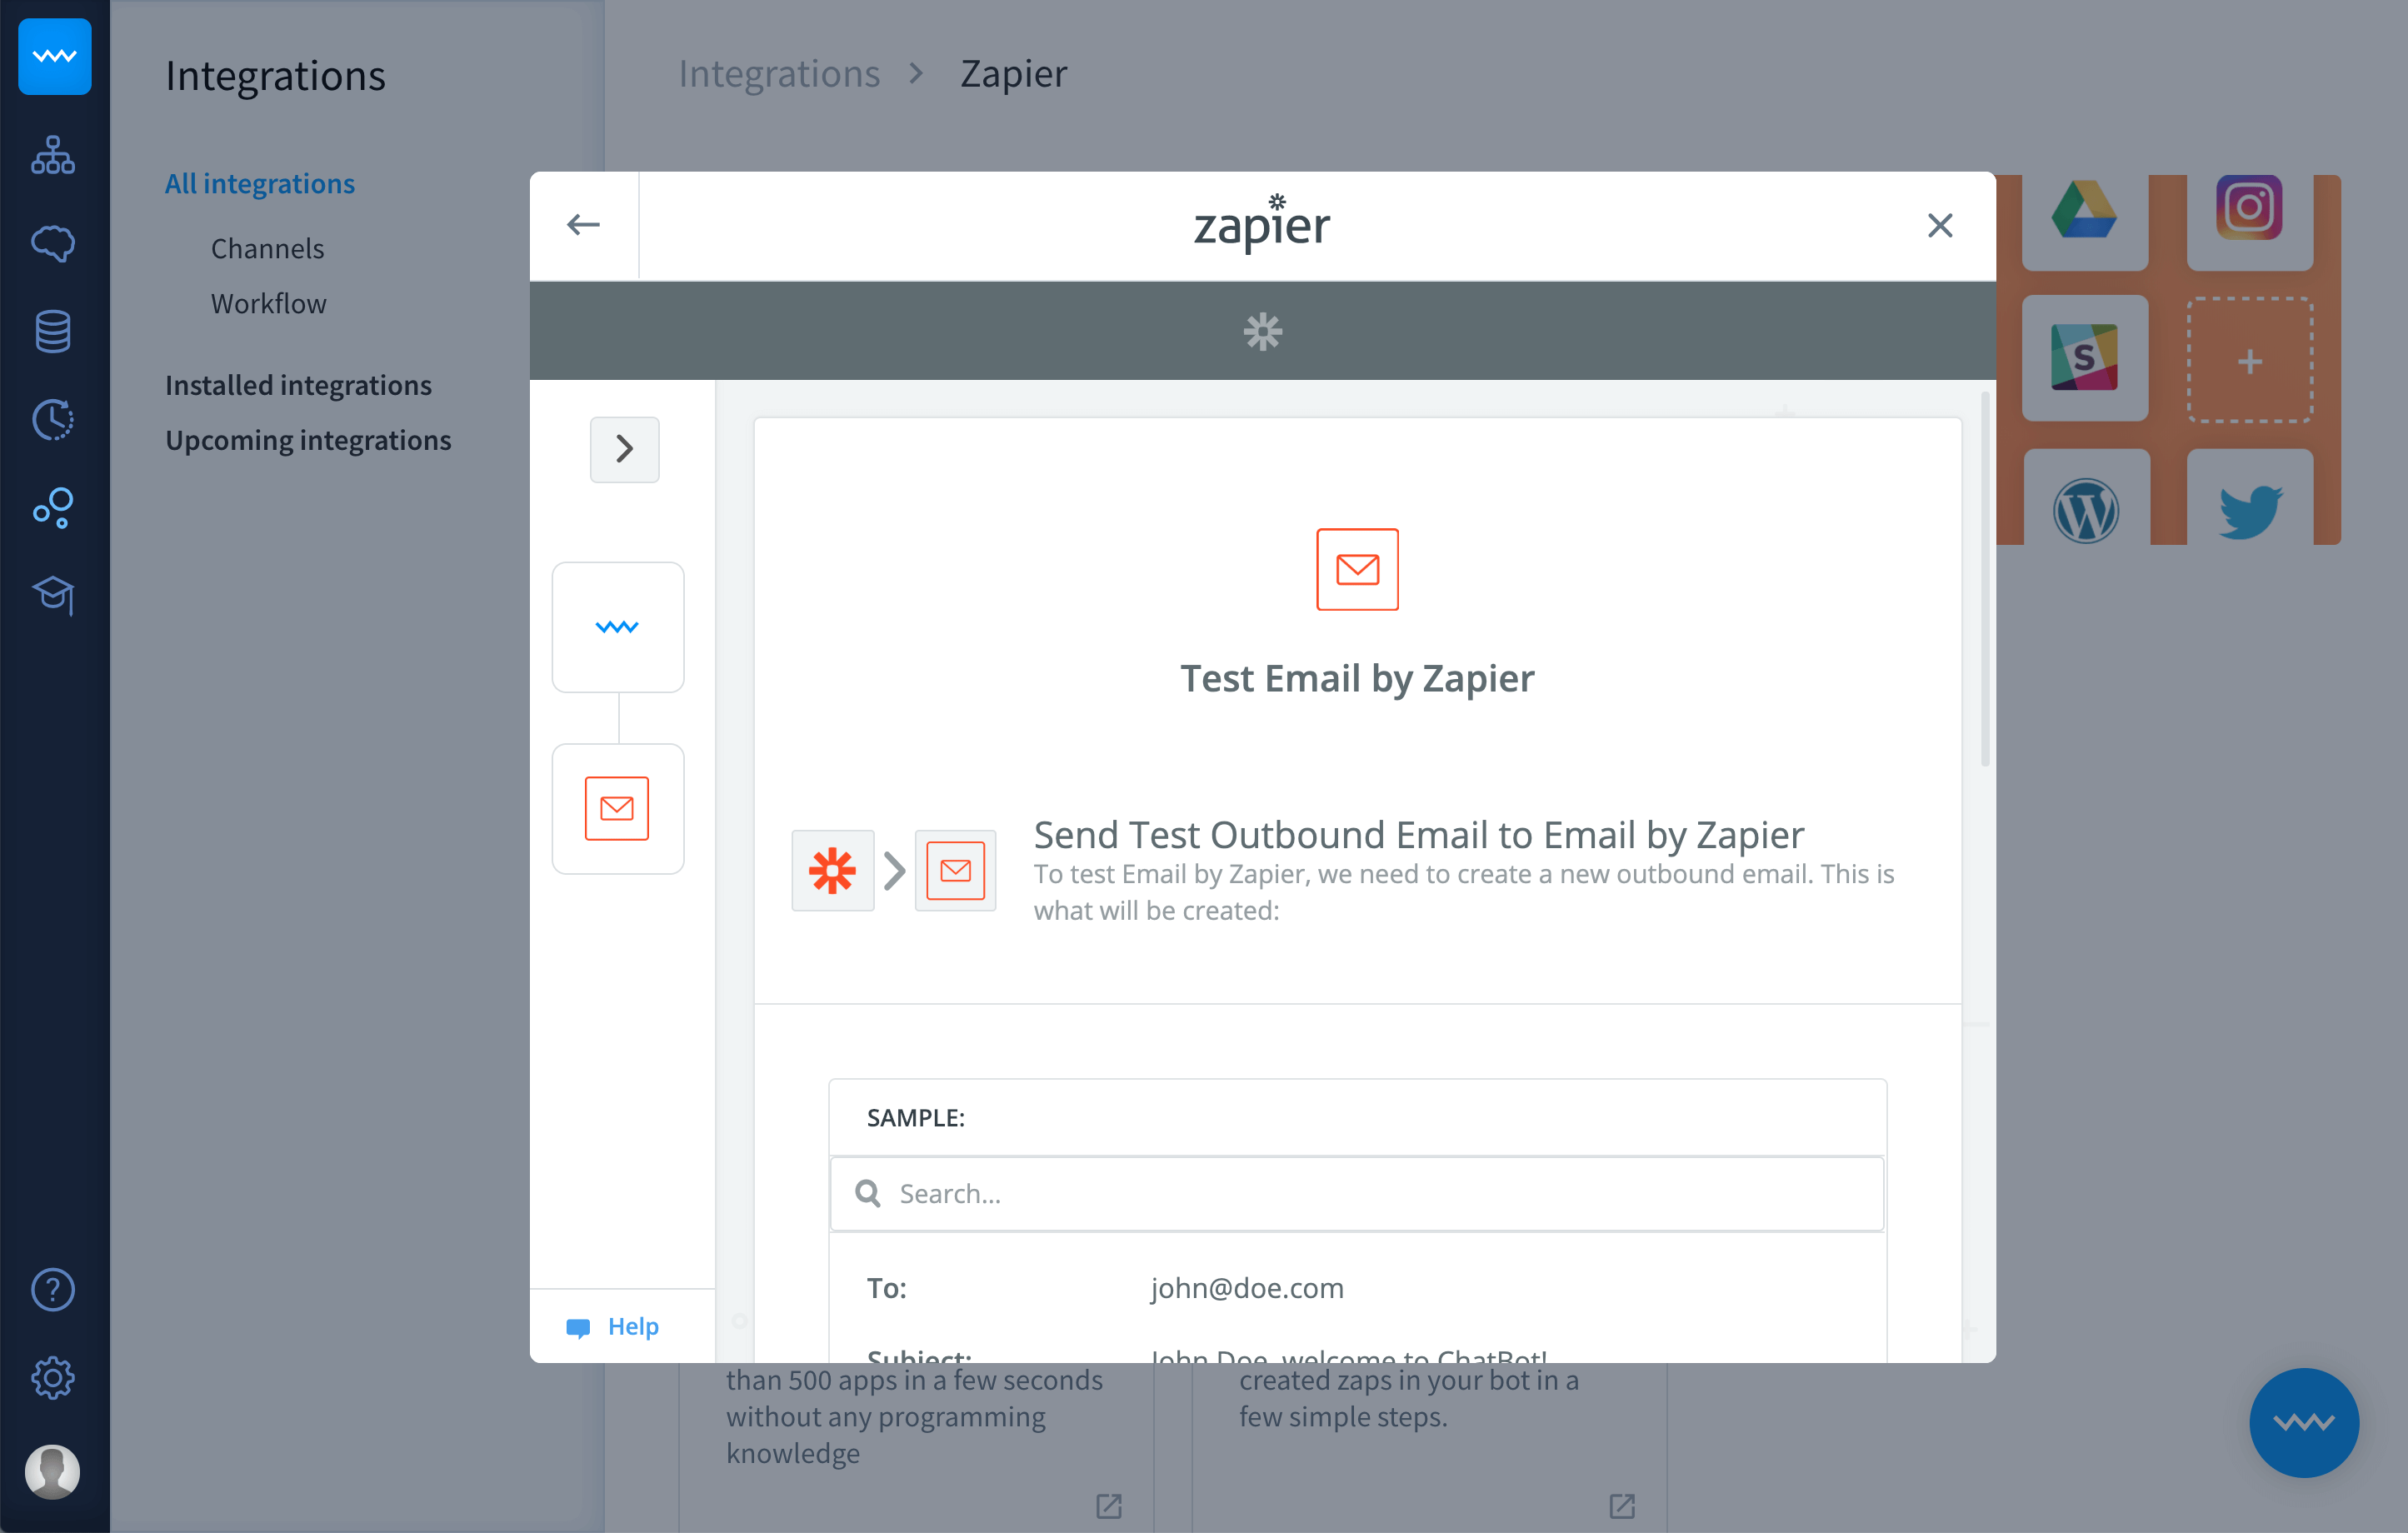
It’s time to do the first tests. Review your configuration and click Send Test to Email by Zapier when you’re ready.
-
Use the toggle to activate the integration.
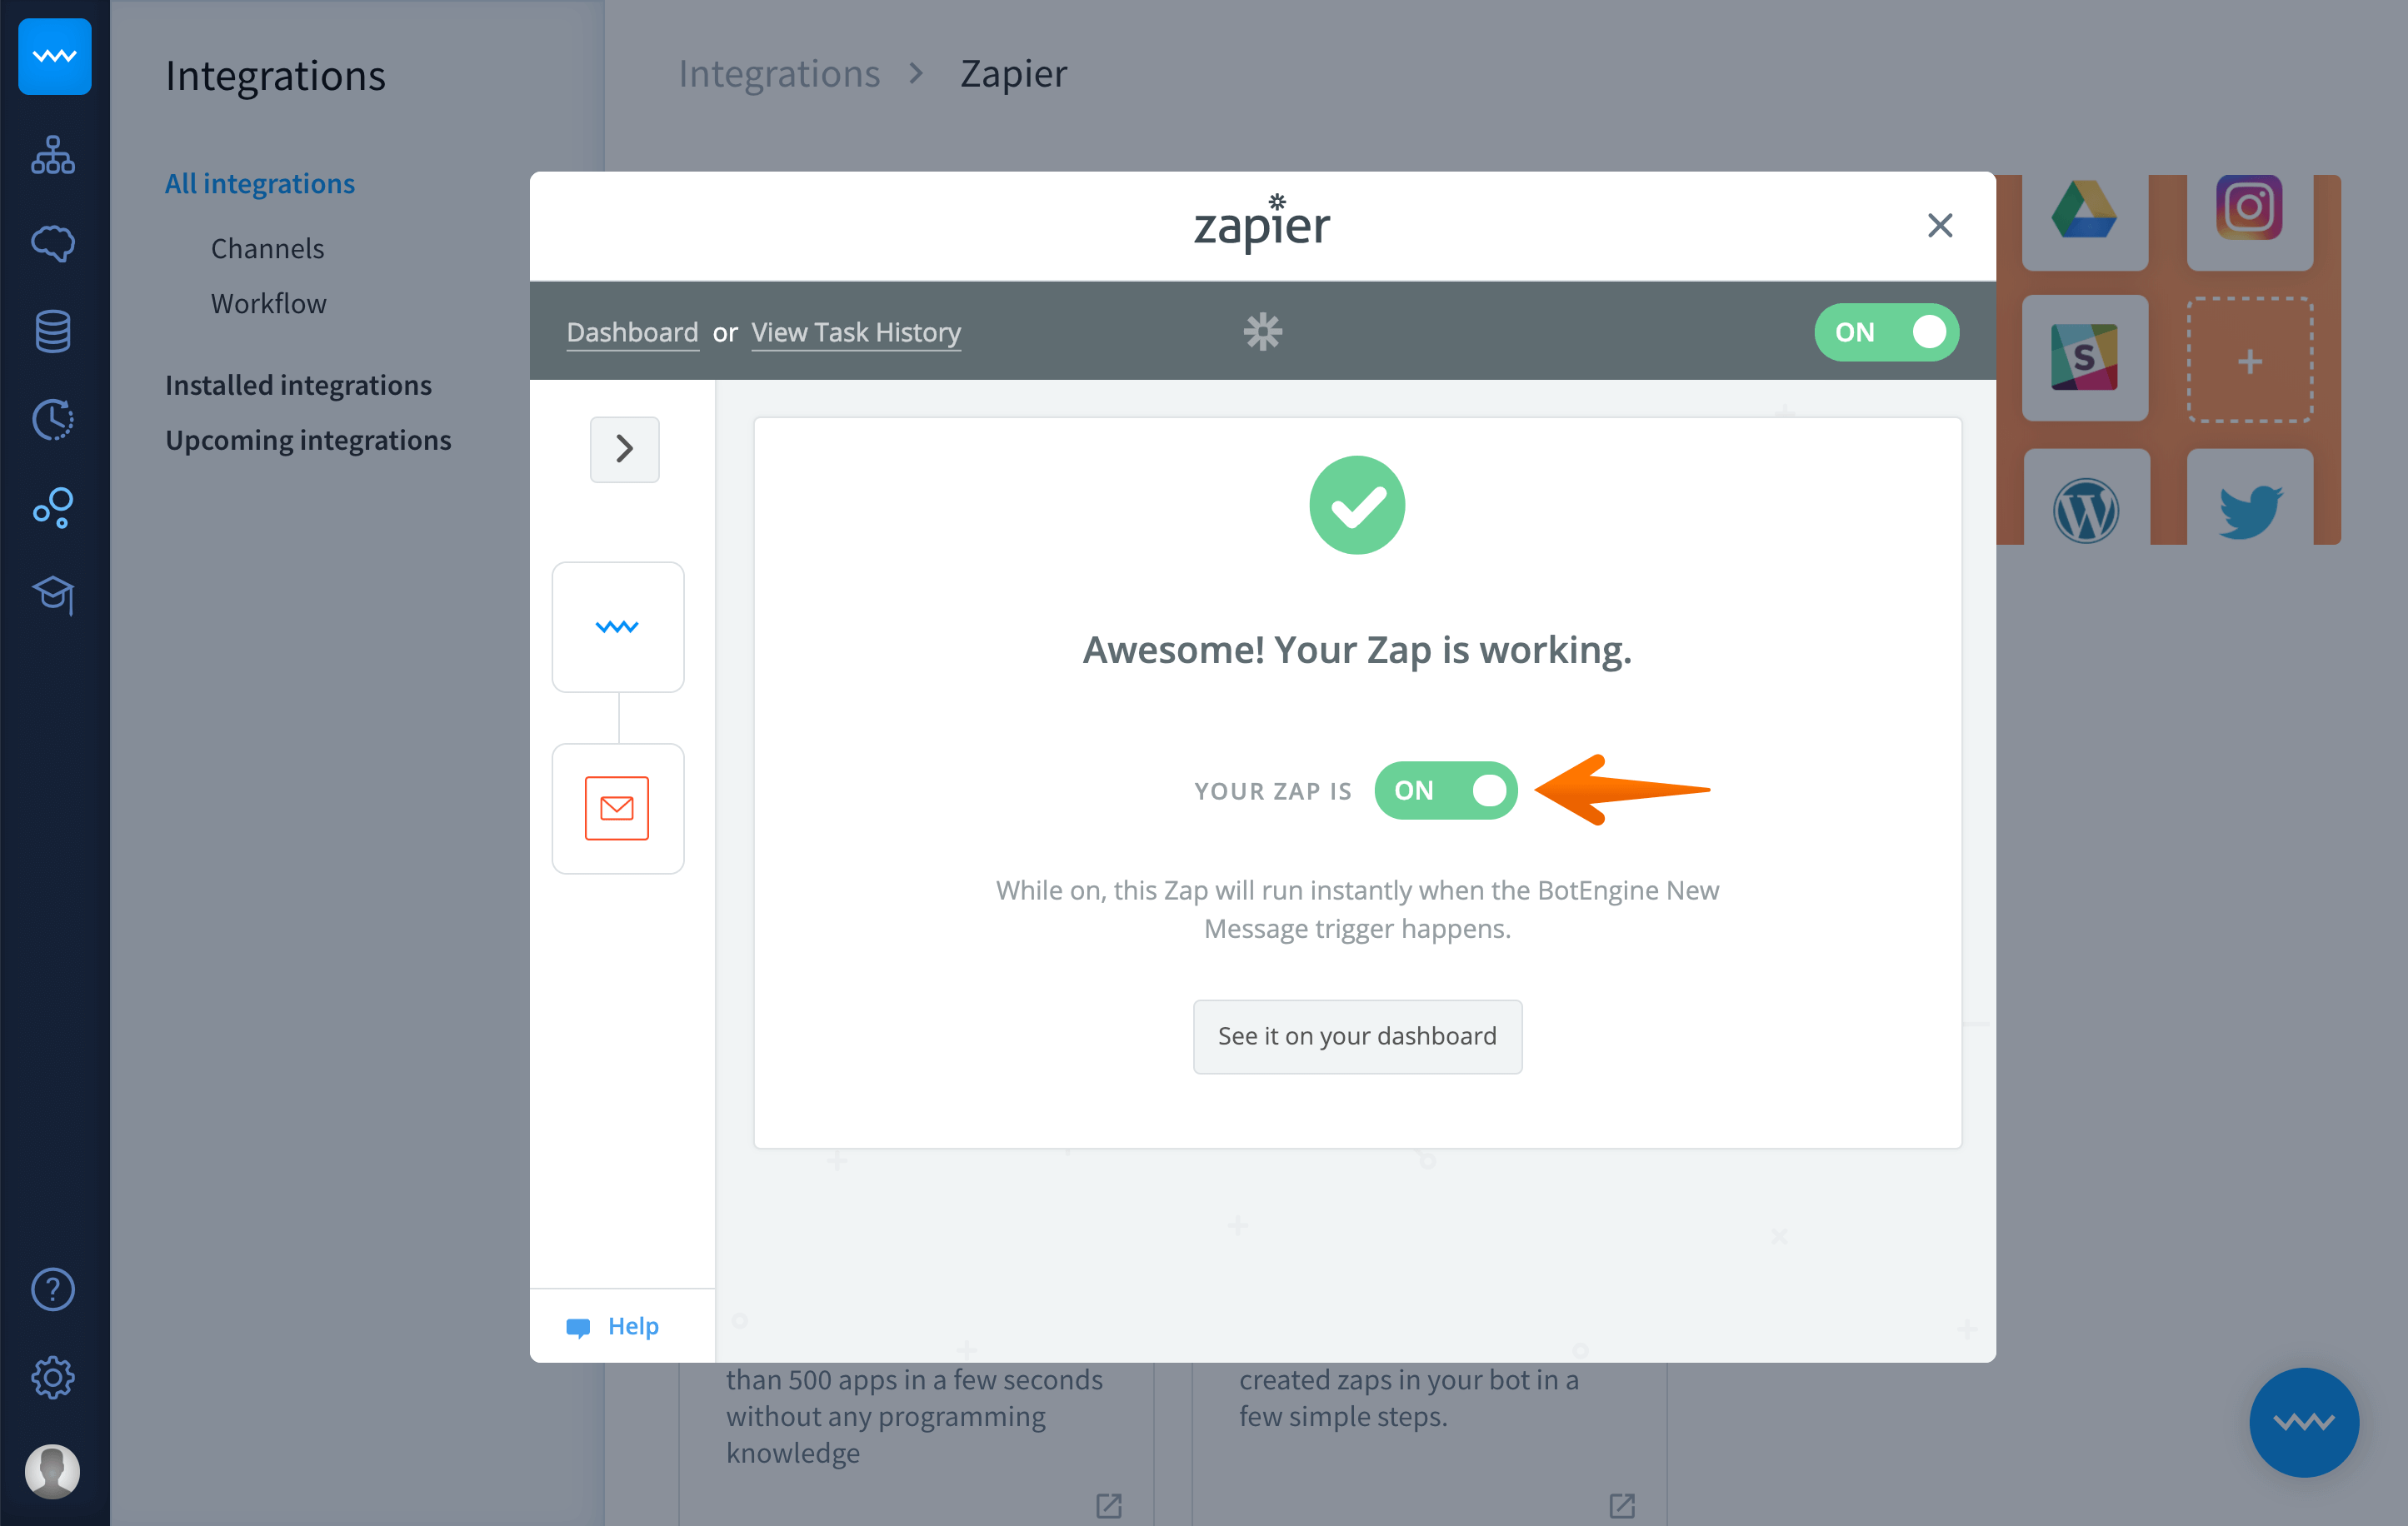
You’re all set up! 🎊 Your Zap is ready to support your daily tasks.
