Let your chatbot transfer chats to your customer support team whenever needed. The LiveChat integration lets you pass an ongoing chat from your chatbot to your customer service team. You can decide when the transfer should be handled and what happens if your agents are not currently available.
How to use the Transfer chat action
-
Open your Story.
-
Choose a point in the Story at which you want to transfer the chat to a human agent.

-
Drag the Transfer chat block from the menu and drop it at your chosen point.

The Transfer chat action supports two paths: Success and Failure. These allow you to prepare your chatbot for two different scenarios:
-
The Success path is triggered when a chat is transferred successfully.
-
The Failure path is triggered when a chat transfer is unsuccessful. This may happen when:
There are no human agents in LiveChat, so your chatbot can’t pass chats to them.
Agents are logged into LC, but their status is set to not accepting chats.
Agents are accepting chats, but they’ve reached the maximum number of concurrent chats.
-
-
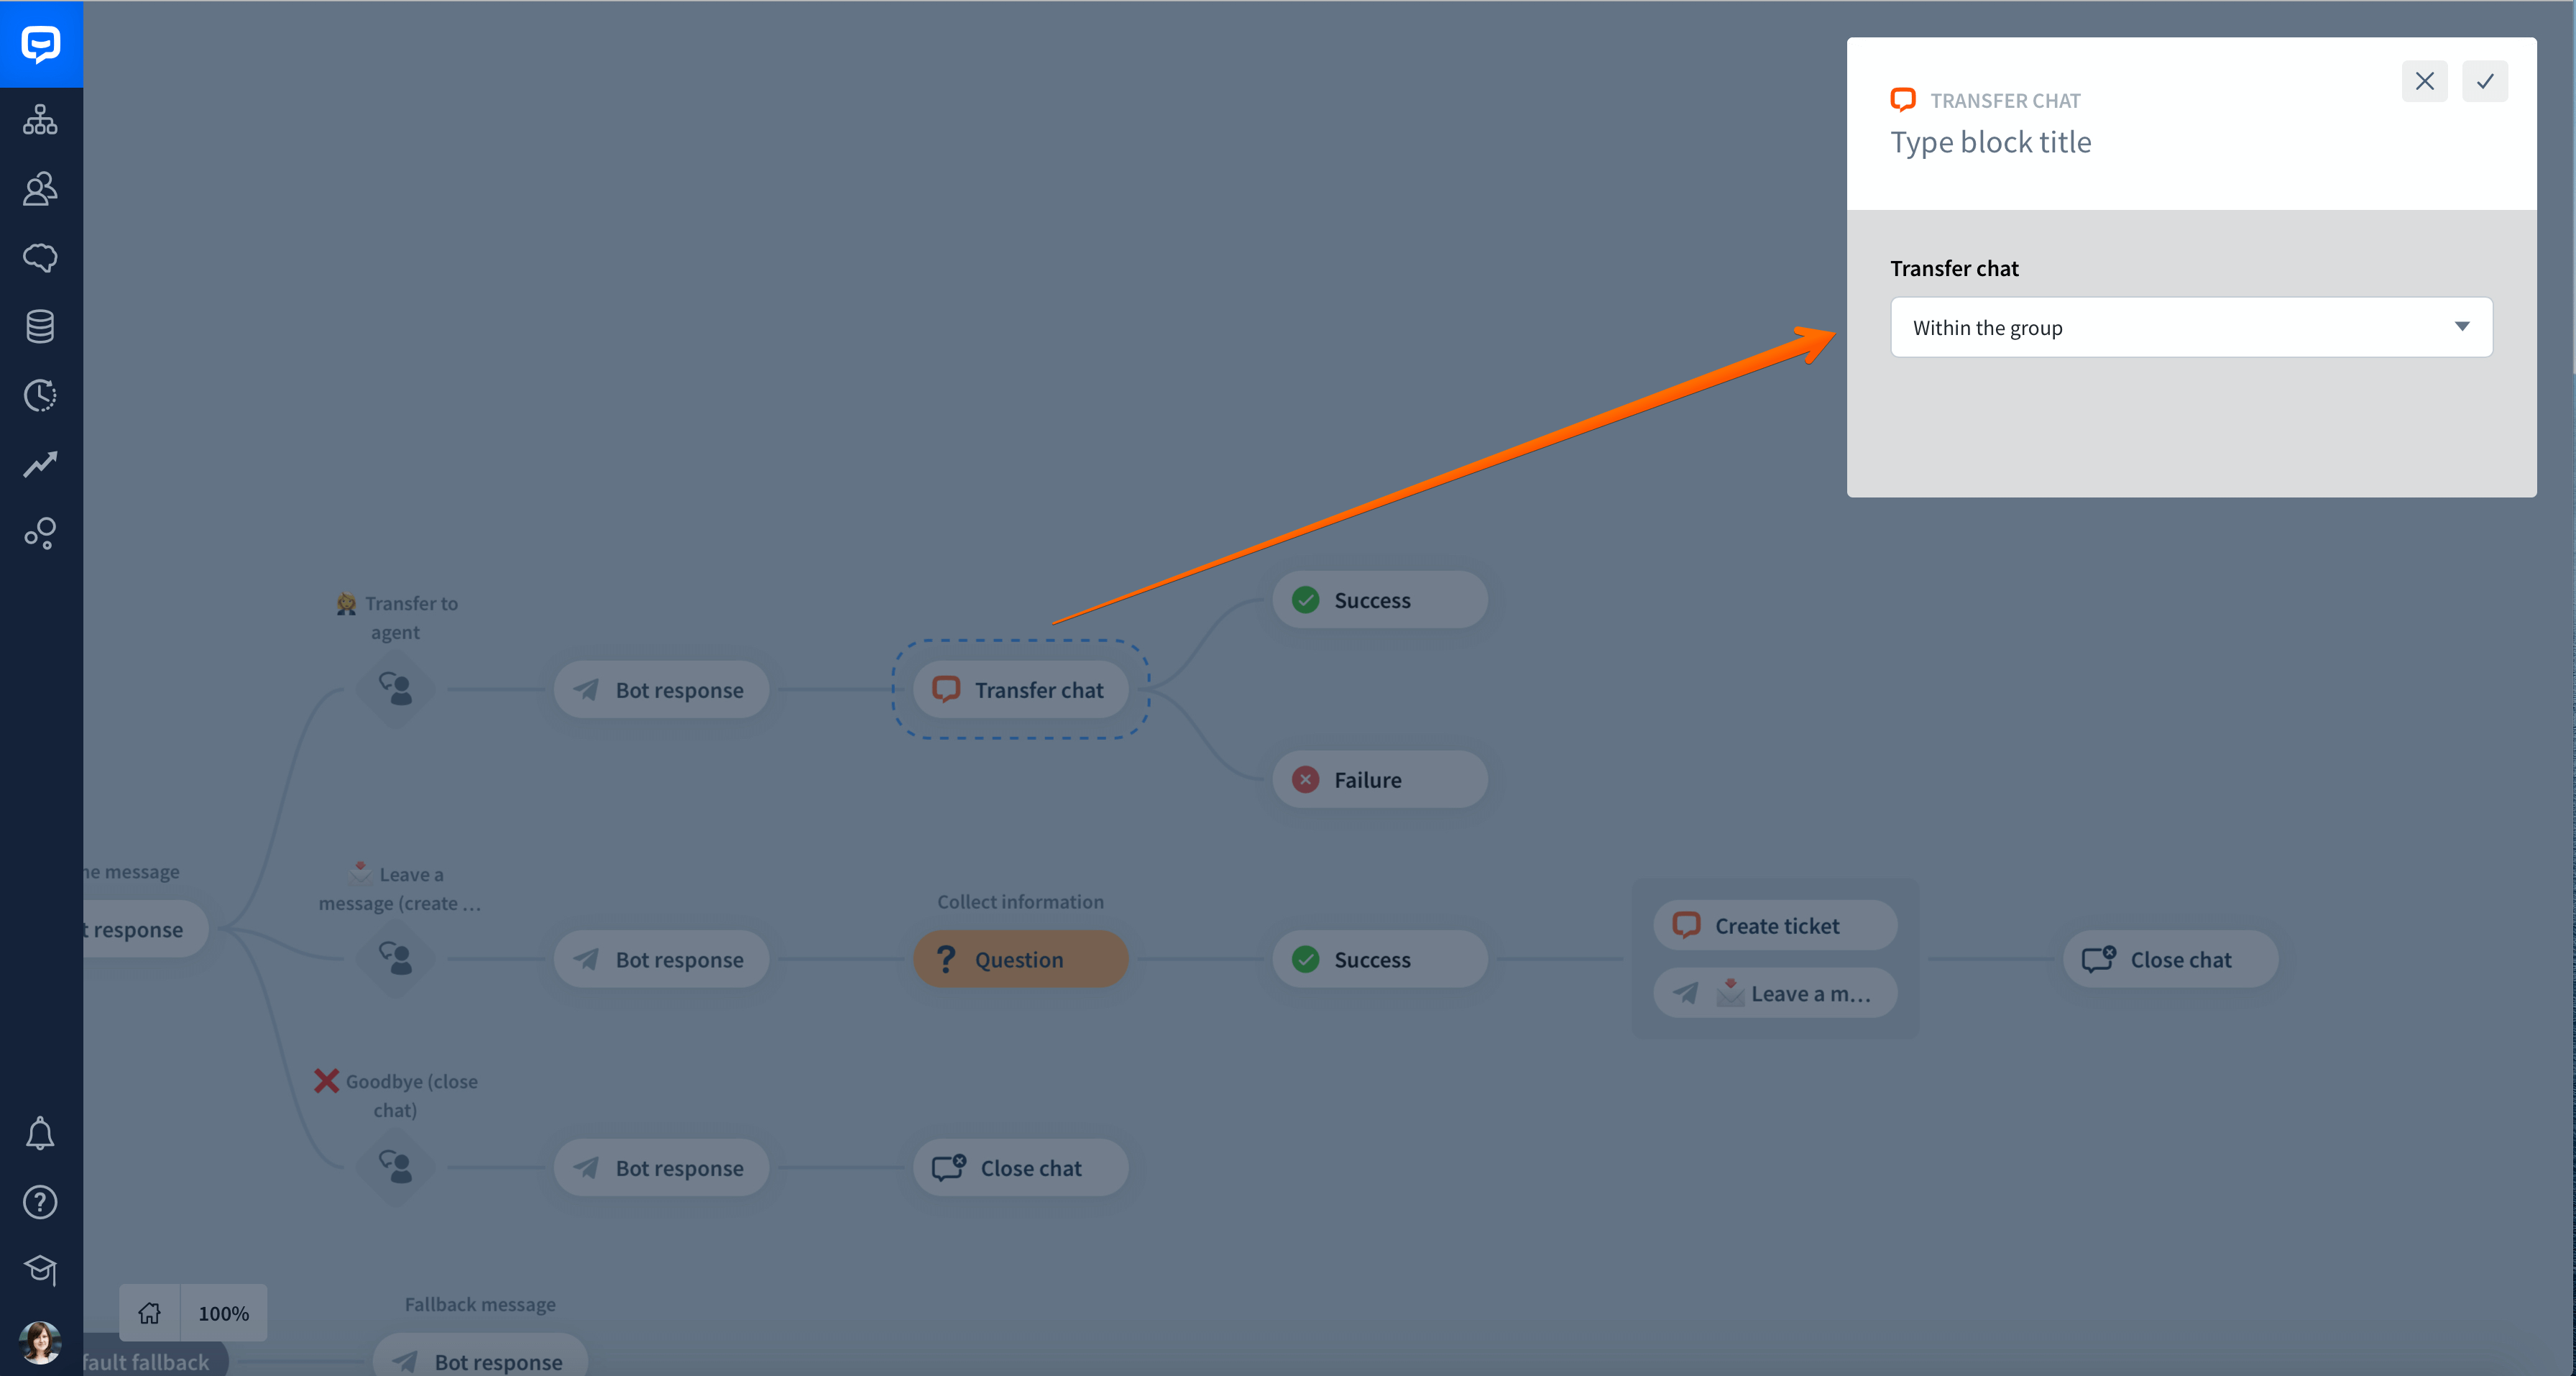
Now, open the Transfer chat action and decide which LiveChat group the chat should be transferred to.
-
If you want to transfer a chat within the same group in which it started, choose Within the group.
-
If you want to transfer a chat to a different group than the one from which it started, choose To another group. Then type in the group’s number in LiveChat.


-
-
Now, add a Bot response after the Failure block. You can use it to let users know what will happen if the transfer is unsuccessful. If needed, you can also let them create a ticket, or redirect them to another interaction to sustain a conversation.

Transfer chats to a human agent when your chatbot can’t provide answers
You can also set up your chatbot to transfer a chat to a human agent when it can’t match the user input with any interaction. To do so, you need to use Filters after Default fallback.
-
Drag a Filter block and drop it after Default fallback.

-
Select the Filter block you’ve added. Choose Failures in the Add new filter field.

-
Set up the Failures attribute as less than or equal 2. Then, select Apply filter. The filter lets you detect when the user supplies an unmatchable response or query more than once. With this arrangement, the bot will display a Fallback message two times before transferring the user to an agent.

-
Now, add a Bot response block to provide the bot’s reply in case the chatbot can’t match the user input with any interaction. You can ask the user to rephrase their question to help sustain the conversation.

-
Next, add a second Filter block.

-
Let’s say you want to transfer a chat to an agent after two unsuccessful queries. To do so, select the Filter block and set up the Failures attribute as greater than 2.

-
Now, add a Bot response after the Filter block and inform the user about the transfer.

-
Next, drag the Transfer chat block from the right-hand menu and drop it after the Bot response. Now, whenever a user types a query that won’t be matched with any of the interactions twice in a row, they will be transferred to a LiveChat agent. Please note that you can change the number in the filters, for example, from 2 to 3, but it has to be the same for both filters.

-
Your Story can end here. However, the transfer to LiveChat might be unsuccessful because all your agents are offline or they’re not accepting chats at the moment. In this case, you can add a Bot response to the Failure block to provide the user with additional information.

-
At this point, you can let the user leave a message for your team using the Create ticket action. However, if you’ve already implemented the Create ticket action in your Story, you can add the Go to step action after the Failure block to redirect the user to this or any previous interaction. To create a ticket, you need the user’s email address. The chatbot can collect the user’s email address thanks to:
-
The Question action
-
The pre-chat survey in LiveChat.

-
-
When you open the Go to step block, redirect the user to the Question interaction to collect their information, such as their email address and message.

-
Finally, make sure that you’ve added the user’s email address in the Create ticket block by using the email attributes.
