A story is a conversation scenario between customers and the bot. You can design the bot to do things like receiving pizza orders or scheduling doctor appointments or whatever you want.
To better understand stories, let’s think for a second how does a chatbot work. When a user types a query into a chat window, the system tries to find the best matching response, called an interaction. There are many rules that determine which one is going to be triggered (read more about interaction dependencies and context).
For example, a user can enter the chat, ask a short question and leave the chat but can also set up an account, take an order and verify its status. You decide the number of possible scenarios, but it’s the user who interacts with them. We called it Stories.
Building a good Story is the key to successful chat bot. We advice you to take a look on a short Story that shows good designing practice.
Story Elements
-
Name – Give your Story a good name to identify it.
-
Description – This field is optional but we recommend you to use it. It’ll help you to quickly find out what’s the Story about.
-
Story ID – Every Story has its ID.
-
Active integrations – When an integration is active, you’ll see it’s icon above the story name.
-
Metrics – Shows the number of chats from the last seen days.
Manage your story
Conversational blocks
As with the existing Visual Builder, the new version lets you create Stories by dragging and dropping elements. However, now all the elements take the form of conversational blocks. They have different colors and shapes to help you differentiate them on a conversation tree.

Managing blocks
a) Adding blocks
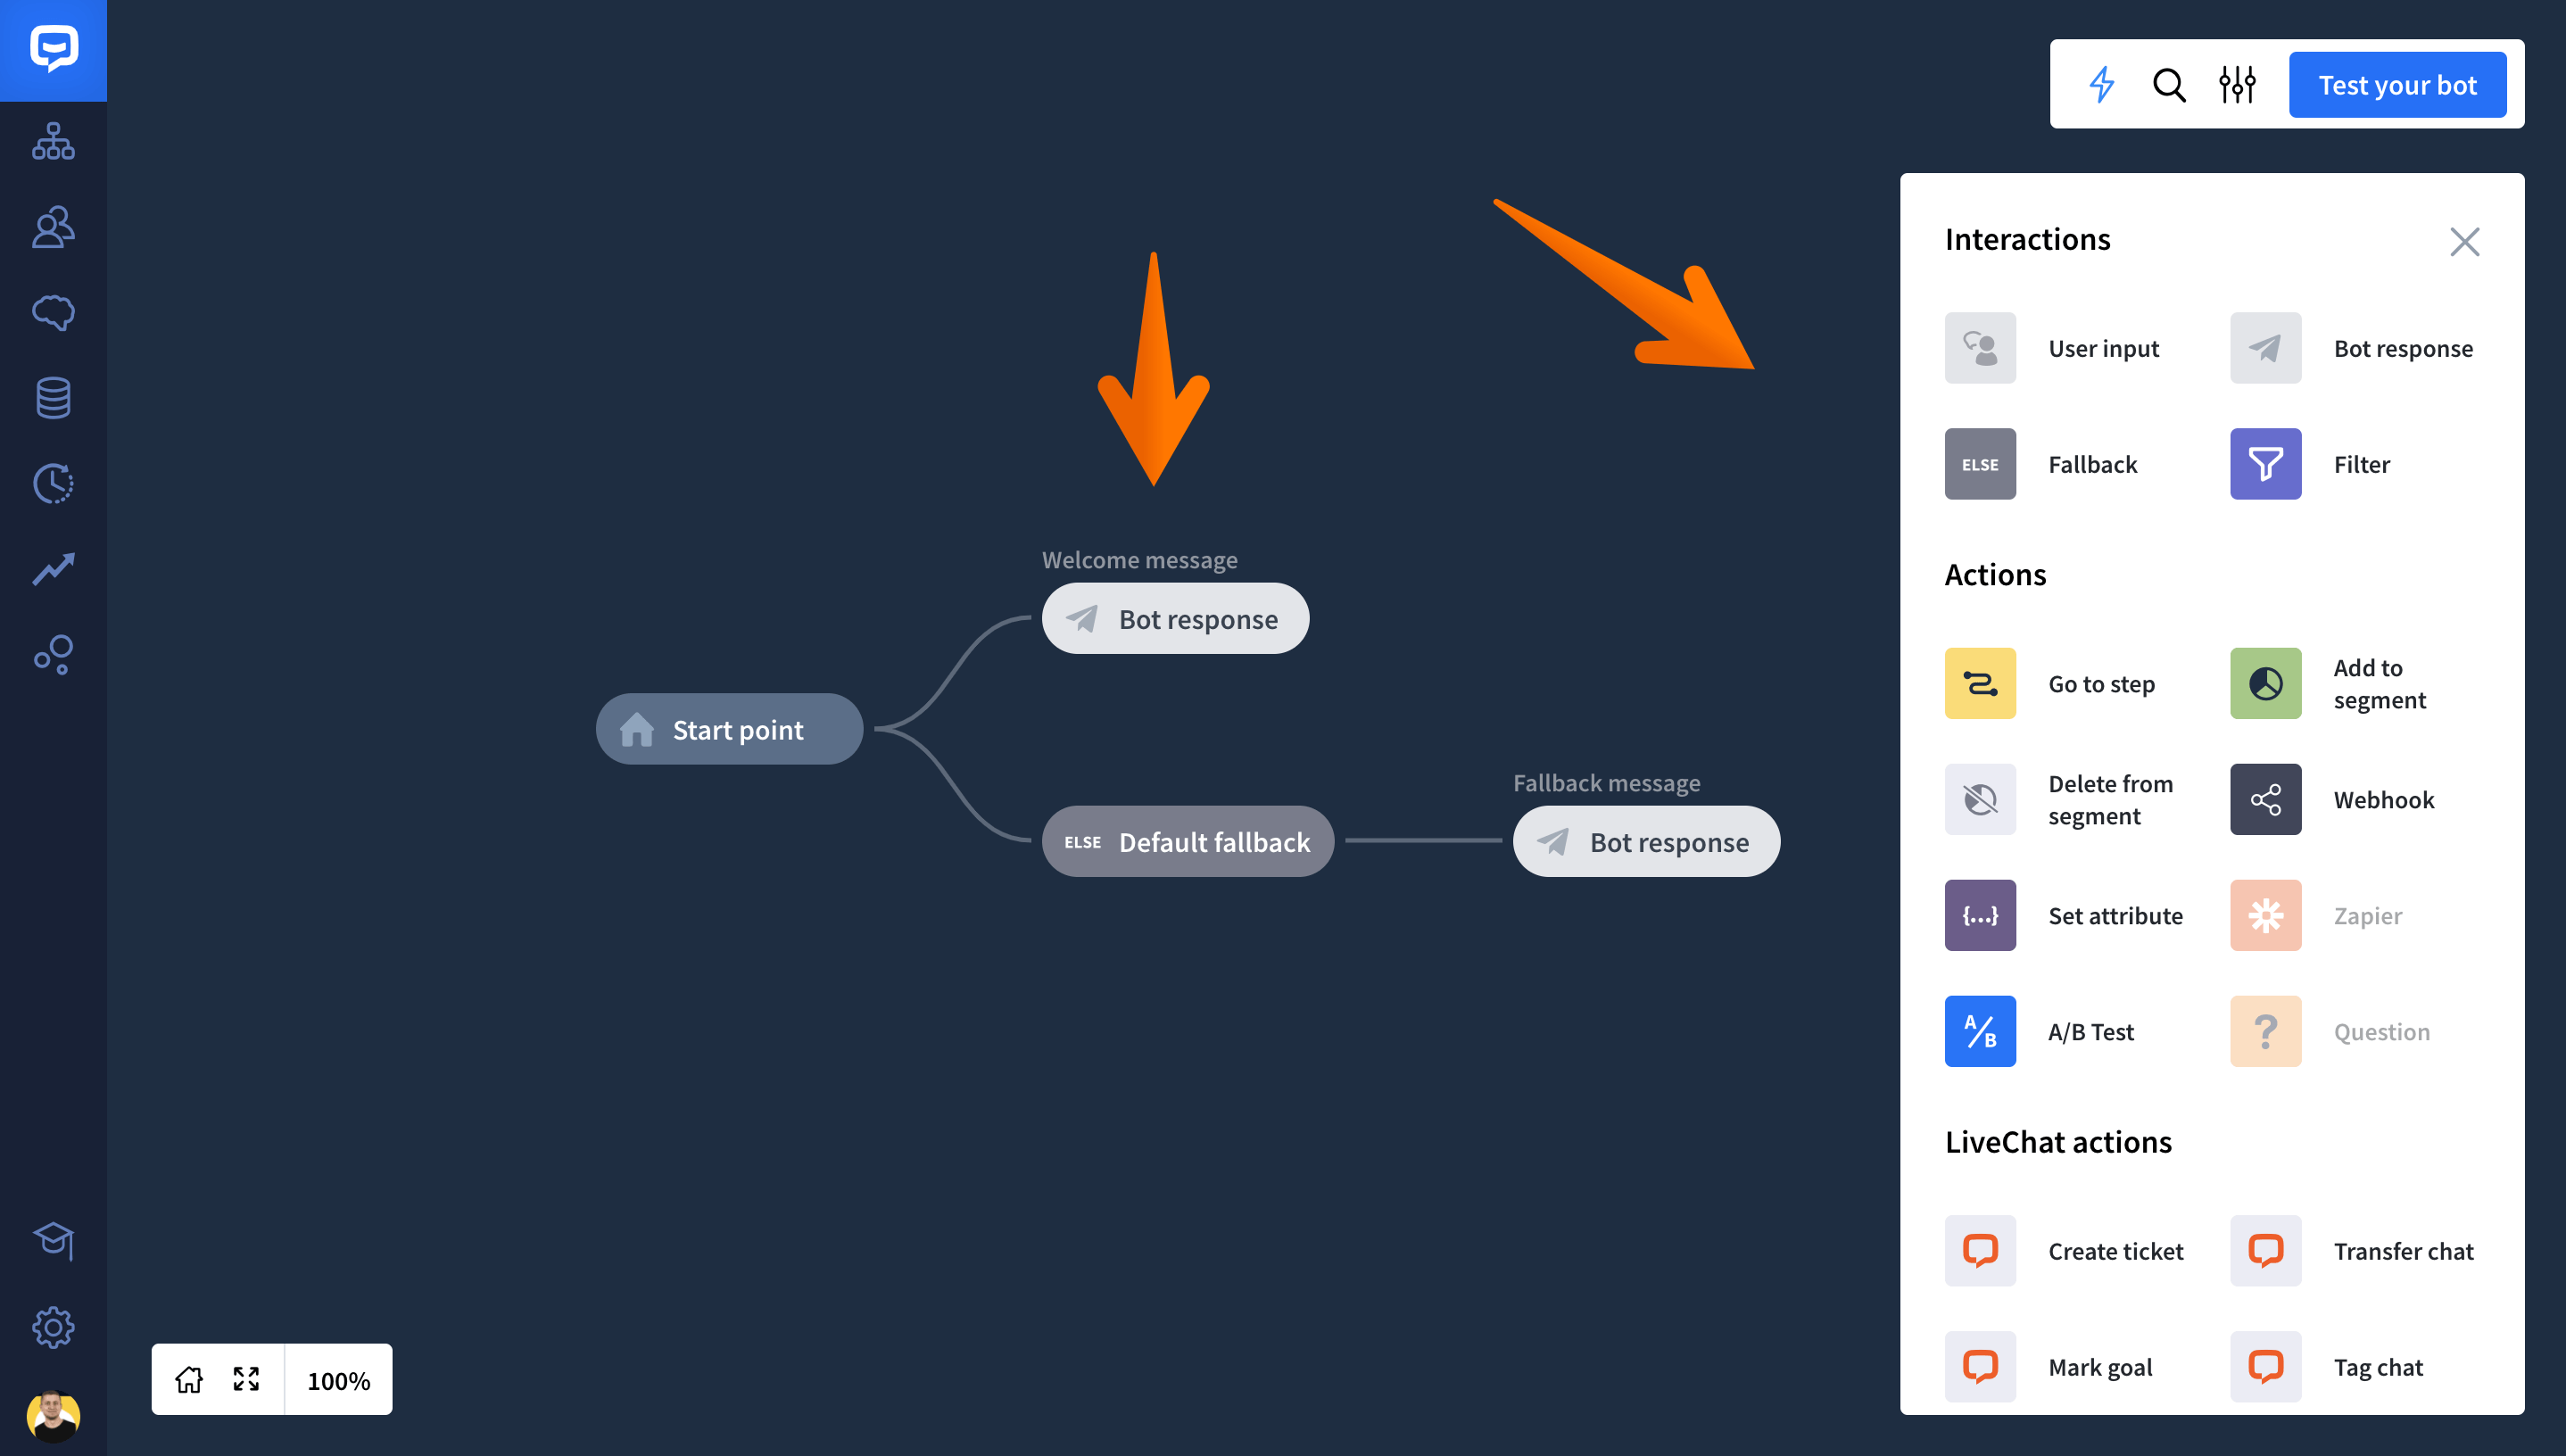
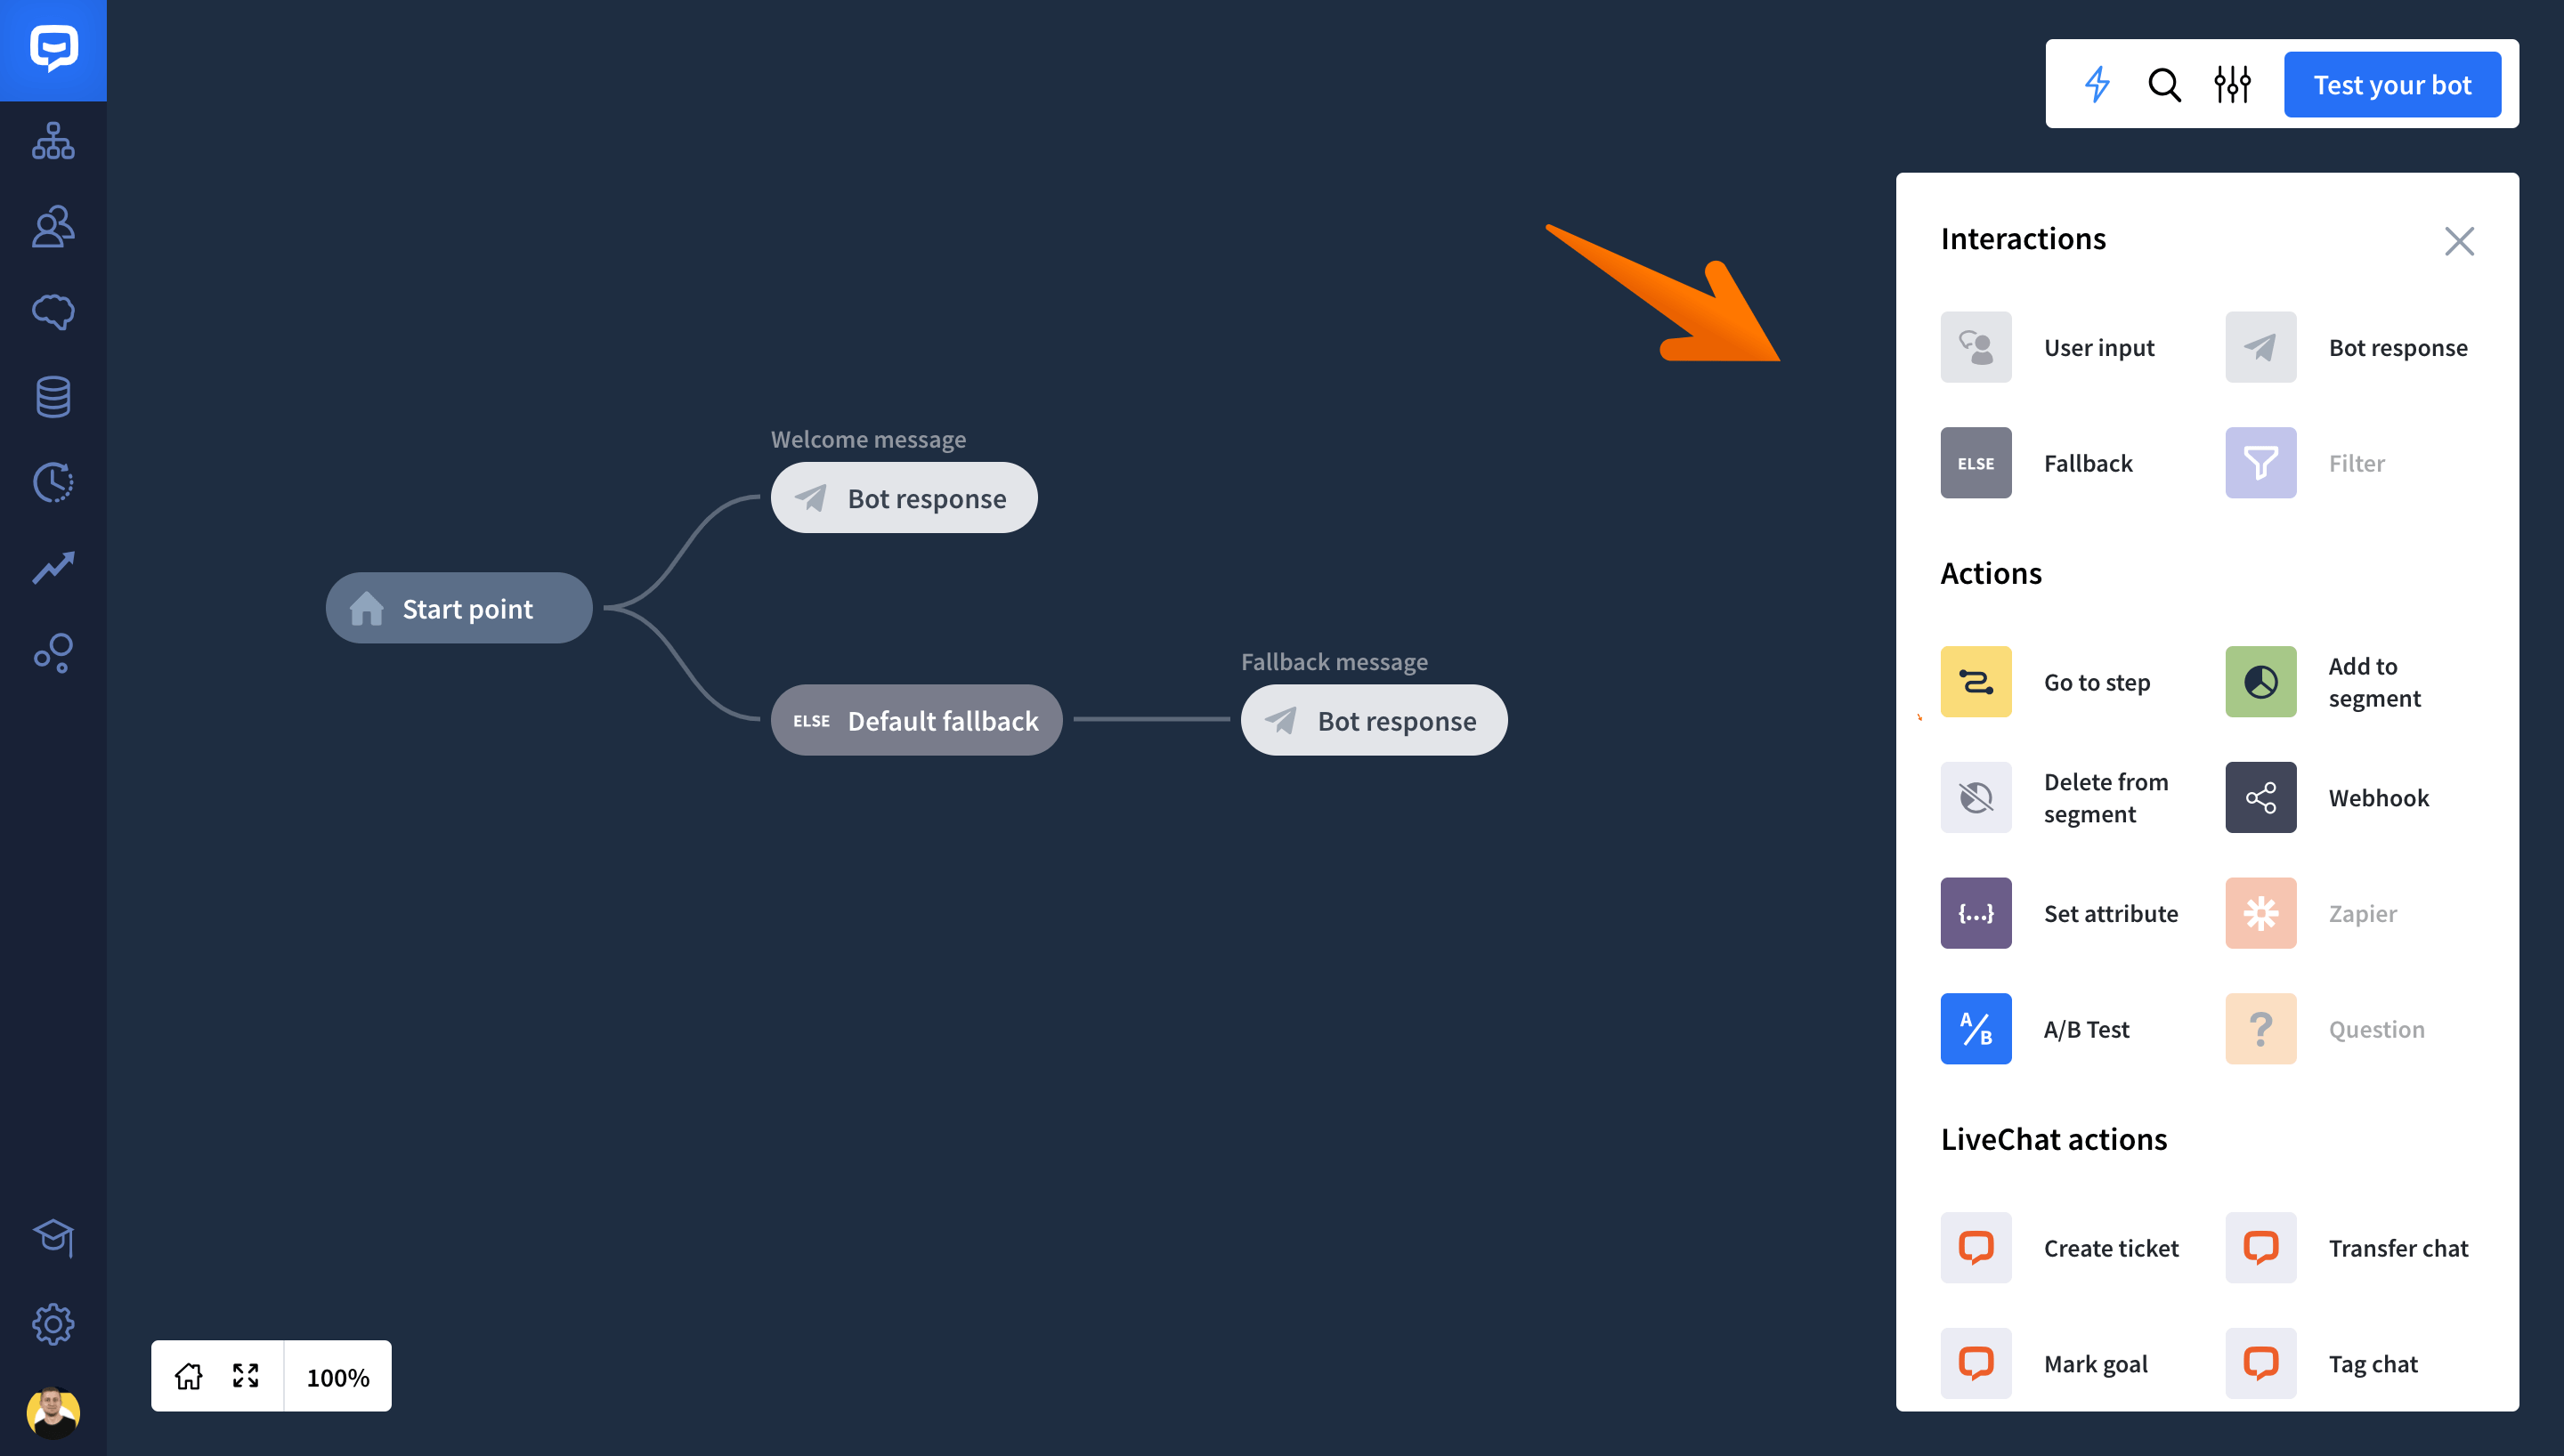
To add a block to your conversation tree, click on the thunder icon on the top right menu. Choose a block from the list and drag it on the board.
The plus icon that appears on the board will suggest places where you can add the chosen action or interaction.
b) Naming blocks
We recommend naming your blocks so that you can easily locate particular interactions using the search option.
-
Click on the block to open the edit window.
-
Then type the block title and close the window. The change will be saved automatically.
c) Grouping blocks
The new editor allows you to organize blocks into larger groups. Thanks to that, larger stories can be more compact and it’s easier to navigate through them.
To group more actions and interactions together, choose a new block from the main menu and drag it onto particular block on your tree.
d) Moving blocks
It may happen that you need to change the position of a single block or a group.
To move the block, click on a chosen block and choose the compass rose icon that will appear above. The plus icons on your tree will indicate places where you can move the block.
e) Removing blocks
Click on the block and choose the trash icon. You can remove a single block or a block with children (all the actions and interaction that follow it).
Trigger points
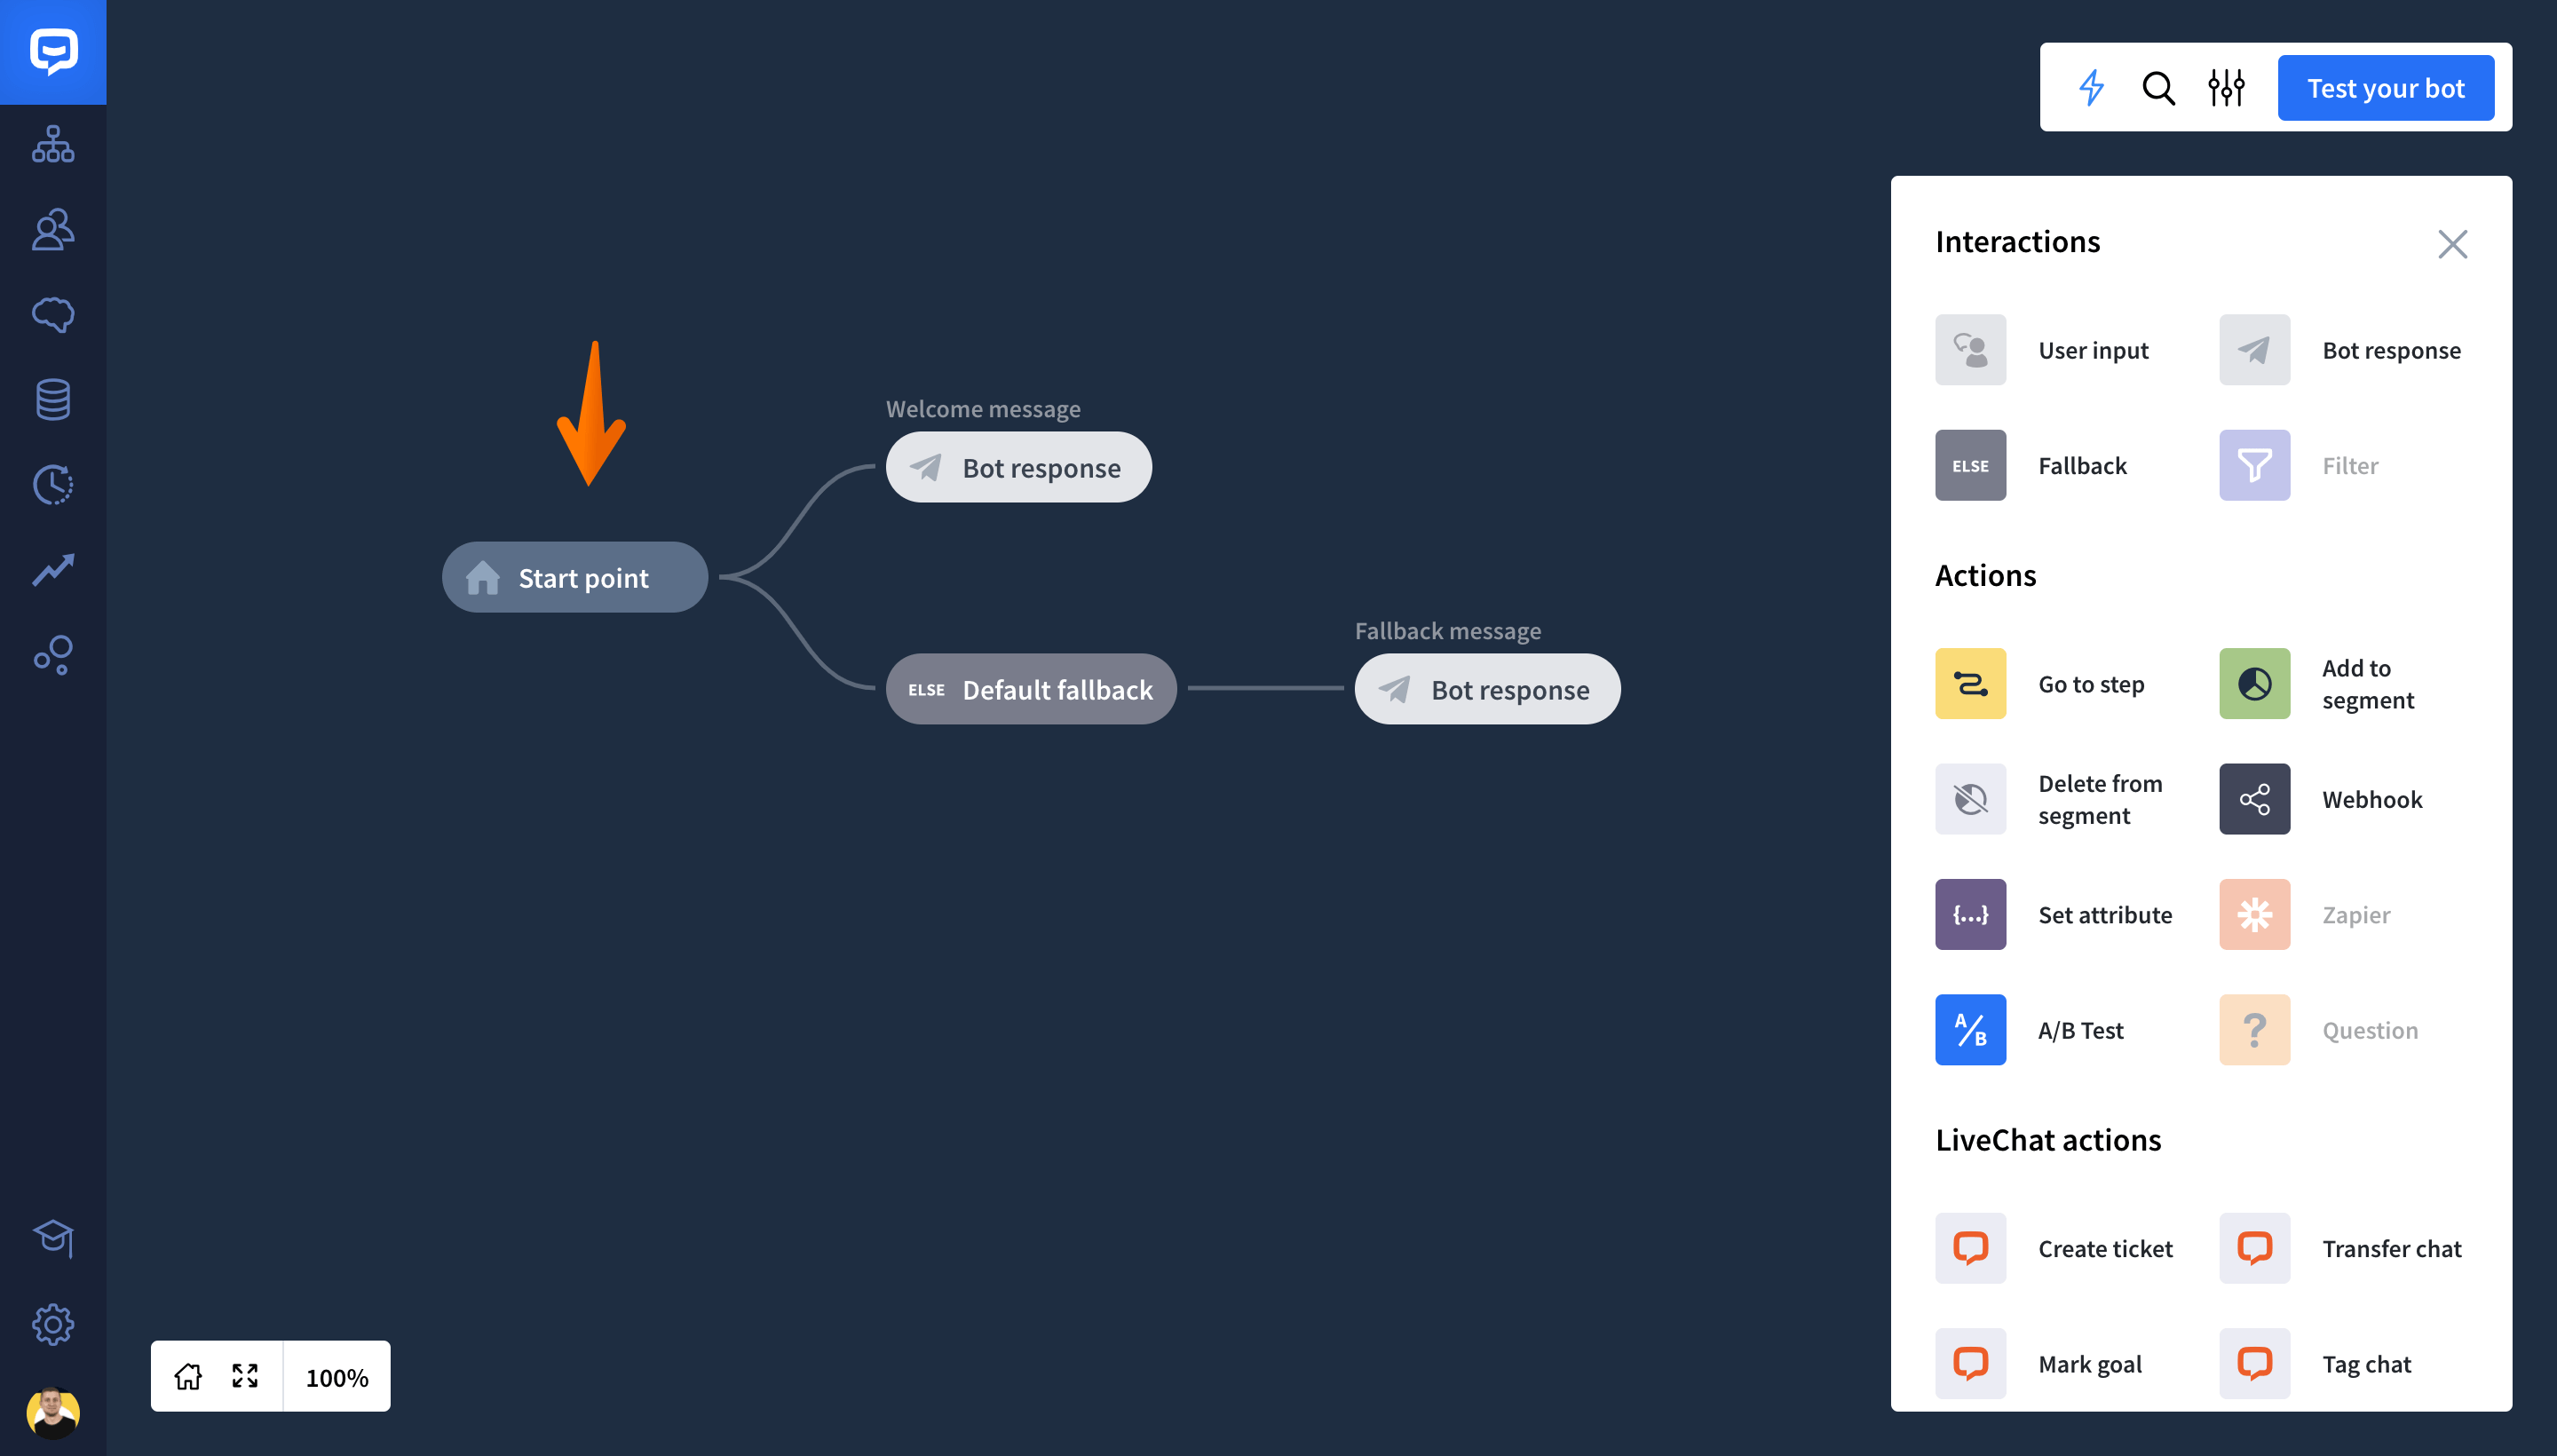
Start point
This the beginning of your chatbot Story. We added a default welcome message to the Start point to help you kick off with your Story.

Default fallback
Default fallback is a trigger point that shows you a place where you need to add a bot response or action that will be realized when the bot doesn’t recognize the user’s message.
Using fallback, your bot can suggest rewording the question, show possible options or perform specific actions, for example, transfer a user to a human agent or allow a user to create a ticket.
Click here to learn how to edit fallback.
Interactions
Every chatbot Story is made of interactions – steps that define the behavior of a bot. These steps describe what the bot and users say and when these interactions occur.

Types of interactions:
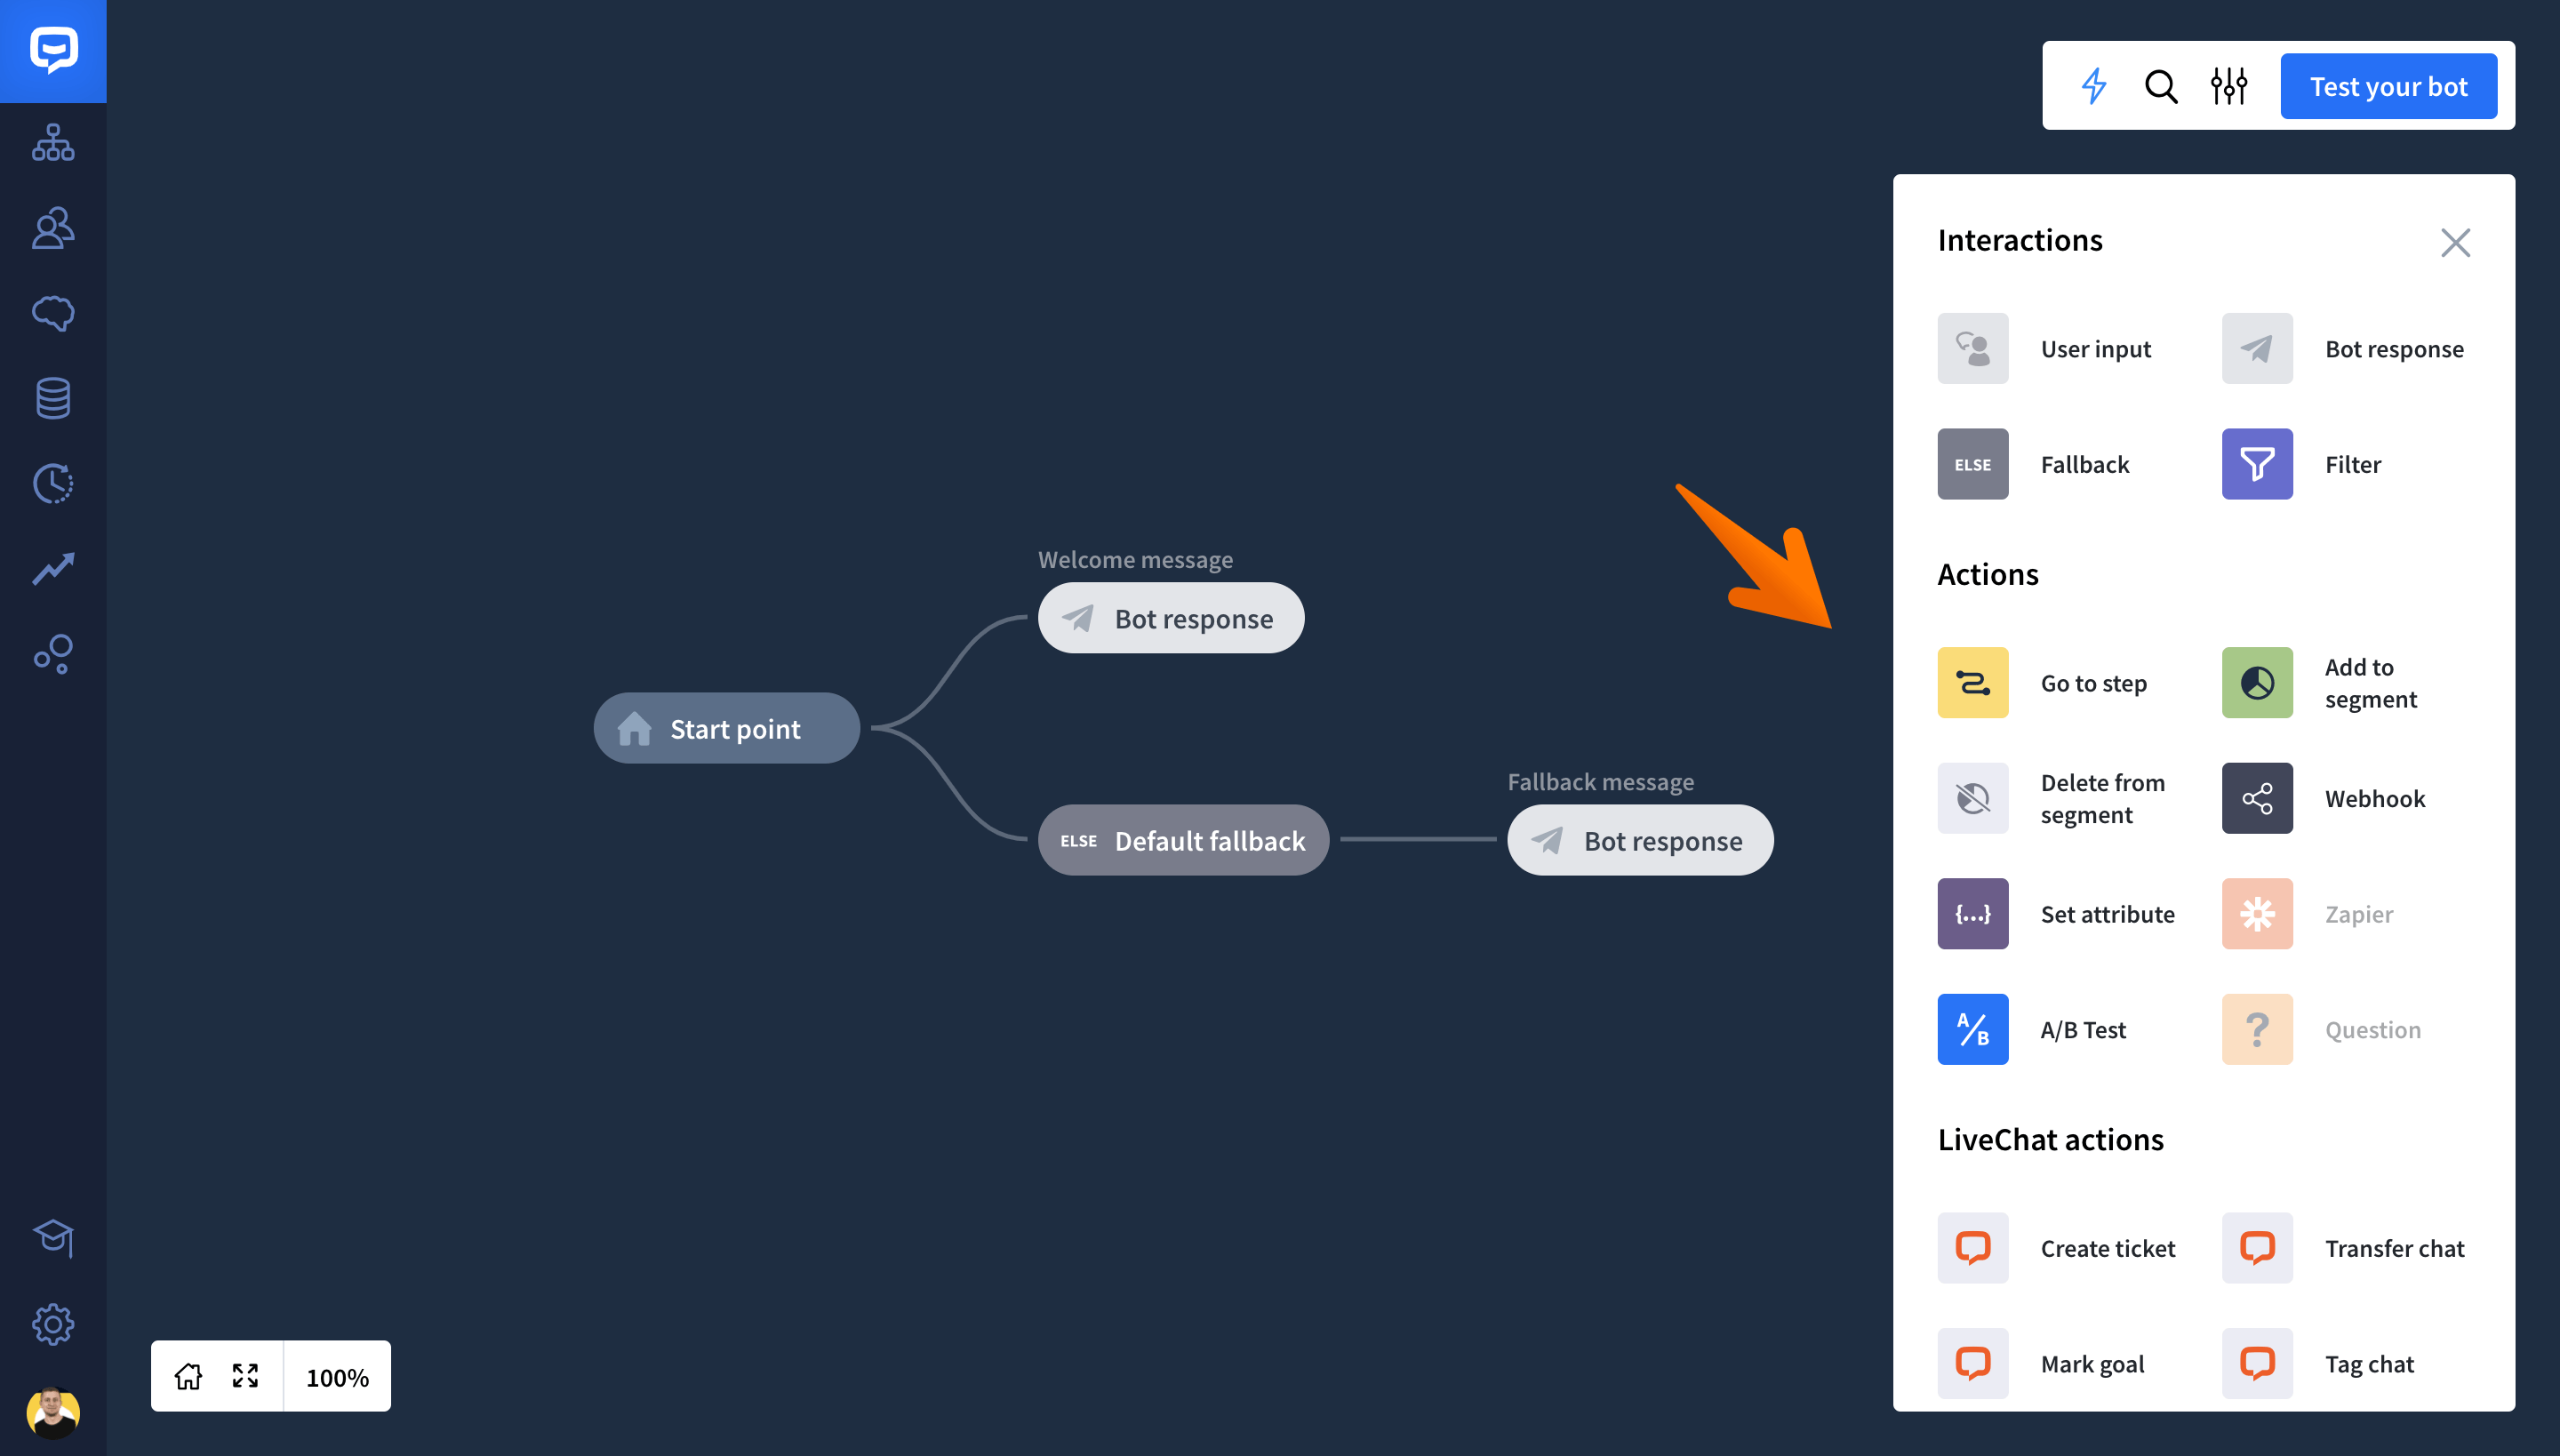
Actions
Actions help your bot better navigate conversations, validate user responses and automate the process of grouping and organizing users. Actions are invisible to users.
