The Attachment input interaction lets users attach files in an ongoing conversation with your chatbot.
ChatBot allows users to exchange files while chatting, including:
-
images (png, jpg, gif, raw, webp, image),
-
videos (webm, mp4, avi, mov, rm, rmvb, mpeg),
-
documents (txt, doc, docx, odt, ods, pdf, xls, xlsx, ppt, pptx).
You can define what type of attachments your chatbot can receive and which ones will trigger a subsequent chatbot interaction.
Sending attachments can be useful when you process receipts, forms, and various types of customer documents. This way, the customer doesn’t have to send their attachment via email — they can share it directly with your chatbot while chatting.
How to configure the Attachment input interaction
-
Open your ChatBot Story.

-
Head to the Actions and Interactions menu. Select the Attachment input block and add it after the Bot response block.

-
Select the added block and name it.

-
Select what type of attachment will trigger a subsequent chatbot response.

-
When your chatbot receives the file from the user, it will save it as a URL. ChatBot saves collected data as attributes. To help you save the file URL, we’ve added a default attachment attribute to this interaction, so you don’t have to configure it on your own. All collected attachments are saved in the Archives.

-
Then, you can add a Bot response after the Attachment input block to thank the user for the file, confirm you’ve received the data, or let them know what will happen next.

Note: If your Story doesn’t contain the Attachment input interaction, but the user tries to share a file anyway, ChatBot will ignore it by default. This means it won’t display a Fallback message.
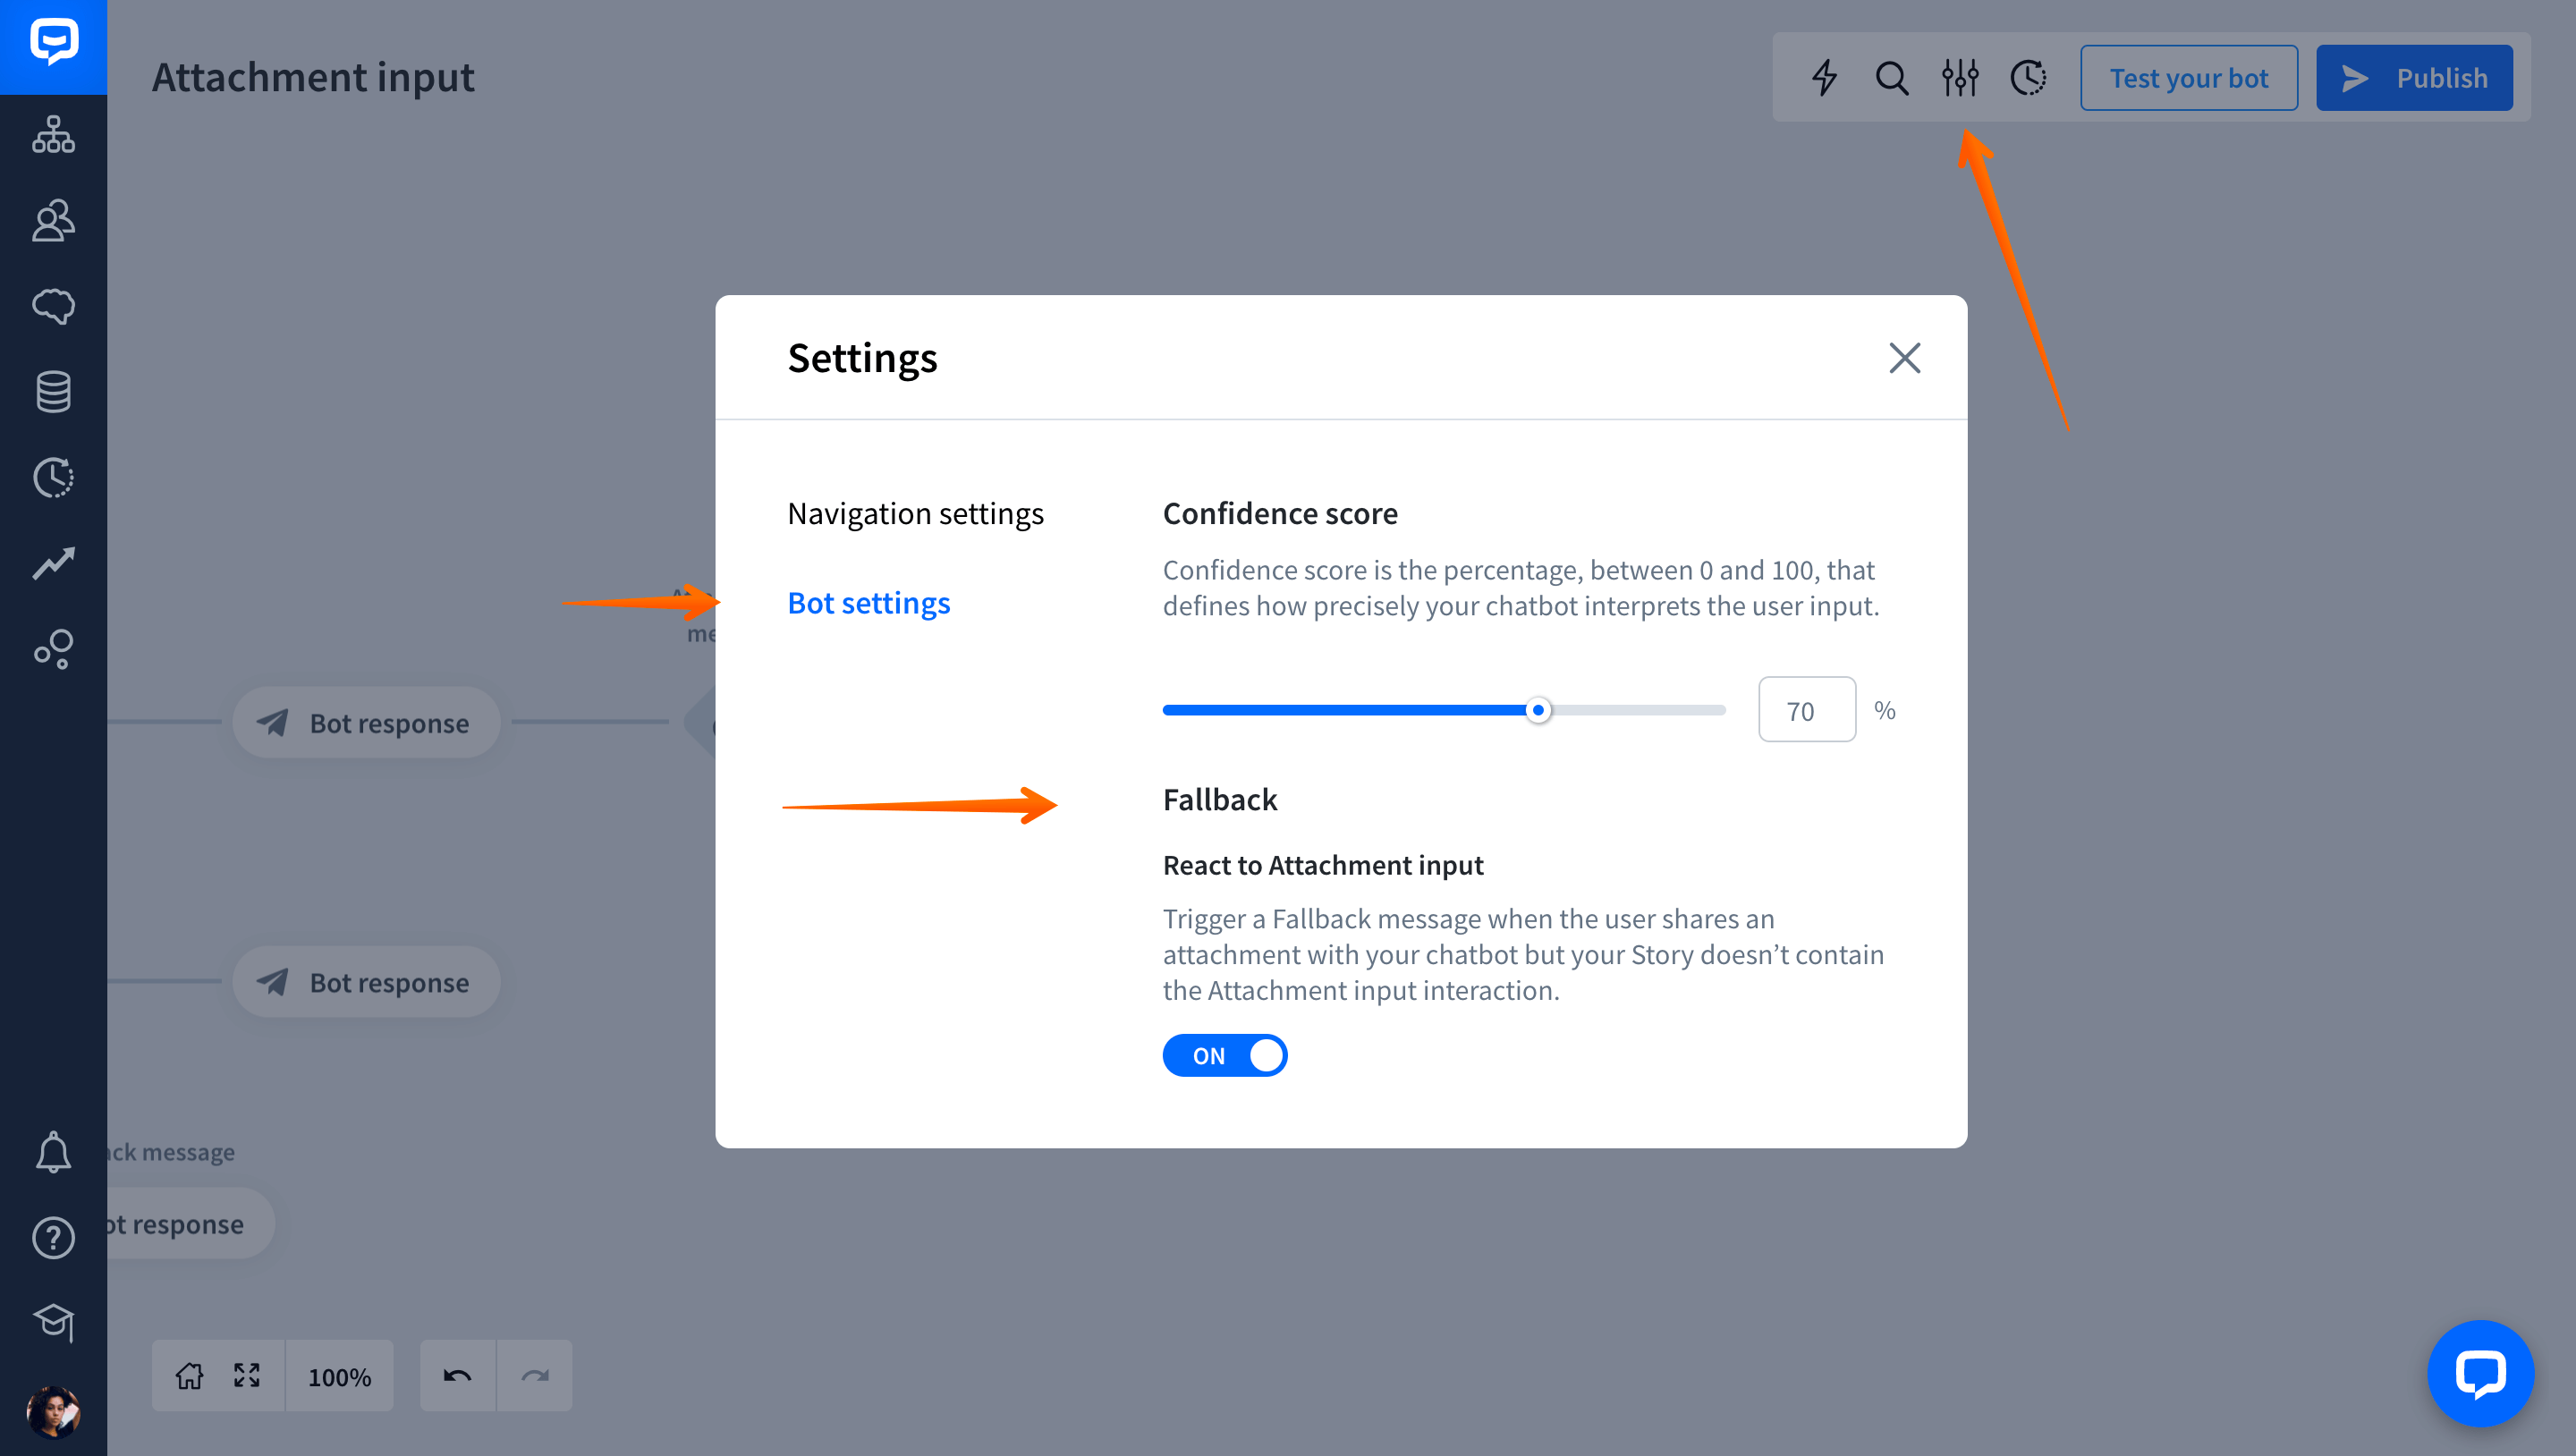
To display a Fallback message when the user tries to share a file, but your Story doesn’t allow for that, go to Bot Settings and turn the React to attachment input option on. As a result, your chatbot will display a Fallback message anytime it’s not able to match the attached files with any available interaction.
